
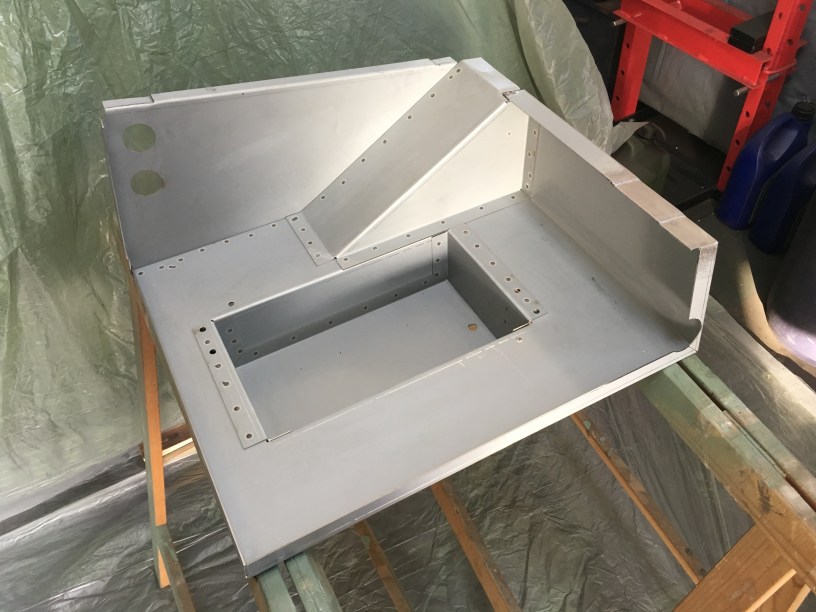
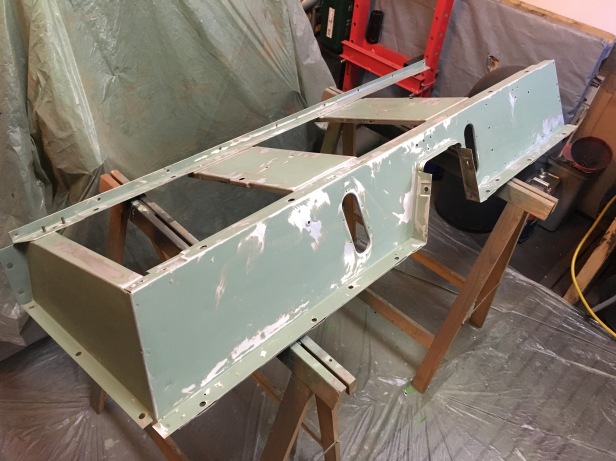
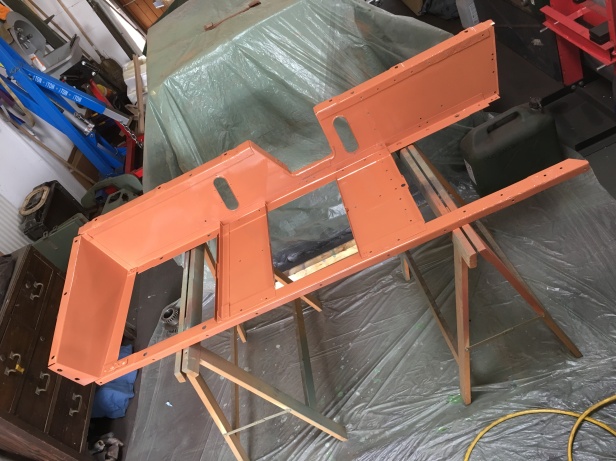
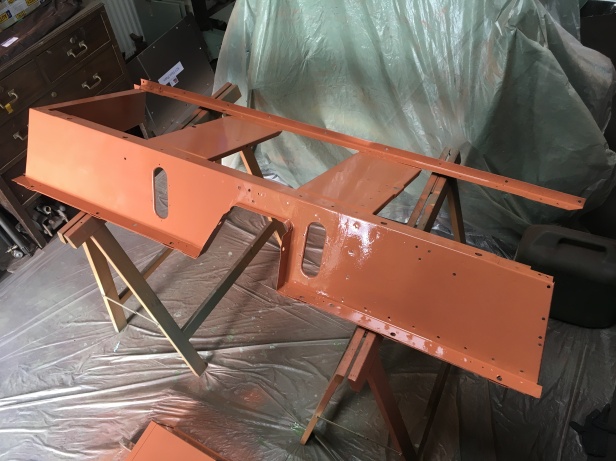
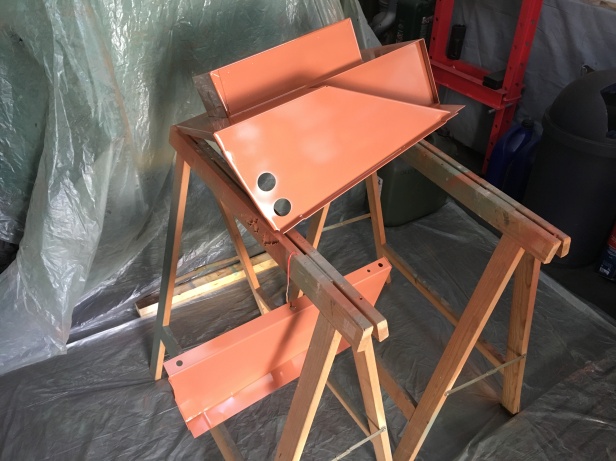
The seat box is now prepped and painted with the 1st of two top coats. I made the mistake of prepping the old surface with a knot wheel on an angle grinder. Whilst very good at removing the bi-metalic corrosion, it leaves nasty grooves in the surface…. which need a lot of rubbing back to remove…. they’re almost rubbed out.
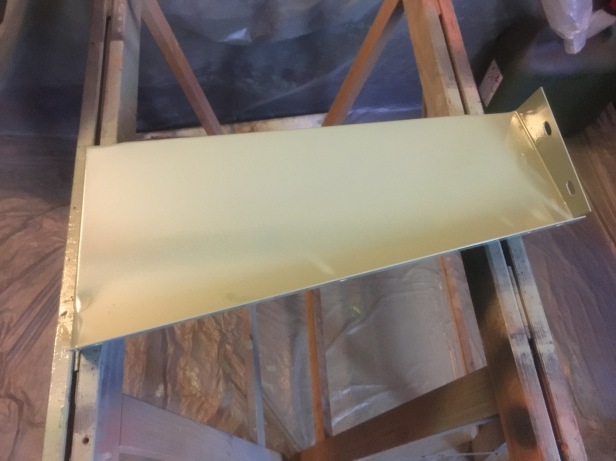
The new battery box and end panel are primed and painted also… but feature less in the post. More to come on the battery box.
The challenge will come when the battery box and end panel need to be fitted back together. To do this, a number of dome head rivets need to be hammered into place and having tried a couple (using the correct snap punch) they are flaming nuisance. Whilst not an insurmountable problem, the risk of damaging the finish is quite high… so I will respray the whole thing once its all back together.
The simplest solution would be to use a blind rivet but these would look incongruously out of place.


The pieces look as good as new! Very impressive.
Cheers, Nora
LikeLike
Thanks Nora. The trick will be fixing it back together !
LikeLike