Slightly off topic from the Series 2 but still worthy of the site I think…
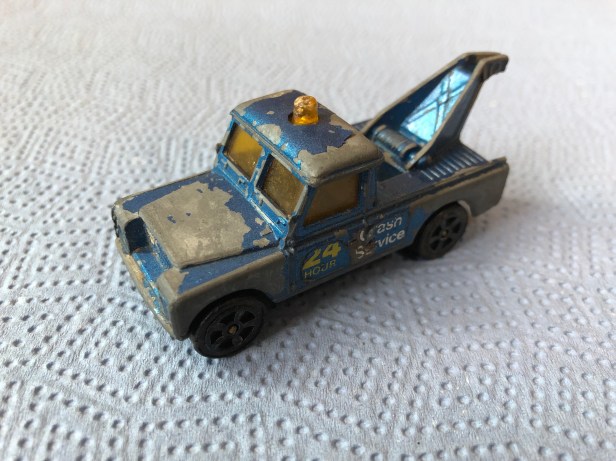
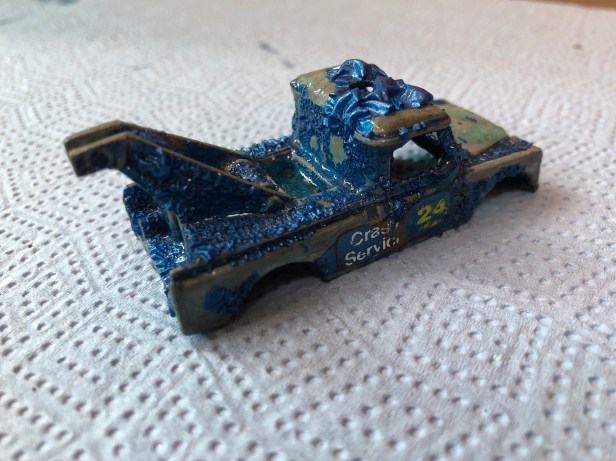
Some weeks ago whilst sorting through a box of “things” from my childhood… with a view to tidying a corner of the basement up… I came across this small toy car. I don’t know if it accounts for my interest in Land Rovers but it could be this small Corgi die-cast pick up truck sowed a seed all those years ago.
It was residing in an old tin pipe tobacco box with my fathers name on it and the words “Christmas 1942”. The Land Rover obviously isn’t from this era but the numerous lead soldiers in the tin (and they really are lead) were certainly from that period. Given what was happening in the world at the time, I’d much rather have been playing with a small blue Land Rover.
Also in the tin was a model of a Range Rover Classic at a slightly larger scale. I’ll restore that at a later date.
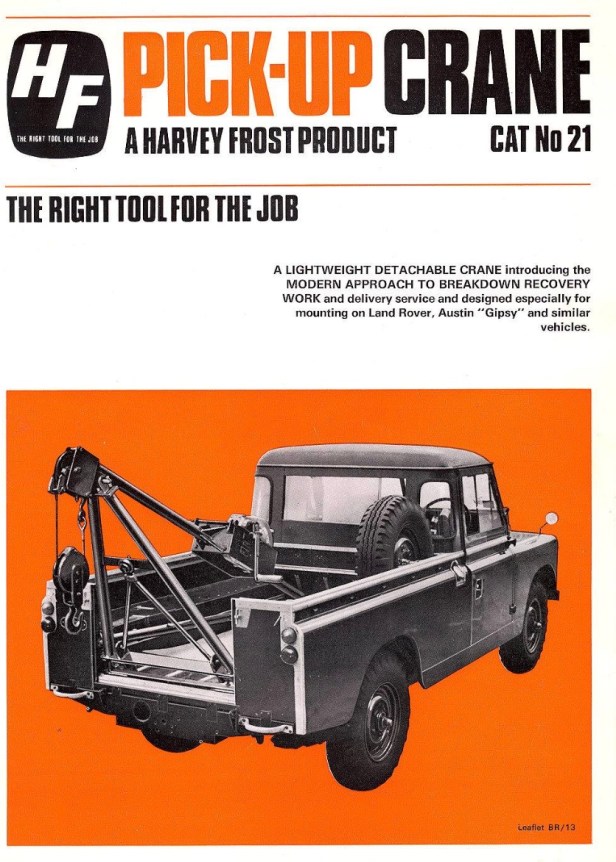
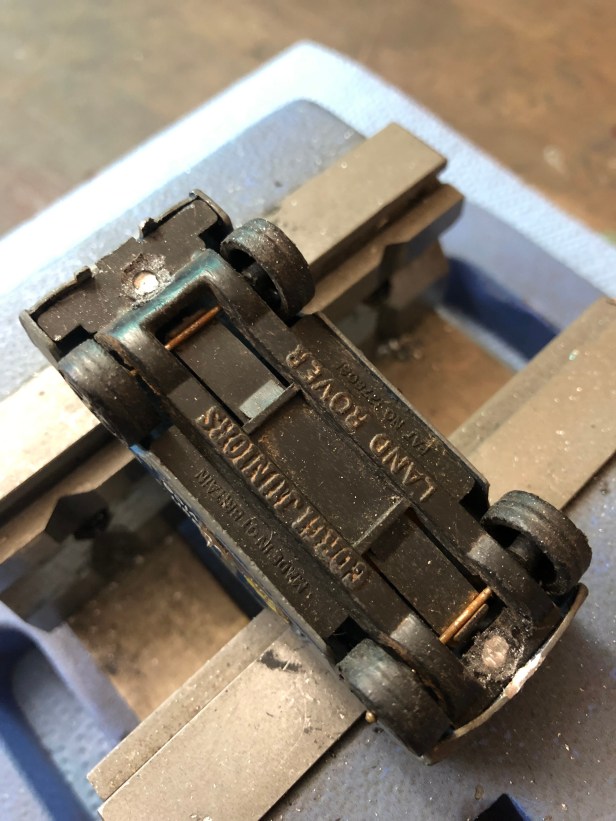
The model in question, is that of a Land Rover Series 3, truck cab, 109” wheelbase… with the obvious attachment of the recovery crane.
Harvey Frost made a number of recovery cranes for long and short wheelbase Land Rovers
That’s 40 years of “patina” that is
I don’t remember the crane having a hook, and there’s no obvious place to fix one
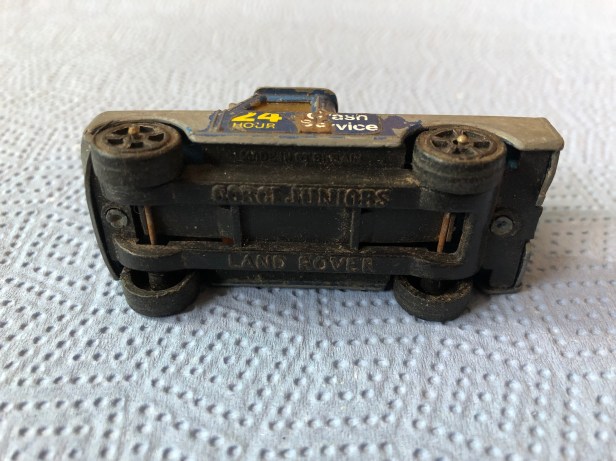
Amazingly the way the “axles” mount to the plastic chassis affords some suspension. It also allows the axles and wheels to be removed.
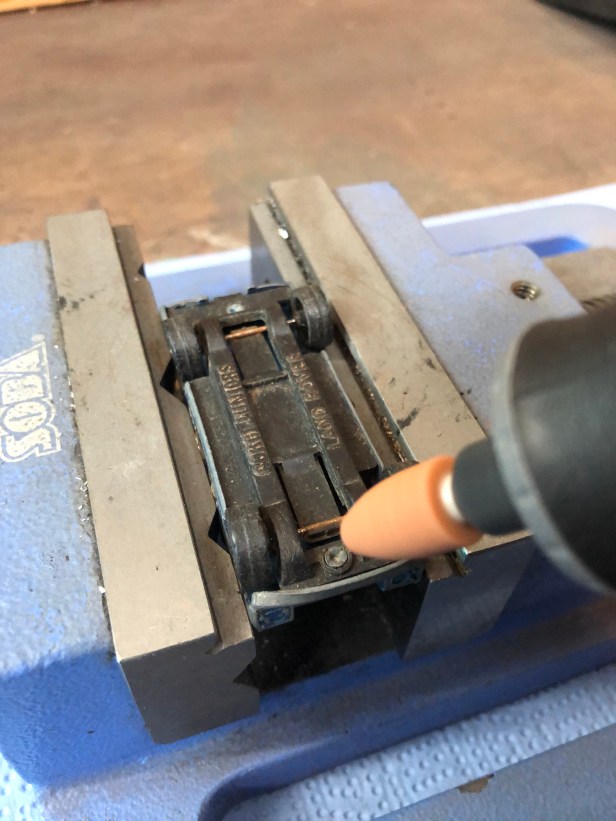
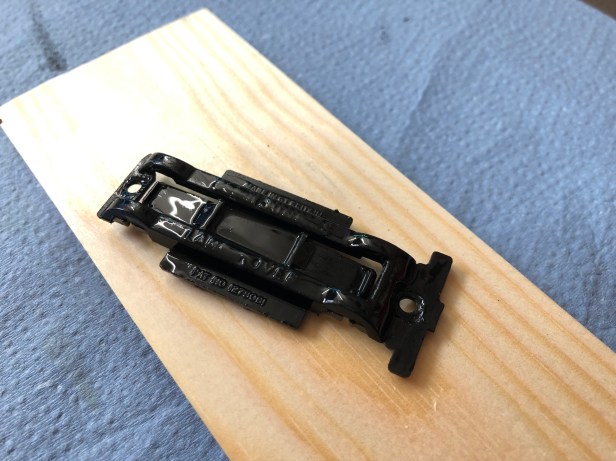
To remove the chassis, the heads of the two rivets have to be ground off.
Rivet heads all but removed. On reassembly, I will hold things back together with a spot of epoxy resin.
Body. Glazing and Chassis
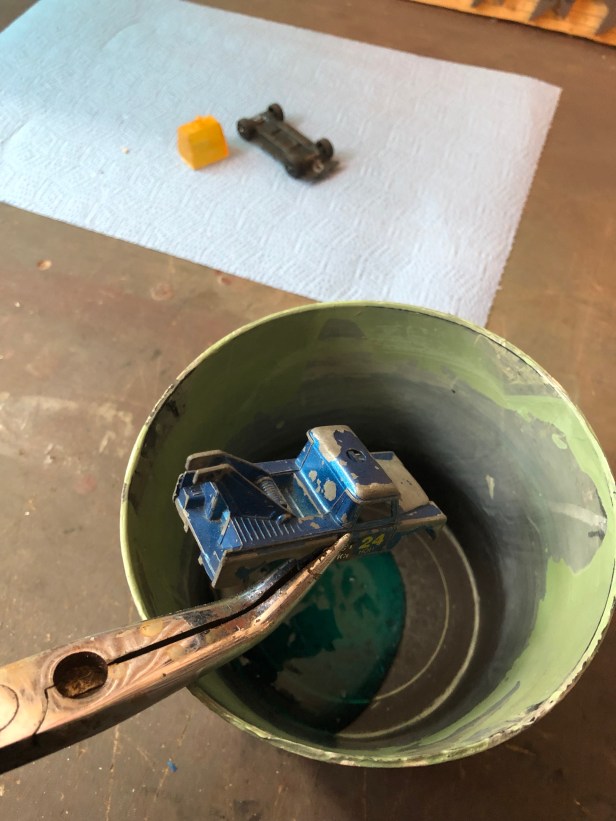
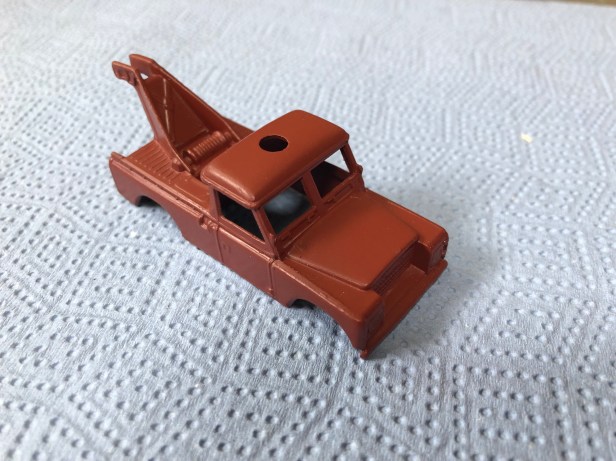
Some organic paint stripped is brushed onto the cast aluminium body shell
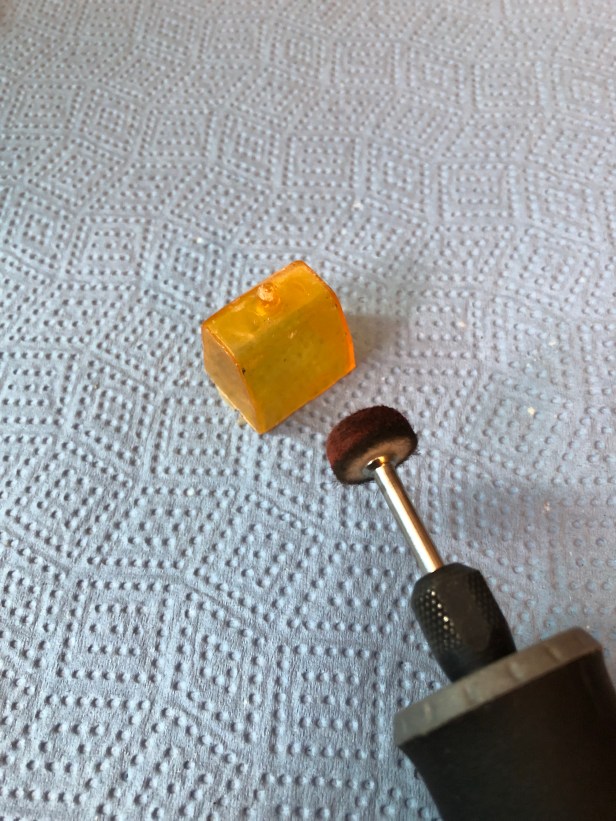
Whilst the stripper is working, I polish the plastic glass piece using a buffing wheel in the Dremel. After that was done, I coated the piece with some wood polish and left it to dry.
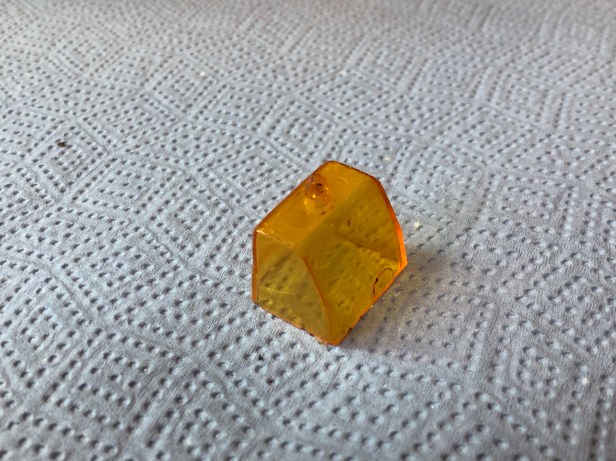
With a quick buffing it came out very well
I the mean time, the paint stripper has worked well
The detail in the casting is excellent; even down to the clips on the rear tub used to secure a canvas top. These clips were fitted regardless if the vehicle would be a hard top or a soft top. They’re on LGL
(These small rope clips are also the only part (as far as I know) not to have changed design in the entire production run of Land Rovers from 1948 to 2016)
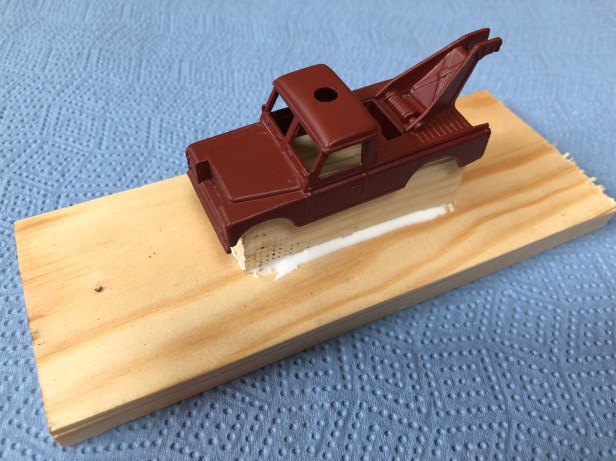
Body work primed from a spray can
By drilling two 2.5mm holes matching the location of the two rivets I ground off earlier, the body work sits securely on this little plinth. Applying the top coat will be a lot easier.
As I have quite a lot of Pastel Green paint left over from LGL, it made sense to paint this one in the same colour… at least it’s a period colour. I’ll add a bit of detail to the body work as I go along, including a limestone roof and galvanised cappings. I painted this by hand rather than with the air brush as even on its lowest setting it would delivery far too much paint… almost instantly.
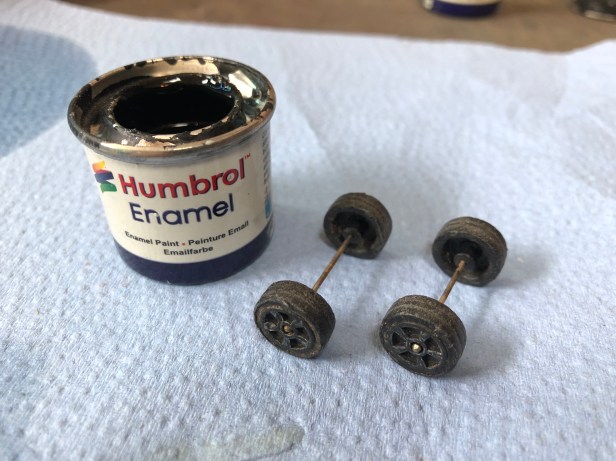
The wheels get a coat of matt black enamel
As does the chassis
this will dry nice and flat so the lettering can be read again
The bodywork paint takes 3-4 hours to tack dry, so I’ve managed to get a second coat on today. To be fully dry and ready for some delicate masking, this will take 8-10 hours.