Now that the synchromesh has new detent springs and is back on the main shaft, the selector shaft and cover can be refitted.
The 3 selector shafts. From the top: Reverse. 1st / 2nd. 3rd / 4th
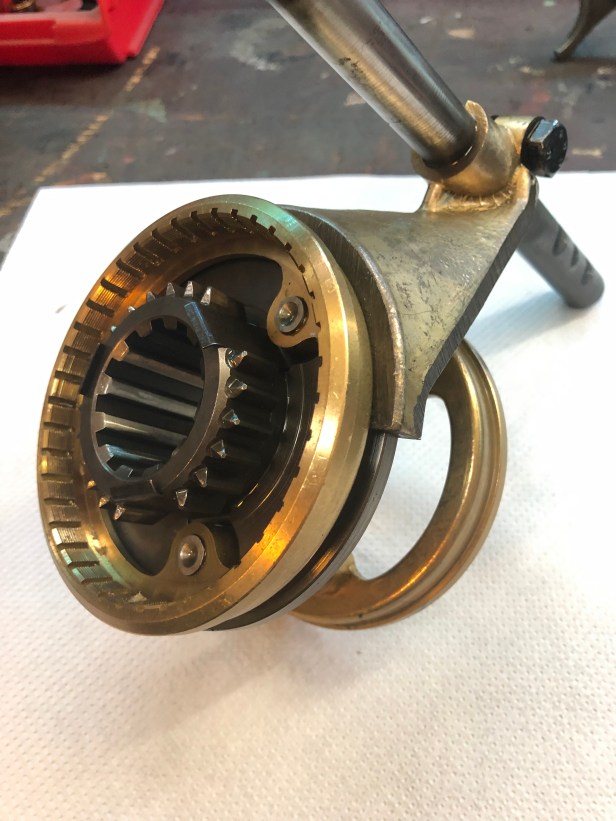
By way of illustration… this is how the selector engages with the synchromesh centre. 3rd gear position.
When you move the gear lever backwards, the selector shaft moves the synchromesh centre forwards and selects 4th gear.
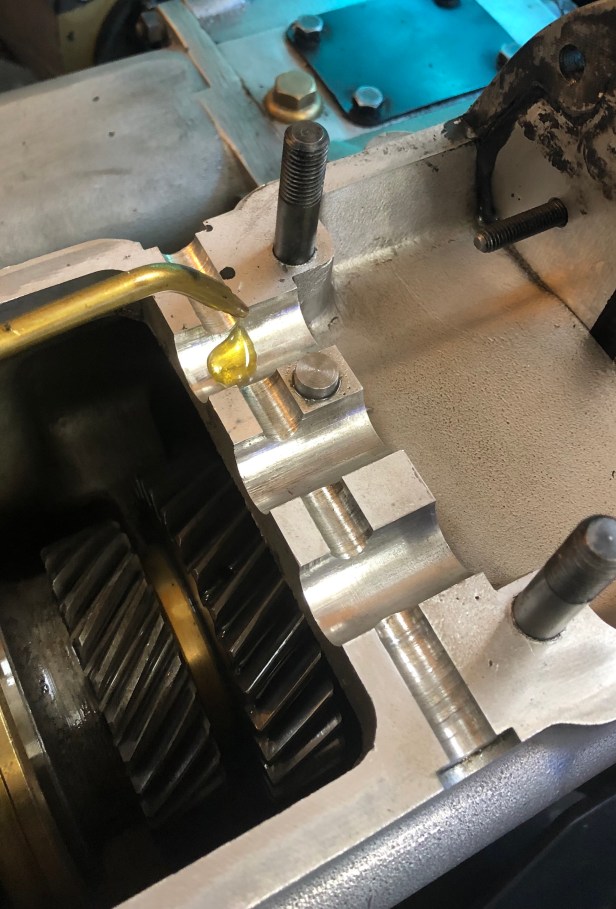
Before installing the shafts, a drop of EP90 is applied to the ways where the selectors run
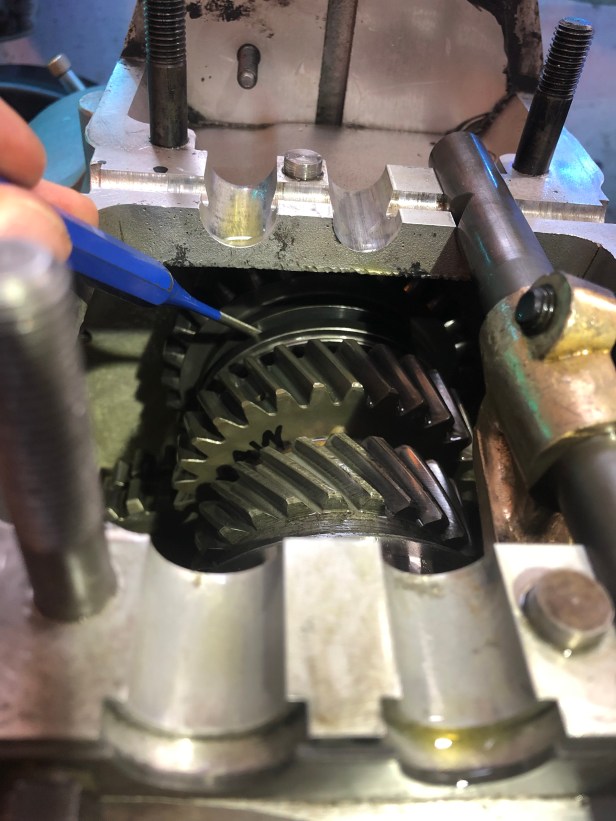
The synchromesh needs to be moved to the 3rd gear position prior to the selector shaft being dropped into place.
Shaft drops straight in. Next comes 1st and 2nd
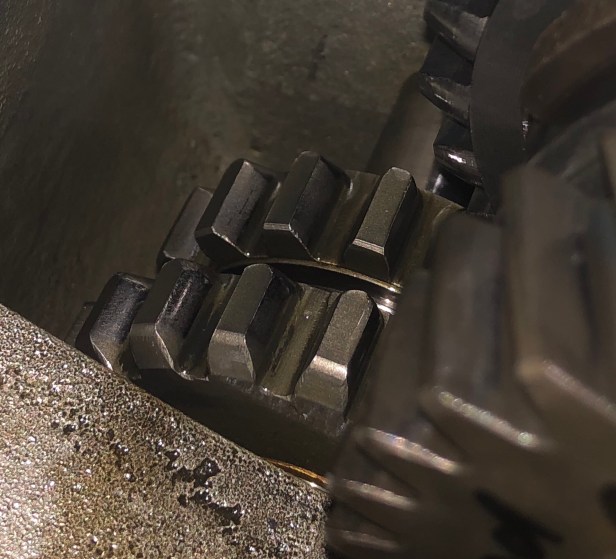
The selector fork sits in the groove on 1st gear. There’s no synchromesh between 1st and 2nd hear. The drive must “double clutch” when shifting gears.
Next is the reverse gear selector. The selector fork engages with the groove on reverse gear idler.
All three shafts back in place
Next comes the dentent balls and springs…
Balls and springs engage with the corresponding notches in the shafts.
The lower spring is for reverse gear. The upper is for 3rd and 4th.
This is how they are arranged.
A dash more EP90.
Now it’s time to fit the selector shaft cover.
4 bolts and spring washers hold the cover down
There are two caps that hold the detent springs in place for reverse and 3rd / 4th. One on each side. First the spring and seal are loosely fitted.
As the springs are extremely “stiff” it’s hard to push the capping back far enough to drop the fixings in.
A handy sash clamp is deployed. Applying a bit more mechanical pressure allows the capping to be pressed hard against the seal = no oil leaks… Oh it’s a Land Rover… therefore = fewer oil leaks
Bolted down hard. Repeat on the other side. I didn’t photograph that as it’s an exact repeat.
1st and 2nd gear has the detent spring on the top. Here, the detent ball is dropped in to the aperture on the cover.
… then the spring is fitted
… then the top cap is screwed down.
Finally, the seal retainer for the shaft seals is refitted. I took this off to ensure the seals sit correctly in the cover.
Job done. Selector shafts and cover are reinstalled.
That’s as far as I can go in terms of refitting things. New gaskets and split pin (for the layshaft nut) have been ordered so until they arrive there’s not much else I can be getting on with, except… a bit of cleaning things up.
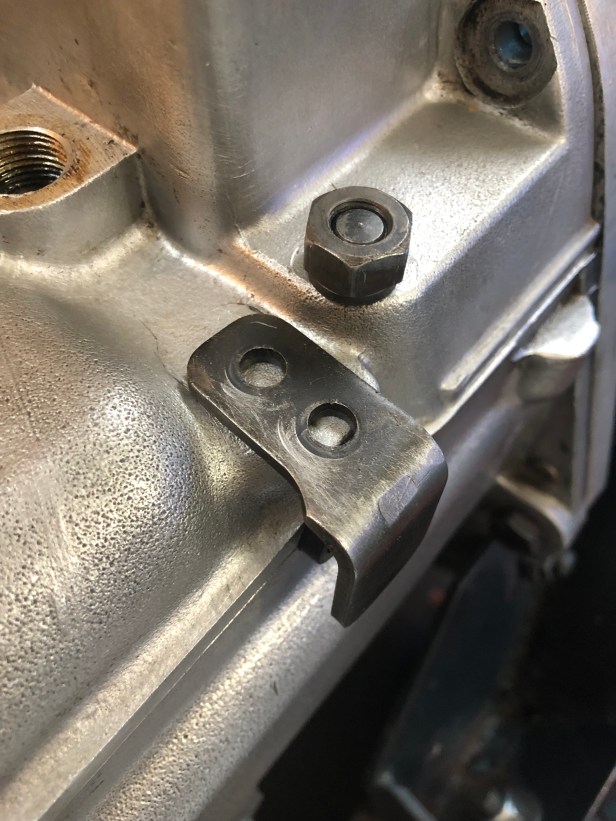
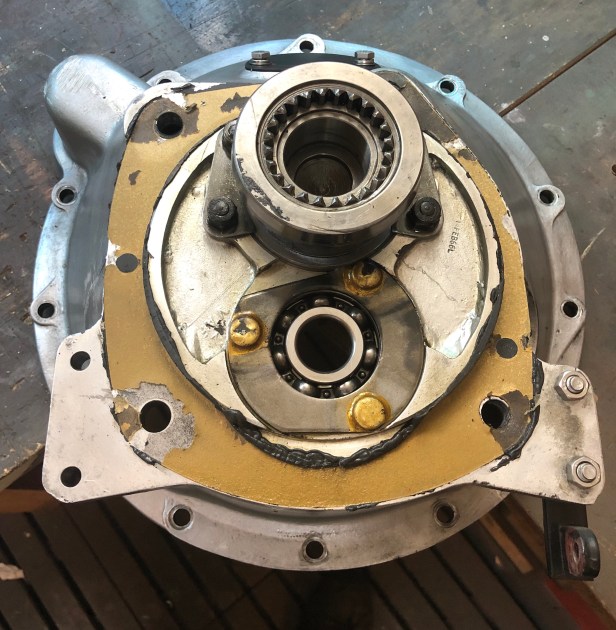
The back of the bell housing is still covered in gasket and sealant. Not a good base for a new gasket. This needs to be stripped back to bare metal. With the sharp edge of a razor blade this comes off readily.
Once all the heavy gunk is removed, a quick polish with a scotchbright pad and some acetone decontaminated the surfaces nicely. I used the airline to blow out any pieces of sealant and gasket that found they’re way into the bearings
I’d been saying for some time the gearbox had to come out to cure the oil leak from the clutch release housing. As I have the thing on the bench I can make sure all mating surfaces for the release housing are cleaned thoroughly.
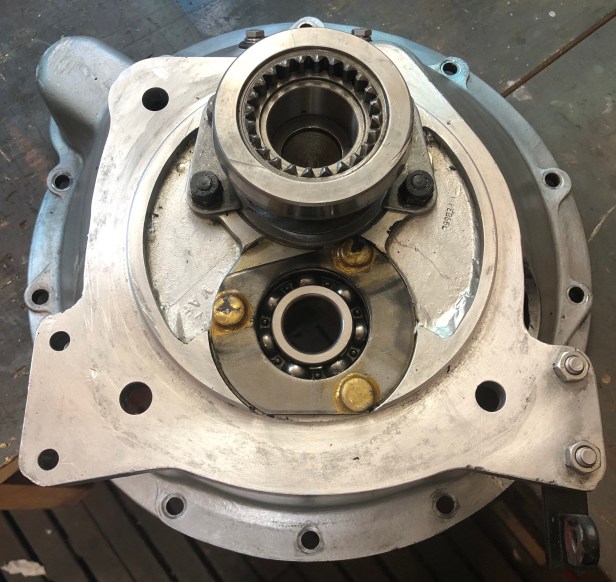
Not pictured but I removed the 4 studs and bearing carrier (on the back of the bell housing) for better access to the mating surface
Yeah, not bad but I think if I remove the 3 lower studs I can the lower parts cleaner. This is most likely where the leak was occurring,
DHL texted to say the parts I’ve ordered are on their way. So I should be able to seal everything, fill the box with oil to check for leaks and reinstall it in LGL the weekend after next. Hopefully in time for a shake down run to Graubünden with the tent.
the identification of the reverse and forward spring in this article is wrong. The reverse detent spring is the more tightly wound one at the top of the picture showing the two springs on a paper towel!


the identification of the reverse and forward spring in this article is wrong. The reverse detent spring is the more tightly wound one at the top of the picture showing the two springs on a paper towel!
LikeLike
help !!!! Series 3 selector forks replacement. Thank you Errol in South Africa
LikeLike