

Fitment of Correct Needle, Barrel Spring and Carburettor Installation
Preamble
Before the new Skinners Union (SU) carburettor can be installed, the needle and piston spring need to be exchanged. The size (and use) of the engine determines the needle and spring to be used. Making changes to these components in effect, adjusts the feeling of the motor.
I’m not in any way versed in the subtle art of needle selection but fortunately, HNJ Engineering recommend:
- Needle: BDL
- Spring: Yellow
I’d highly recommend reading “SU Carburettors Tuning Tips & Techniques” before dismantling anything to change the needle and piston spring. (Brooklands Books: ISBN 9781855202559)

An SU is a delicate instrument and will not respond well to ham fisted or ill-informed tinkering
G.R. Wade
The Parts
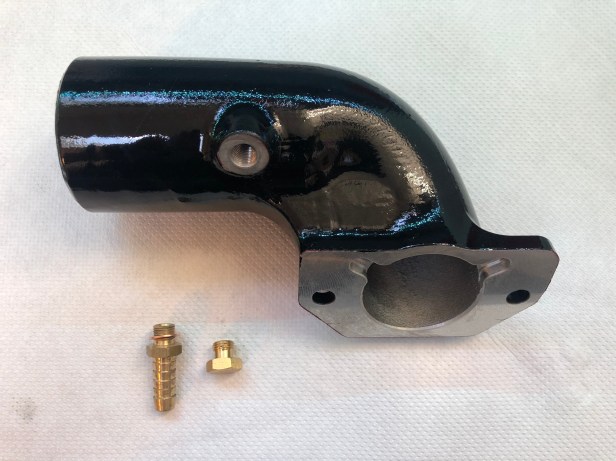
In addition to the carb, the only additional parts for this are the new needle and piston spring. I also took the liberty of painting the HNJ Engineering air intake elbow black.

SU HIF 44 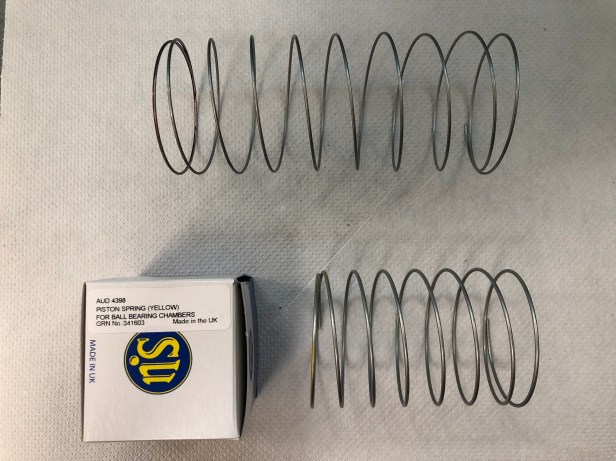
Red (supplied) and Yellow stings 
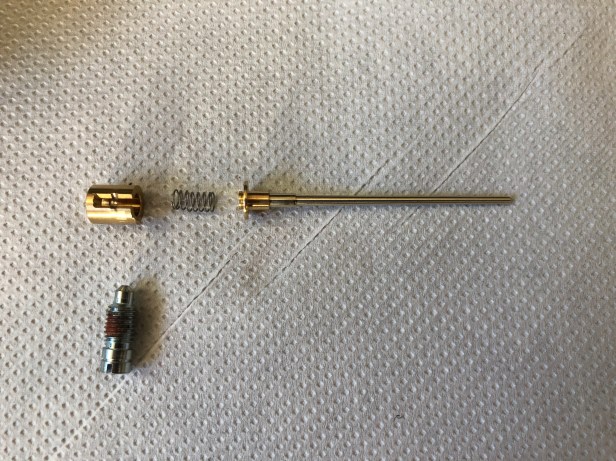
New BDL needle and the one supplied. Spot the difference? 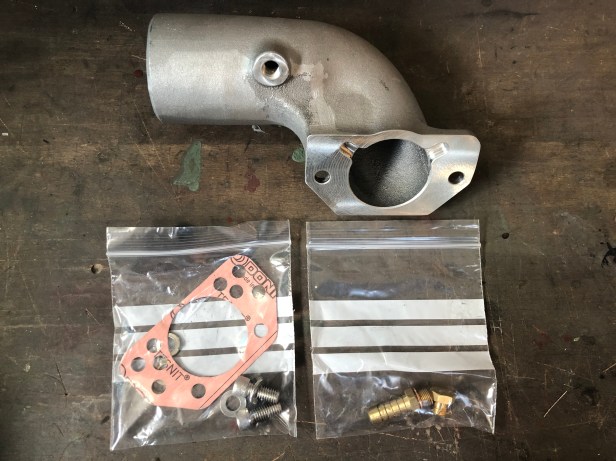
Intake and fittings 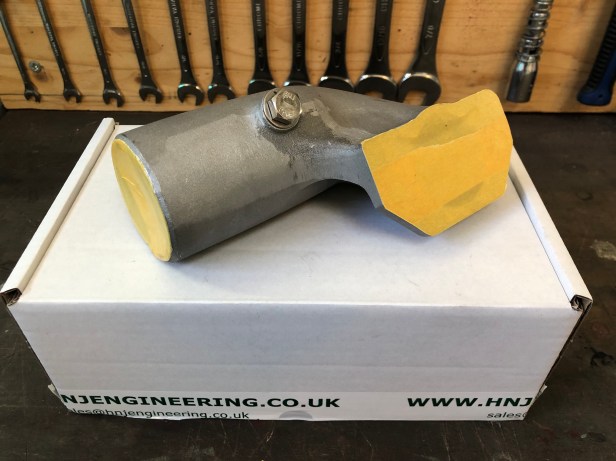
Masked off 
Painted
Installation
Changing the spring and needle is best done on the bench, although it can be done with the carb fitted to the engine.

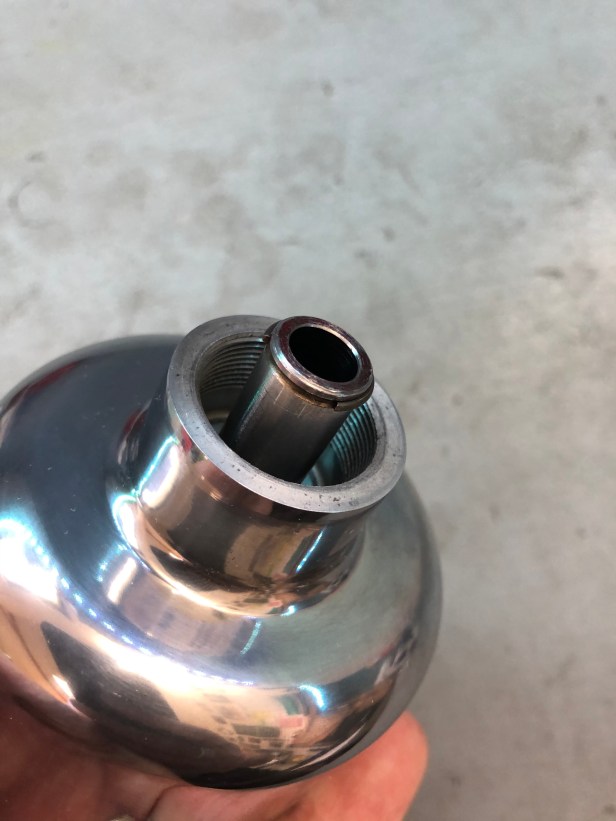
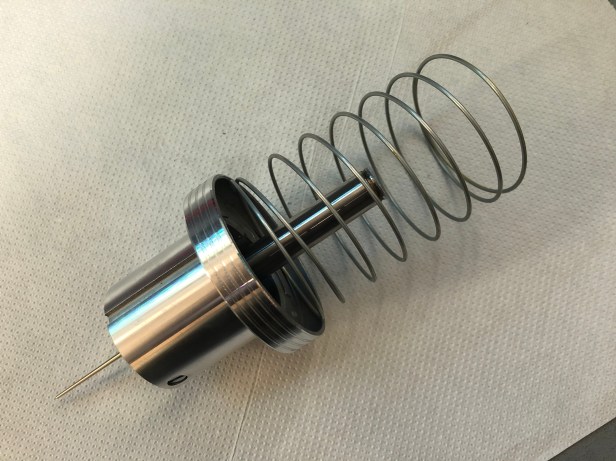
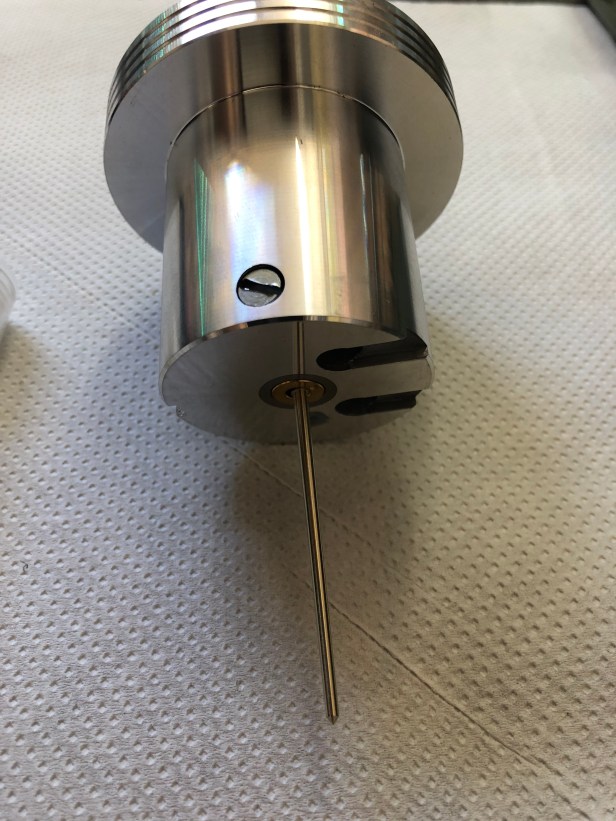
Now the needle can be exchanged. The HIF44 has a spring loaded jet needle that ensures the correct biased position is obtained. See photo below. Earlier models did not appear to have this spring and manual biasing was required…. when mechanics were mechanics.


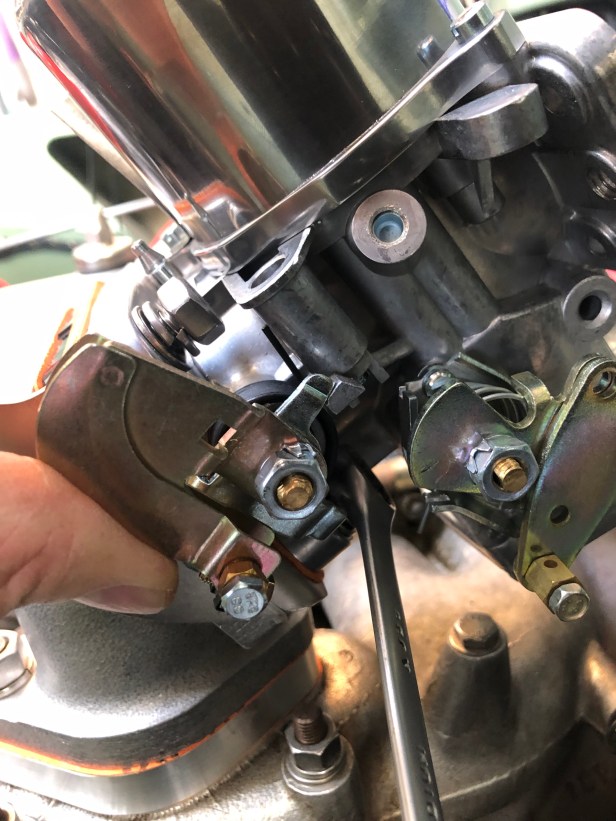
With the modifications complete, the unit can be fitted to the engine.

Closing comments
The carburettor is installed and I’m very pleased with the quality of the new unit as well as the installation kit, but there’s still a few jobs to do before the engine can be started:
- Modify the throttle pedal
- Install the throttle cable
- Modify the cold start cable
- Make a new air intake duct
- Install new petrol lines
- Install new vacuum advance
