

Preamble
Most of the readers will be familiar with the Wright Off-Road Matting system. They were conceived by Drew Wright some time in the early 2000s and have been a highly sort after upgrade to the Series Land Rover interior ever since.
Their purpose is 3 fold:
- Reduce noise inside the vehicle
- Reduce heat inside the vehicle
- Tidy up the inside of the vehicle (if it needs it)
I imagine, the vast majority of users are installing the system to satisfy the first bullet point.
I installed one in my 2.25 Diesel 109″ years ago and made a “slight” difference in terms of noise reduction. With a noisy Fairey OD and the “hammer on anvil” diesel, it had its work cut out.
Installation
I don’t intend to go into a detailed account of how to install the mat system. There are so many permutations to consider, particularly on the seatbox. But hopefully I can give some guidance on lessons learnt.
The mat consists of 3 main parts. The bulkhead, seatbox and floor section. I’d advise fitting them in that order.
Set up:
- Create flat, clutter free cutting surface. I used some trestles and a sheet of plywood. This will help immensely with cutting straight lines
- Use a Stanley Knife for cutting the material. A craft knife with the break off blades won’t be rigid enough.
- Steel ruler. At least 500mm long.
- Lubricate the blade and cut line with some soapy water from a spray bottle.
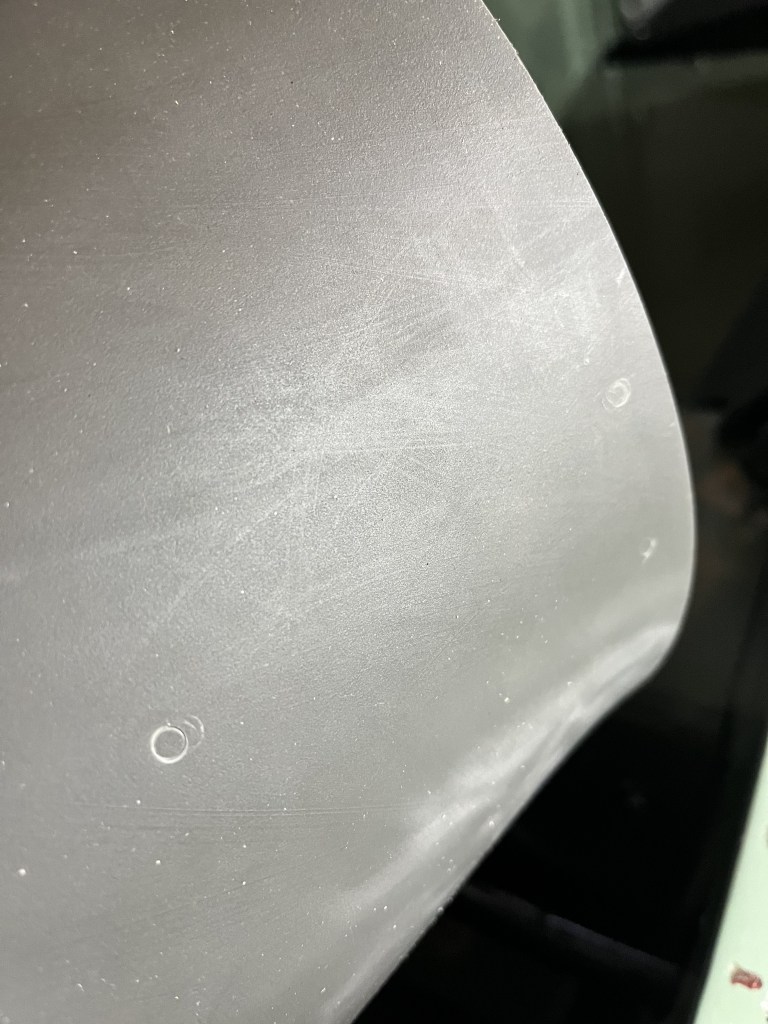
- Take multiple cuts. The mat is very dense and about 8 – 10mm thick.
- Use a hole cutter. Drill bits (including wood core bits) won’t actually remove the core from the matting.
- Don’t trust the witness marks.
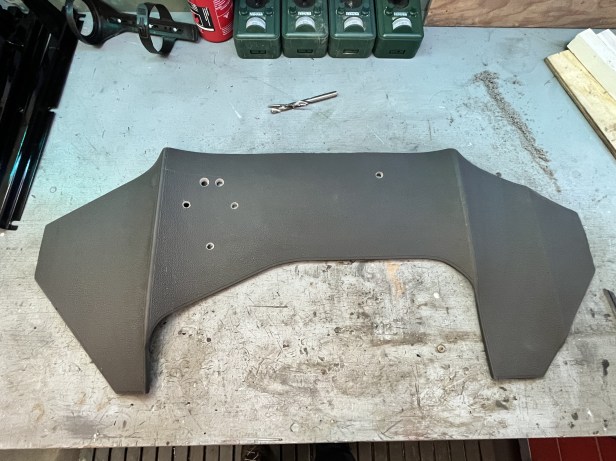
Bulkhead
It will be necessary to remove any equipment mounted on the bulkhead mid panel, namely the heater, start button, VIN plate and warning signs (if fitted).
I also had to machine some new fixings for the heater assembly. The new heater motor I fitted was a little longed than the original which meant the adjustable fixings used to secure the motor to the bulkhead were just long enough. With the additional thickness of the matting, they would be way to short.
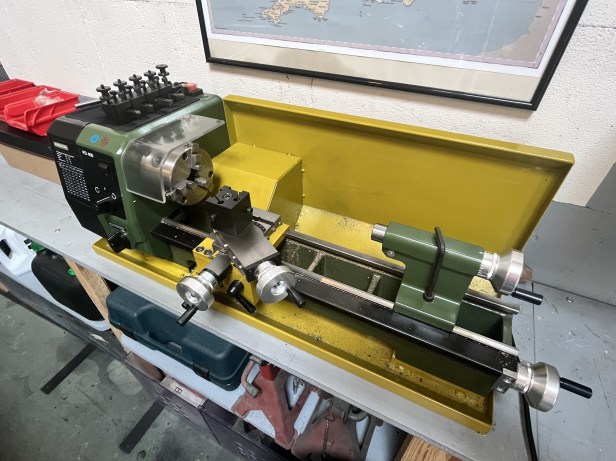
Fortunately, I have a small lathe 🙂
There’s no need to use any additional fixings to secure the bulkhead matt. It’s heavy and rigid enough to stay in place. With the penetrations for the equipment on the bulkhead, its quite secure. You may find some trimming is required around the throttle assembly in the drivers footwell.


Seatbox
This represents the most complex part of the installation. Take it slow, measure twice, (or thrice) and cut once!
As with the bulkhead all attachments on the seat box need to be removed, perhaps with the exception of the turnbuckles.
- Seats
- Seat rails
- Cubby box
- Handbrake boot and retainer
- Seat strap retainer studs
Penetrations need to be formed for the:
- Turnbuckles
- Handbrake
- Seat strap retainer studs
- Tool box lid
- Gearbox cover lid
- Fuel tank cover lid
- Seat rail fixings


NOTE: MAKE SURE YOU REMOVE THE TOOLBOX & GEARBOX COVER LIDS WHEN SETTING OUT THE TURNBUCKLE PENETRATIONS!
(I didn’t and ended up being 20mm out with the tool box buckle but only realised this after I’d made the cut… annoying)


For some reason, I took no photos of the fuel tank cover, but rather than removing this section entirely, I left it attached at the rear. It’s easy enough to measure, mark out and cut on the cutting board and is by no means critical.
Next, the 21 penetrations for the seat rail fixings need to be marked out and cut. These are quite critical in order to align the seat rails with the holes in the seat box.
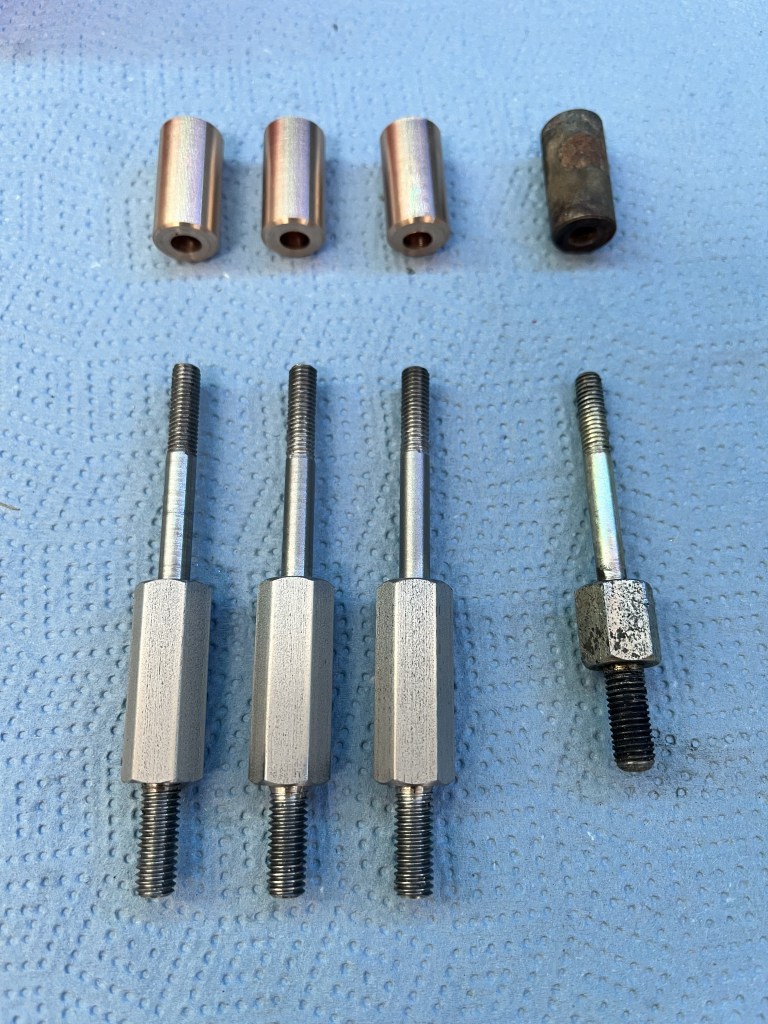
To accurately mark these out I made a set of transfer punches from some old bolts. I imagine there are other ways of doing this but as I have a lathe it seemed the easiest and most accurate.


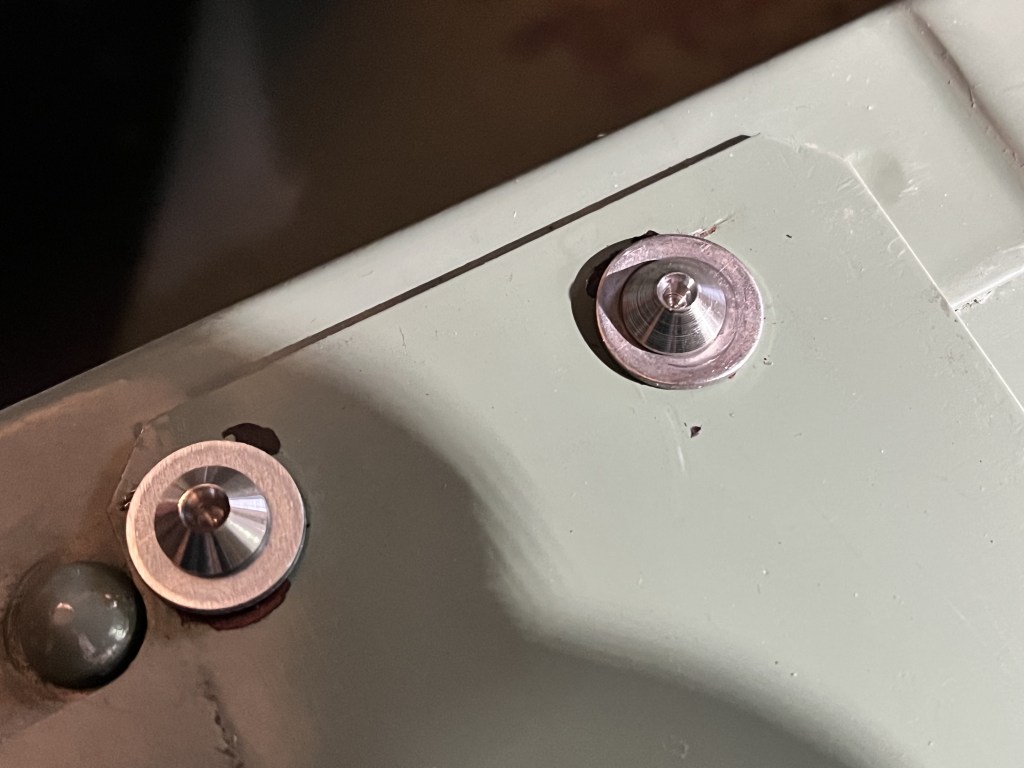
The holes were then cut out using a 19mm hole cutter.
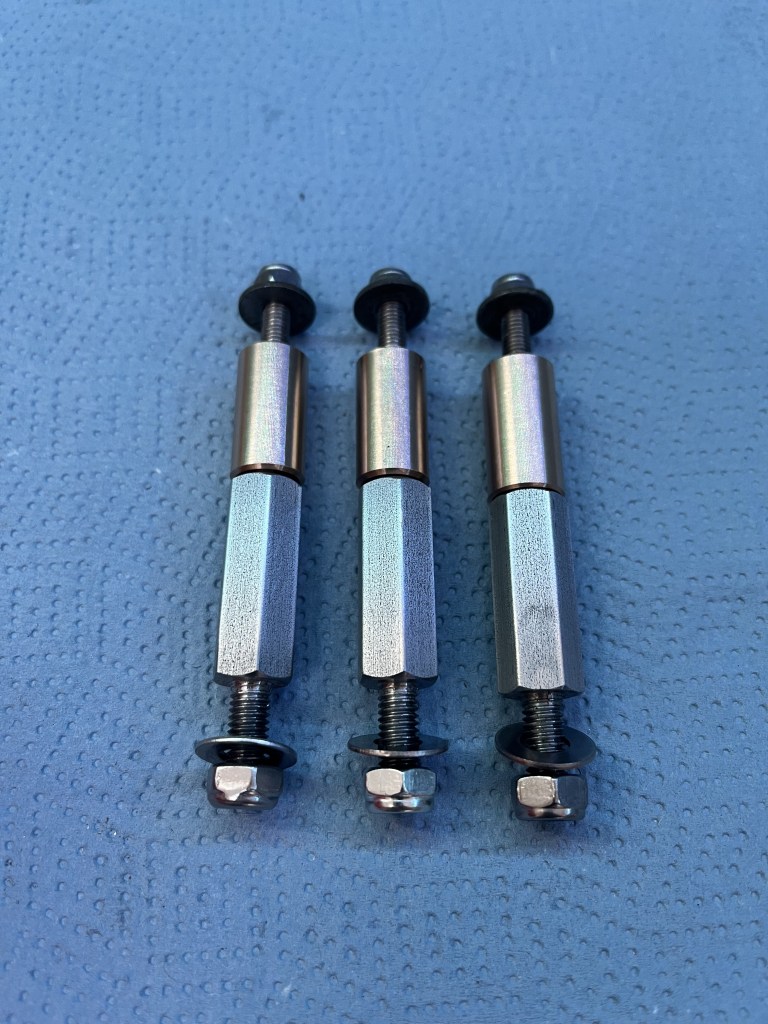
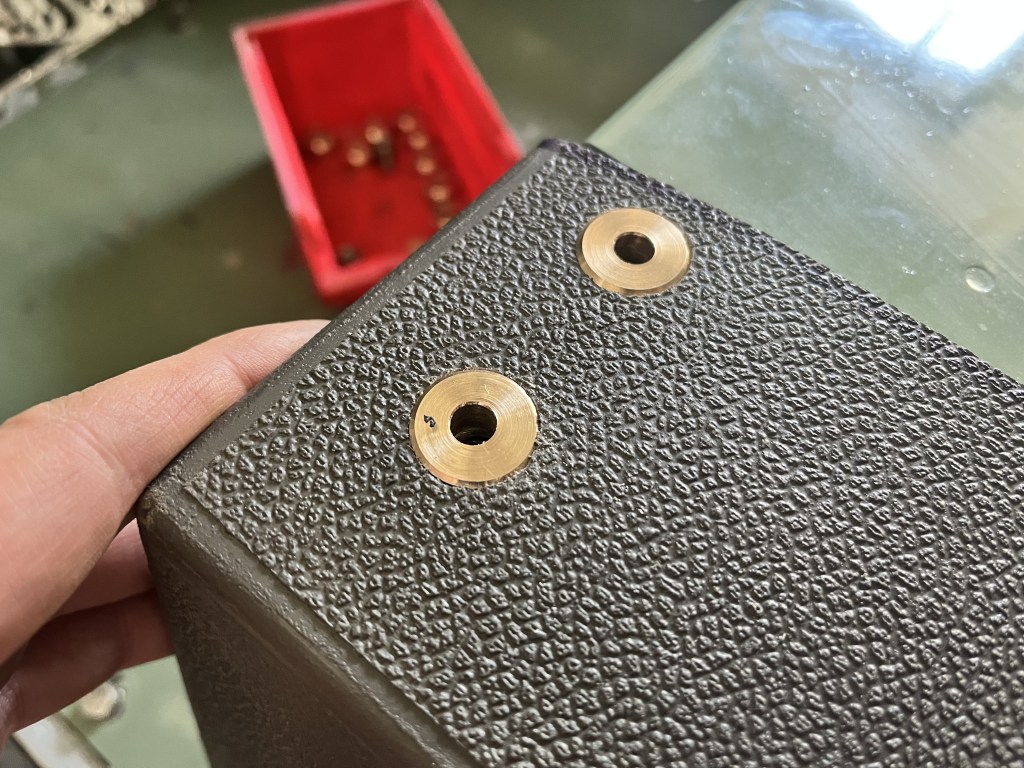
I wanted to avoid compressing the matt directly onto the seat rails once they were reinstalled. The matt, despite its density is still a compressible material. To avoid this, I machined 21, 10mm x 19mm dia bronze spacers. The instructions suggest using a stack of washers. This would work just as well.


For the two (non replaceable) captive bolts for the passenger side seat rails, I made a special long nut from a larger bolt and tapping a thread down the centre.
Floor Matt
The floor section is heavy and unwieldy. I think I weighed it at 15 kg, getting it in and out repeatedly is a pain. If you have a LHD land rover you will find that there is insufficient space to grip the handbrake and lower it without catching your knuckles on the side of the gearbox tunnel.
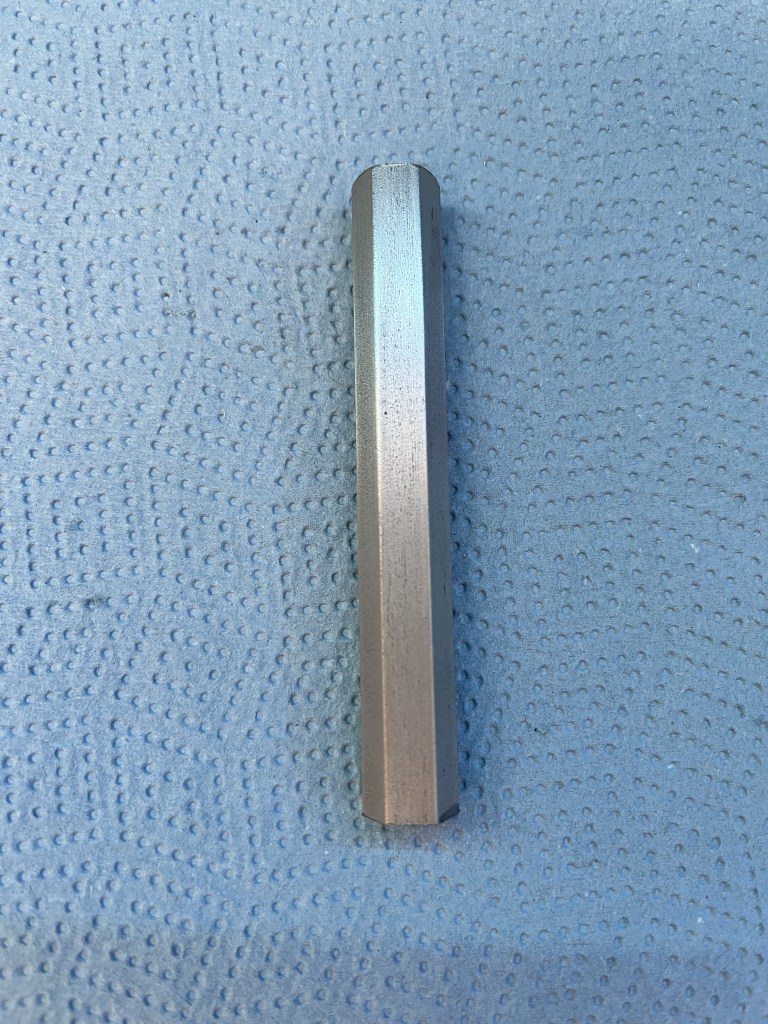
The main challenge with this part of the kit is the reinstallation of the overdrive lever. With the mat in place, the bell crank on the lever will not fit, a much longer bolt is required as well as large spacer. There’s no hot tips in the instructions supplied so I machined my own bolt and spacer.
You will need to remove the following:
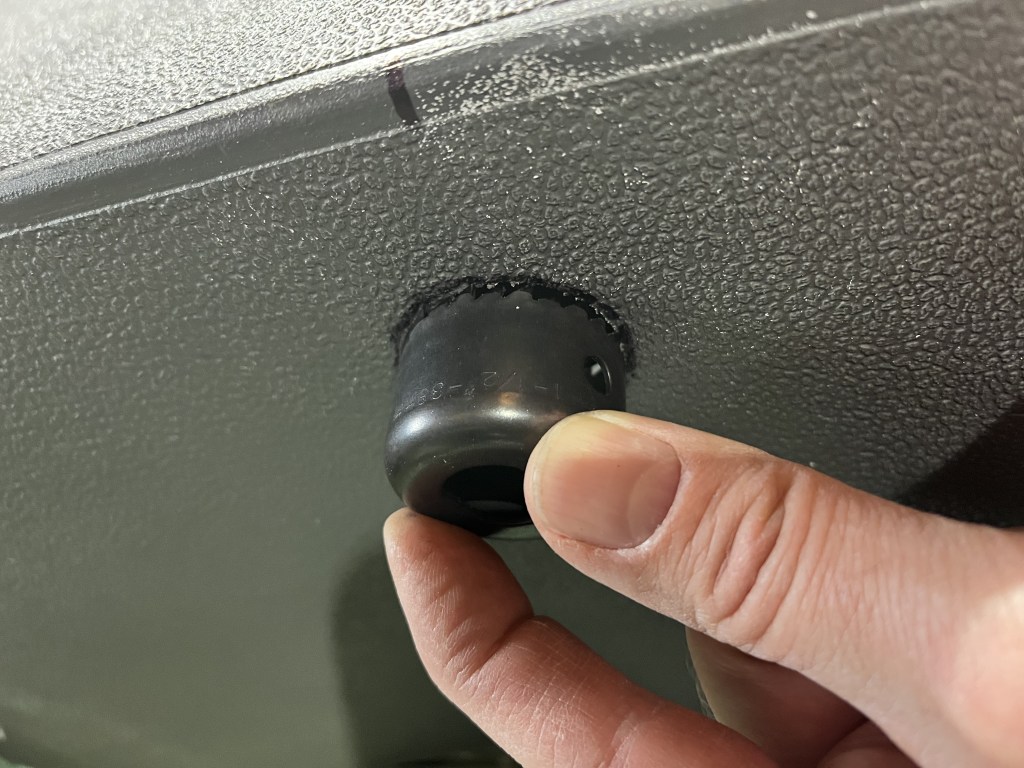
- Overdrive lever
- High Low / 4wd lever boot and retainer (red one)
- 4WD selector knob (yellow one)
Penetrations need to be formed for the following:
- Overdrive lever
- High Low / 4wd lever boot retainer (3 holes)
- Headlight dip switch
- Throttle stop
With the exception of the overdrive lever, finding and forming the other penetrations is easy.
I’ll focus on the OD lever below:
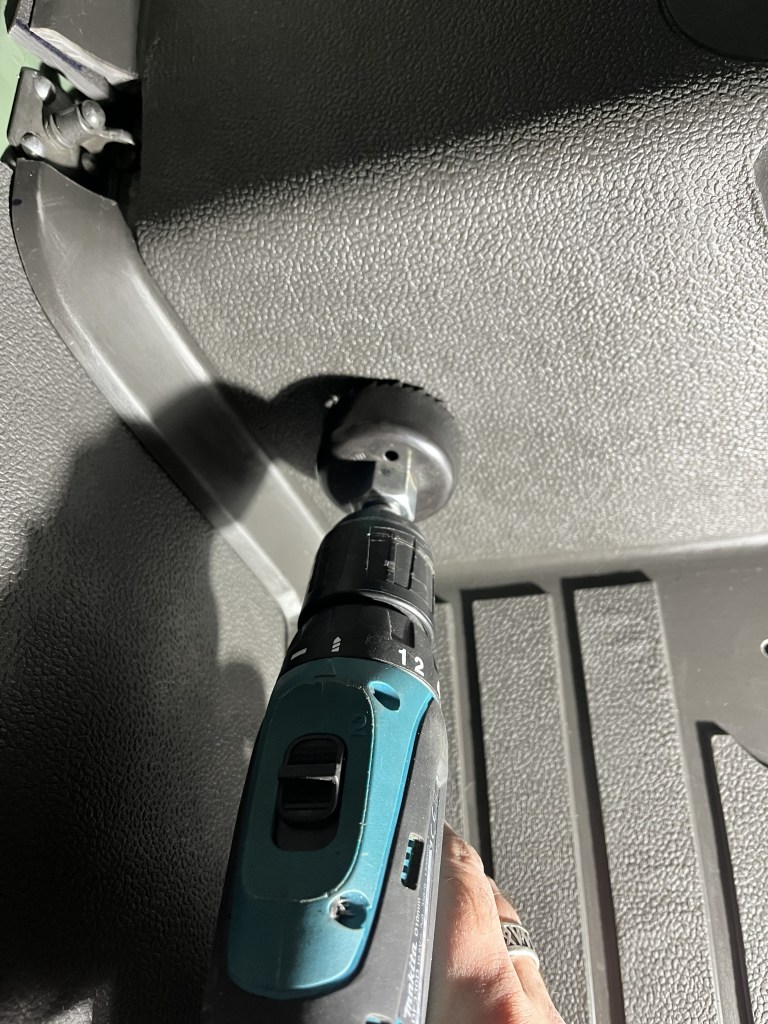
To be as accurate as possible, I machined a centre in the OD lever bolt, then measured offsets from the top of the gearbox tunnel and face of the beatbox


These dimensions were then transfered onto the inside of the floor matt.
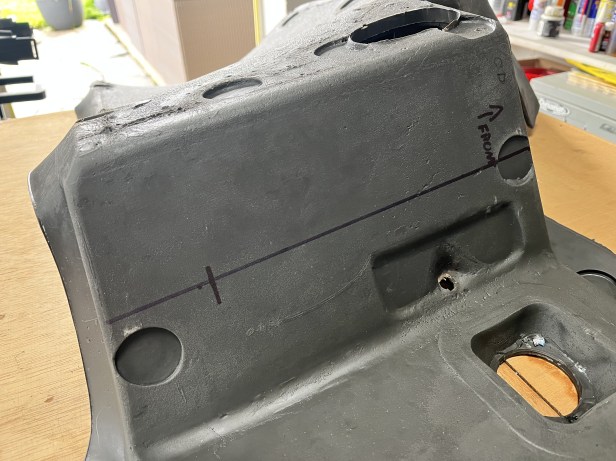
Using a bradawl, I punched a small hole through the mat and verified it lined up with the corresponding captive nut on the gearbox.

Next, the hole can be cut. I went for 55mm dia.

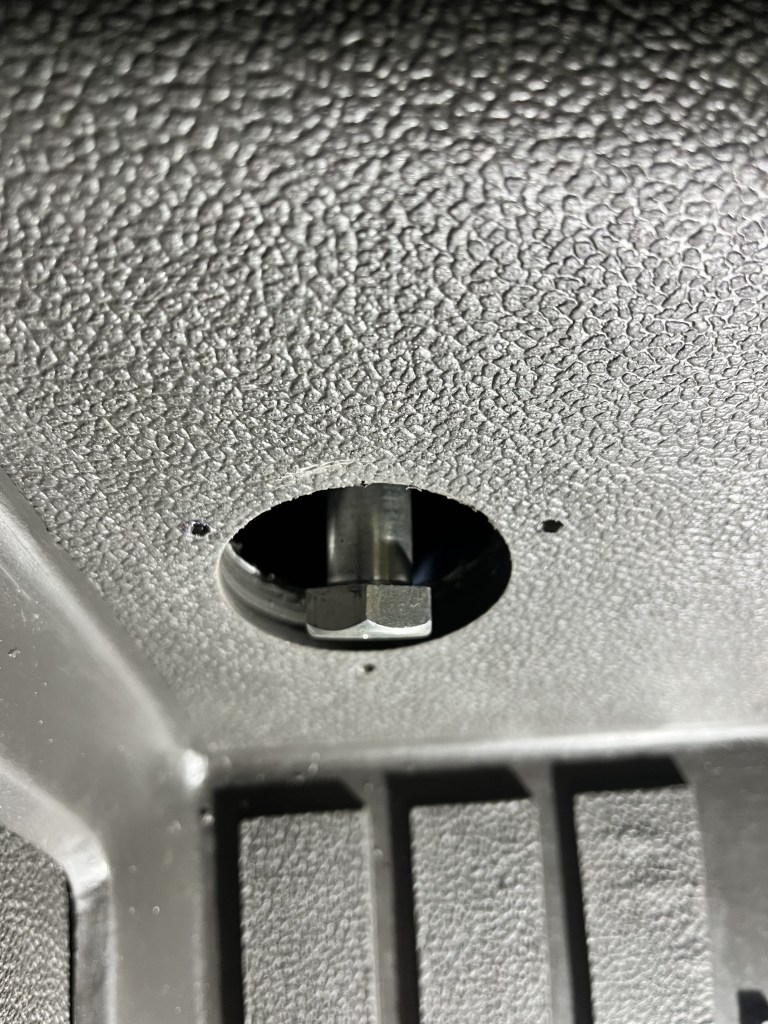
With the hole cut, consideration needs to be given to the lever installation. The bell crank supplied with the overdrive isn’t wide enough for the extra thickness of the matting. The bolt supplied is also too short. The whole assembly needs to be offset quite a bit about 20mm. This will give sufficient all round clearance.


The overdrive lever can now be connected to the rod and fitted in place.
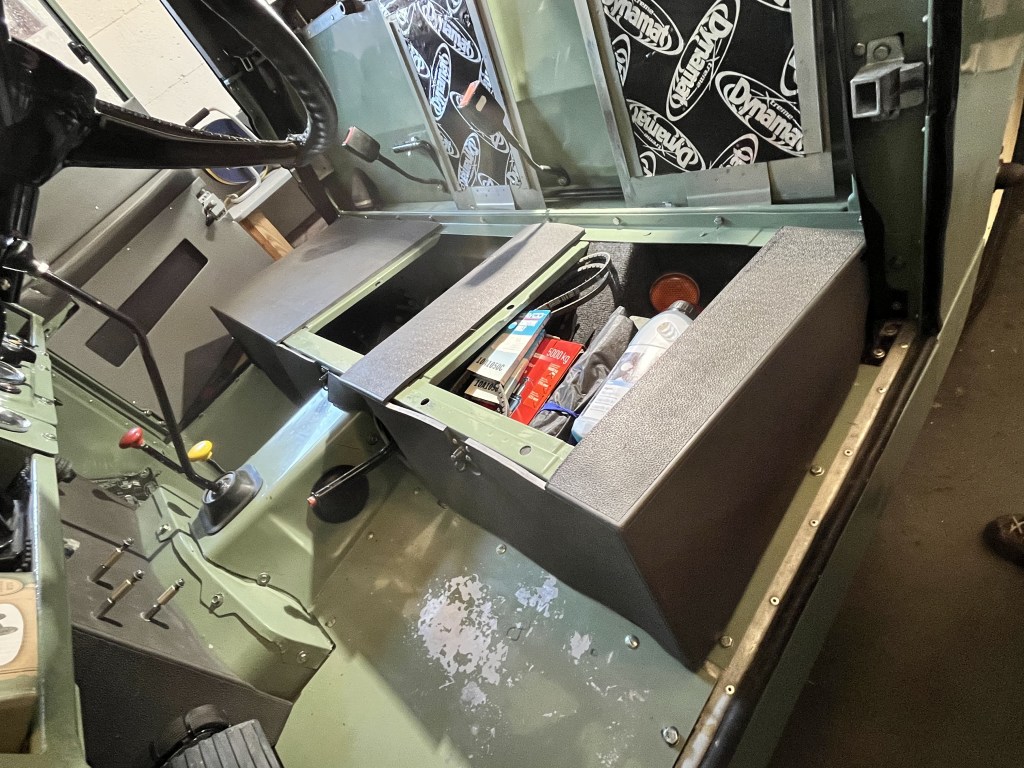
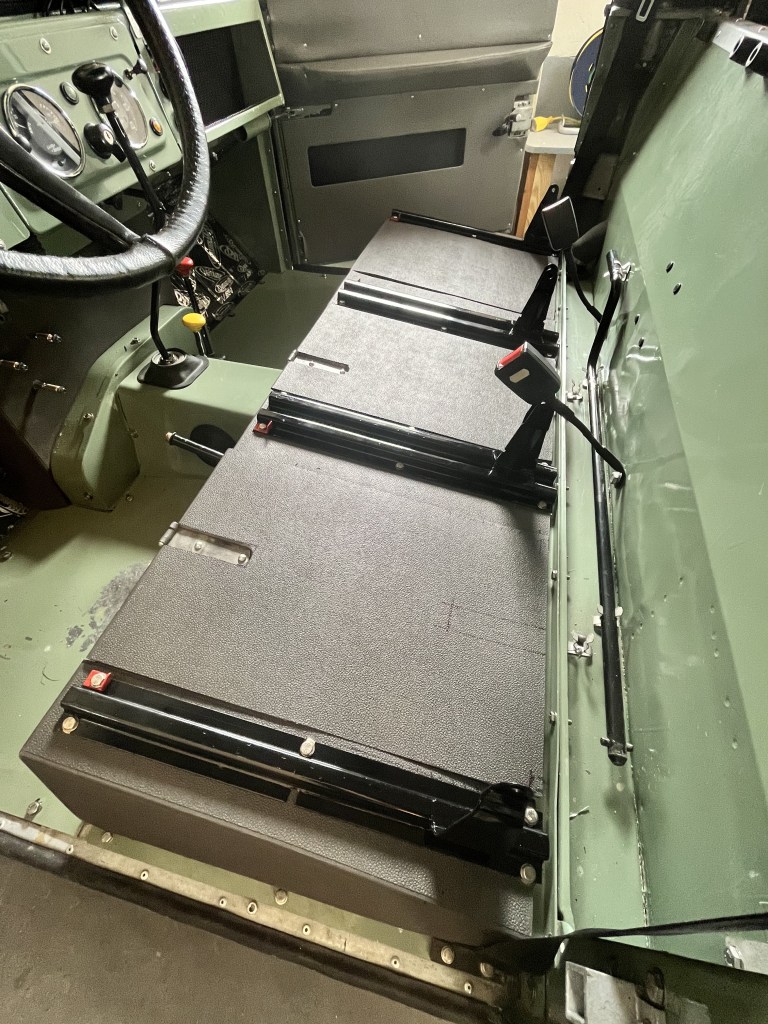
Installation complete
The overall effect is quite striking and looks very smart.

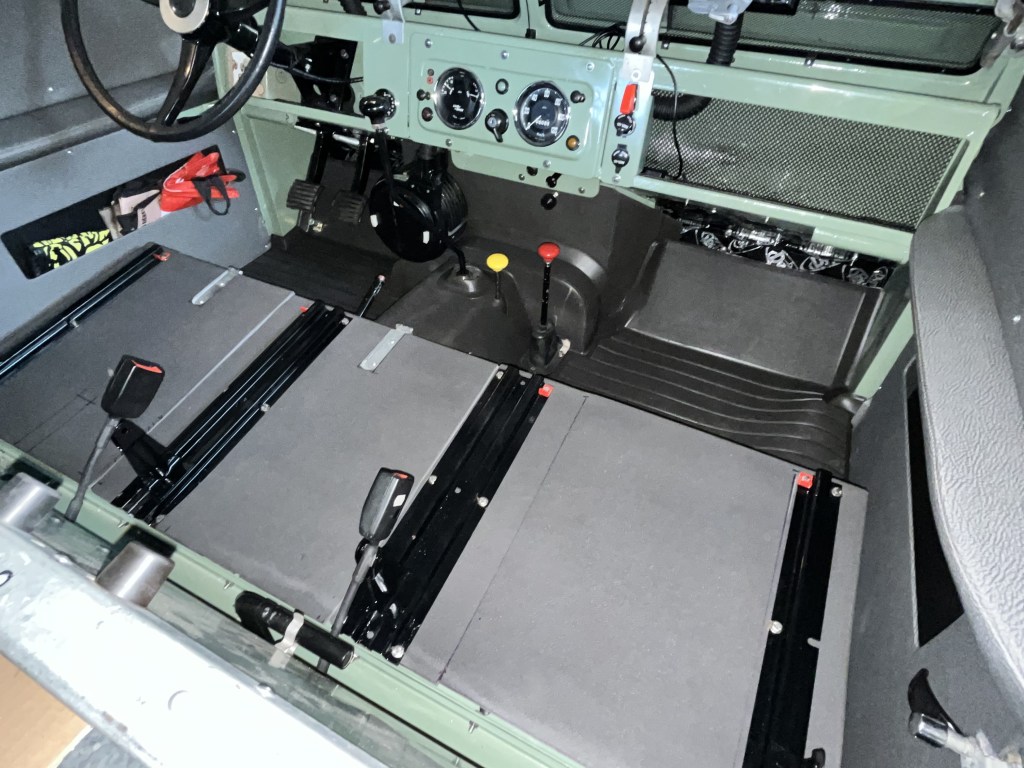


The grey of the matt system matches the original elephant hide door trim rather well and compliments the new seat covers from Delta Bags in Germany.

I am just completing this rather tiresome job. What did you use for the high/low metal boot retainer? My floor screws, the standard issue 1” ones are too short to reach the spire nuts. I can probably find some regular screws that are thick and long enough but would rather keep the original look if I can.
Marc
LikeLike