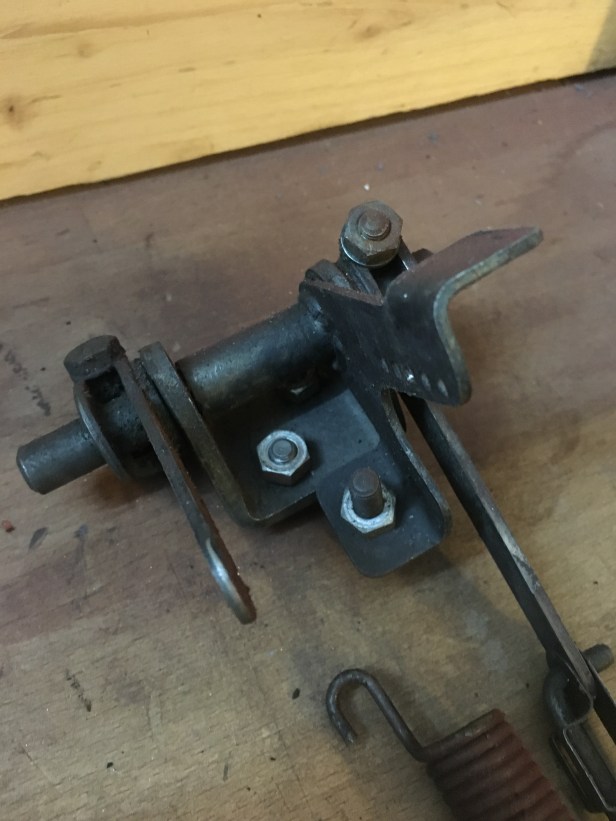
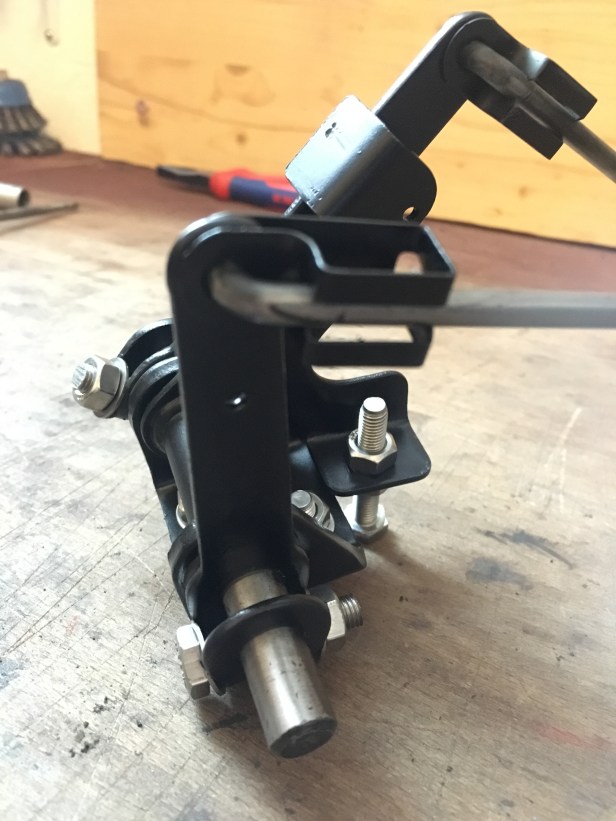
I’m sure you are familiar with the expression, ” a series of intricate levers and pulleys”, well,  it could have been coined after Land Rover finished designing this throttle linkage.

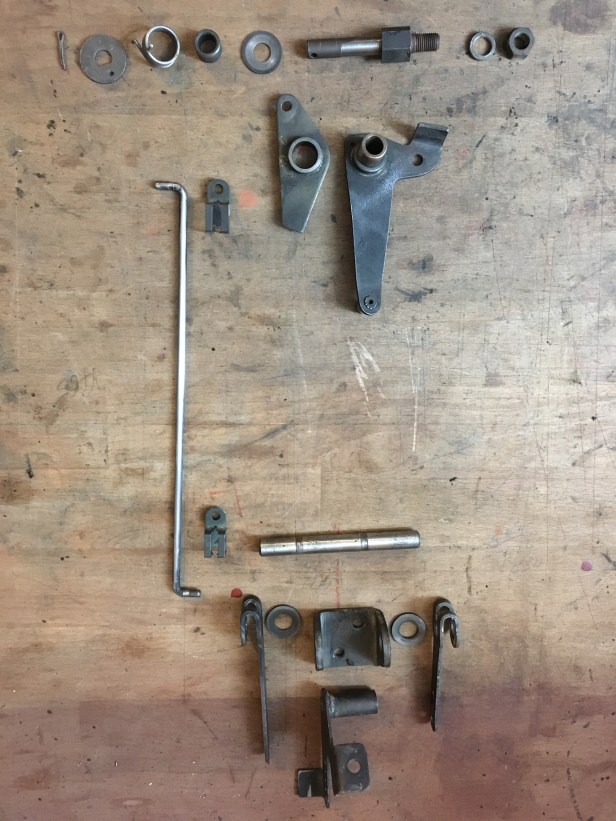
The assembly connects the end of the throttle pedal shaft to the carburettor. Whilst it looked quite complicated, it came apart easily and with some photos for reference, it went back together easily too.

All parts were degreased, rubbed back and painted, this time in matt black. All nuts, bolts and washers were replaced with imperial stainless items. With shafts and bushes all greased, it moves a lot smoother than before.

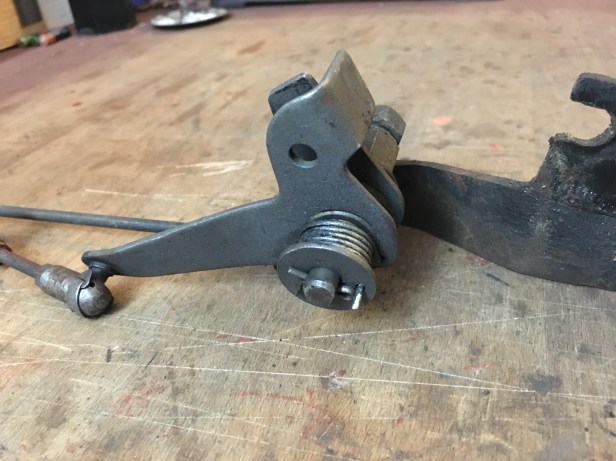
The alternative to the lever and rods is a cable operated affair often seen controlling non standard carburettors, but I think this arrangement is rather elegant and once cleaned up, quite smart.

img_1871
Well, we have to start somewhere….
img_1875
Top lever and cross shaft.
img_1880
Bell crank assembly
img_1884
The left lever and rod attach to the throttle pedal shaft and transit the force to the top lever and cross shaft, then back down to the bell crank, and off to the carburettor.  (handy label to make sure correct rod goes back in the correct place)
img_1885
Exploded view of the top cross shaft …. definitely needs a clean
img_1886
Parts cleaned, ready for wet and dry and lick of paint
img_1890
1 coat primer, 2 coats matt black and the washing line looks good.
img_1895
Ready for reassembly. I decided not to paint the rods. I figured the contrast would look quite good.
img_1898
Top lever and cross shaft back together with new stainless steel fixings. (As an aside, all the fixings I am replacing with stainless items in this rebuild are correct (BSF, UNF) imperial fixings. It’s a metric free zone
img_1901
Strategically bent bell crank. I’ll see it if should be straightened once its connected to the carburettor….. which is a long way off yet.
img_1904
Hmm, shiny
img_1905
Finished item

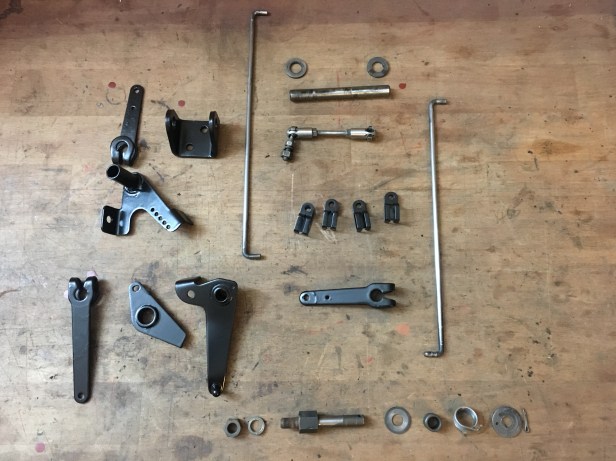
All it all, this was one of those parts, that looked complicated but wasn’t. It’s taken probably no more than an accumulated 3 hours of work this week to strip, clean, repaint and rebuild this assembly and I’m very pleased how its turned out.