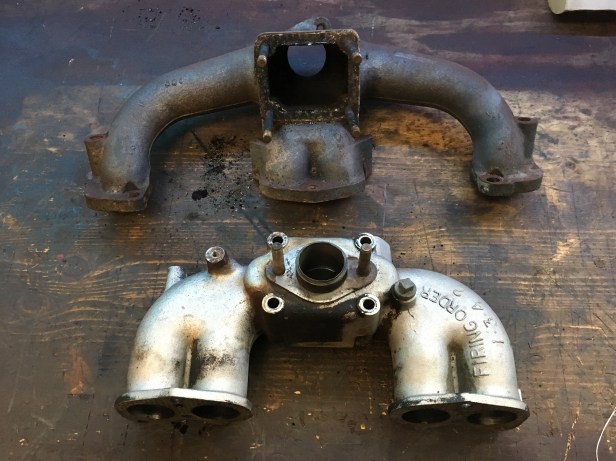
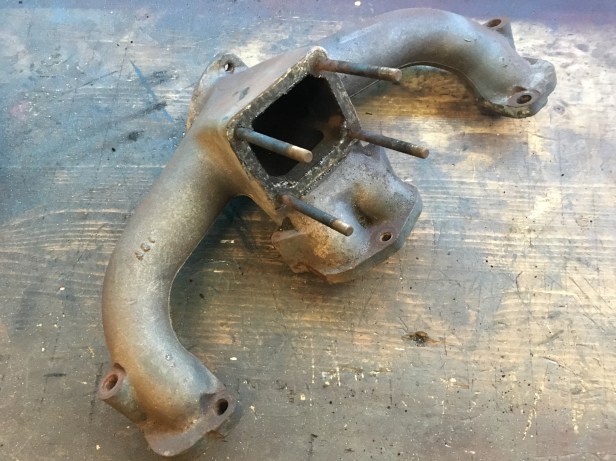
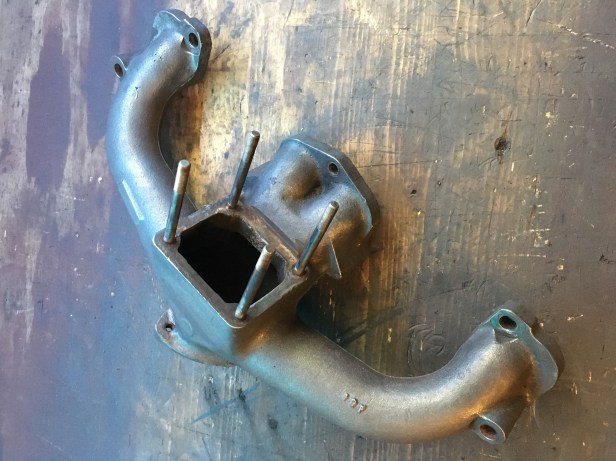
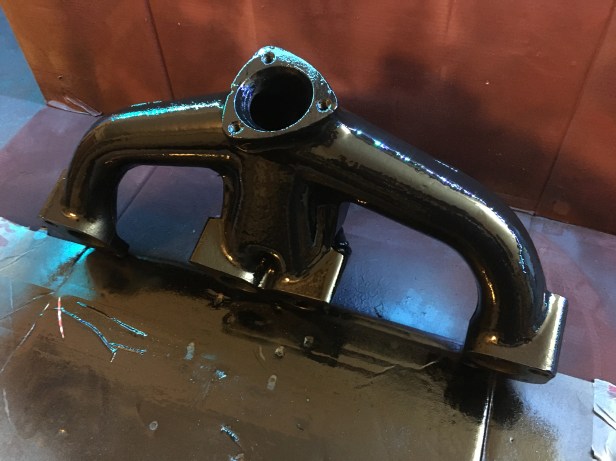
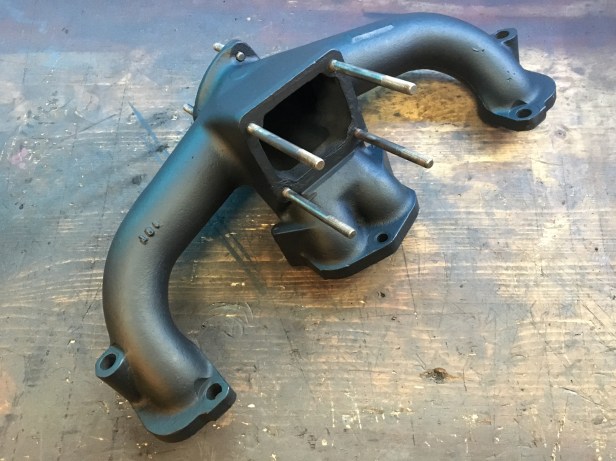
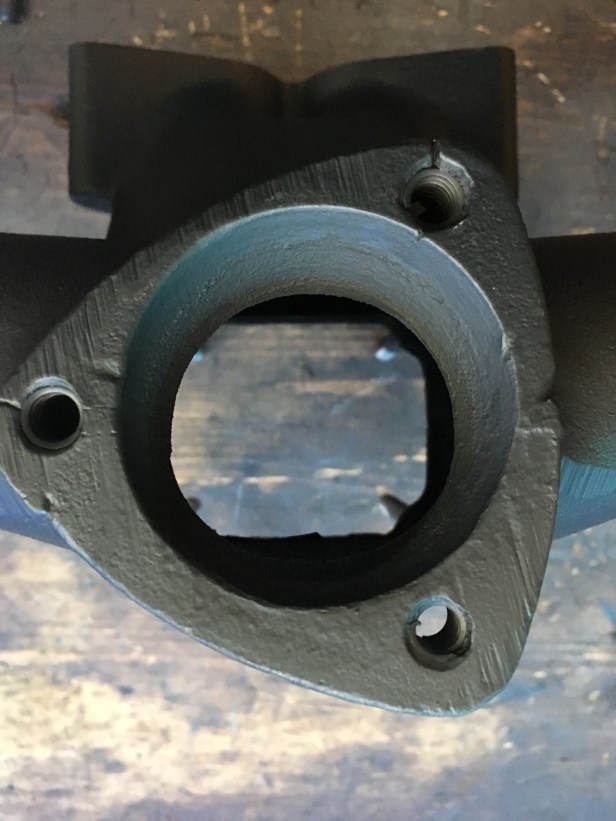
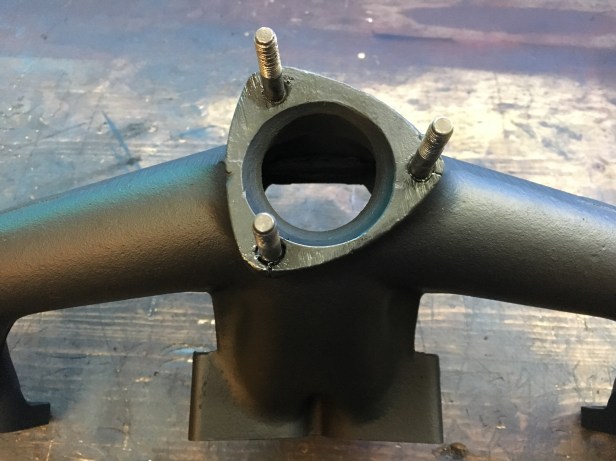
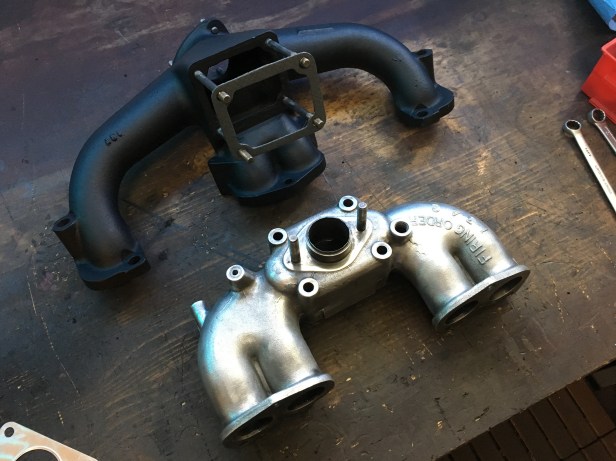
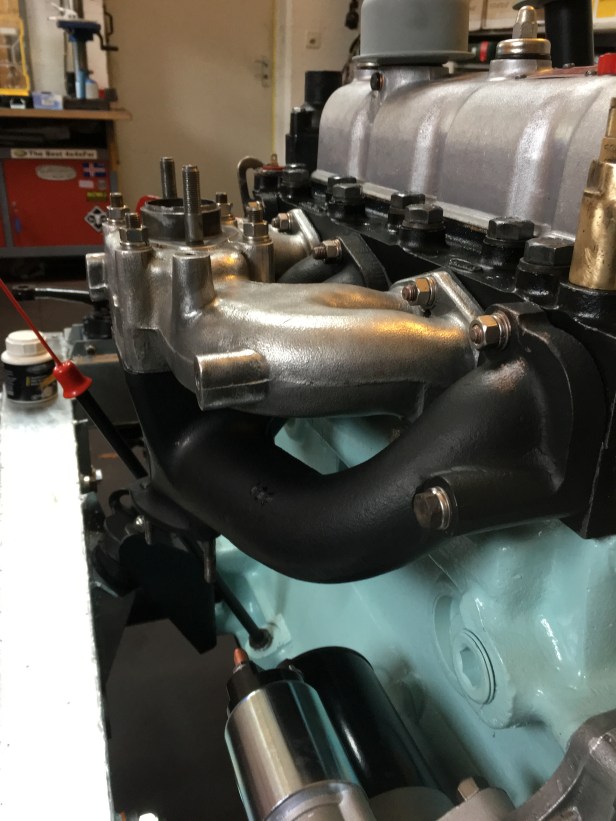
The inlet and exhaust manifold needed a good scrub up and in the case of the cast iron exhaust manifold, a coat of high temperature paint.

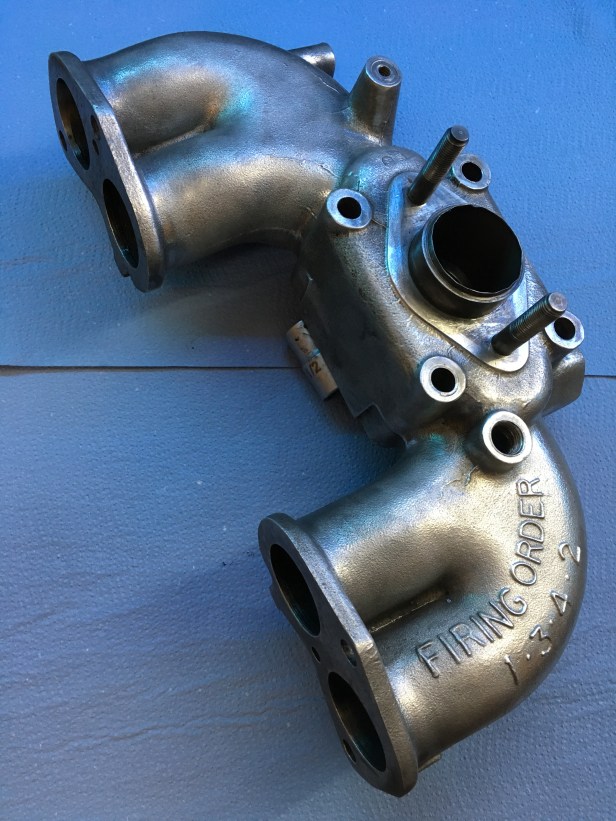
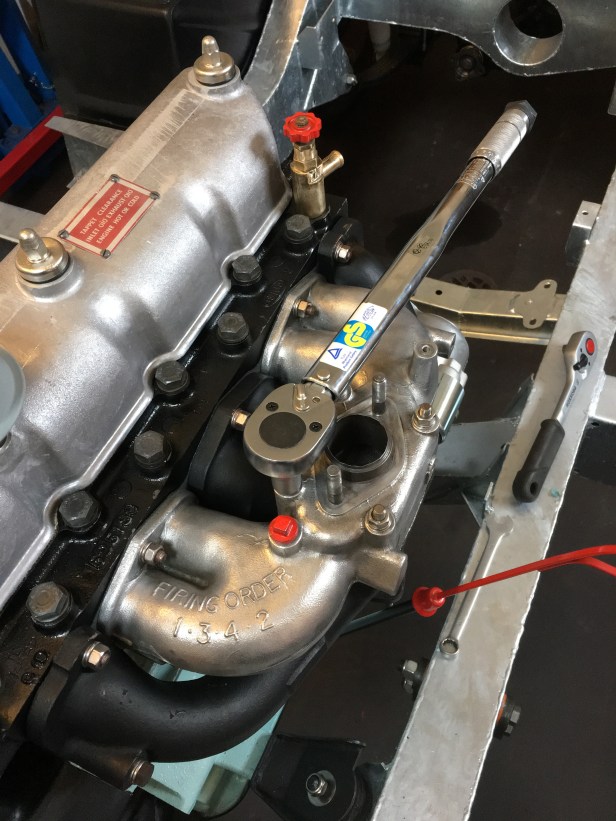
The inlet manifold is the alloy part. The carburettor is mounted on top of this and the fuel and air mixture drawn into the head.

The rusty looking part is the exhaust manifold, which funnels the exhaust gas out and down to the exhaust.

img_2473
Cast iron exhaust manifold (top) and cast aluminium inlet manifold.
img_2474
The light doesn’t do it justice but the let manifold came up very well after some light work with the knot wheel
img_2475
Results were immediately clear when the knot wheel we used one the exhaust manifold
img_2476
Ready for a couple of coats of high temp paint
img_2485
2nd coat going off. Im fortunate to have a heated garage so once the paint had hardened off after a couple of hours. I sat it onto of the radiator to finish the job over night
img_2489
Next morning…. ready for reassembly to the inlet manifold. I used the fingers of some disposable late gloves to protect the 4 long studs.
img_2486
Not unsurprisingly, the original threads tapped into the cast iron have a some point been drilled out and replaced with “threadserts”. In fact you can see two of the original threads have burst.The old stripped thread is drill out and a left hand tap run down the hole and the threadsert inserted to the same diameter and pitch as the stud. There is a much more positive engagement when the stud is fitted.
img_2488
Studs cleaned up and thread locked in place
img_2491
Inlet and exhaust manifold ready to be fitted together. Note the new gasket where the two will mate. On the underside of the inlet manifold is a small gallery where hot exhaust gas runs. This helps with warming the carb at start up in cold conditions.
img_2496
Both fitted together. The four bolts are only tightened finger tight and will be tightened down to the correct torque setting later.
img_2497
5 studs thread locked into place and new manifold gasket
img_2508
Manifold assembly bolted up to the engine. There is no specific torque setting that I could find so I pulled everything down to 29 Kg/m so at least things are uniform… with the exception of the middle stud on the top row which has no access for a torque wrench
img_2504
The 4 bolts tightened to finger tight early are now torqued down to the specified 23 Kg/m