<< For some reason not all comments on the images are being published>>
The clock’s ticking now….. The bi-annual Series Land Rover gathering in Simmenthal is planned for July and the plan is to get LGL ready for this. A chum has kindly offered me his Series 1 to drive to the event if I’m not ready but it would be a good shake down run for LGL before heading to the Santana Trophy in 2018.
But there’s still a lot to do….
With my flagging enthusiasm for painting things reignited, I had a quick rummage round the garage for some small parts that needed a bit of tidy up.
Radiator Cap
The design department convinced me the rad cap should be painted red to match all of the other filler / inspection points in the engine bay. This was fortunate as I had a lot of RAL 3020 (red paint) on the shelf and not much else. Zinc primer was used as a base coat and a couple of coats of red applied over the weekend.
I gassed off the small brass cap retainer tab from the original radiator but with the limited access to brazing gear to fix it to the new rad, I opted for an epoxy resin.


Horn…
… for alerting other motorists of your presence.


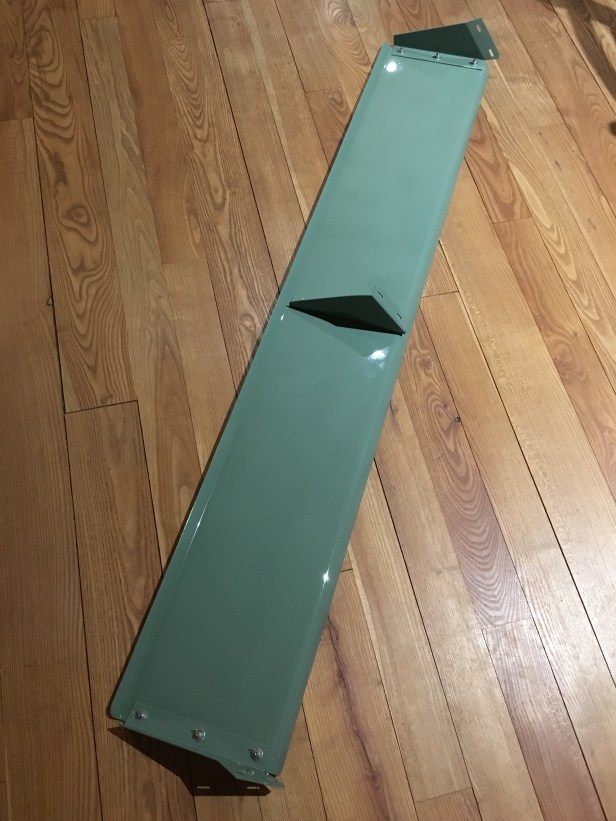
Seat Box Panels & Dash Panel
The top two narrow panel are fixed to the top of the seat box… there will be more on that at a later date… The salty looking deposits are as a result of bi-metalic corrosion, where they “react” with the steel rails of the seat retainers above. Its easily removed with a wire brush but has left some pitting. In my mind, this is part of the patina of the vehicle… and to the lazy part of my mind…. its under a seat rail, so nobody will ever see it 😉
The lower panel (the one with all the round holes) is the dashboard panel. In here reside the speedo, temp gauges, switches, warning lights, aux power supply and the ignition switch. I’ll post some pics of the fit out of this panel shortly.