I promise this is the last one…..

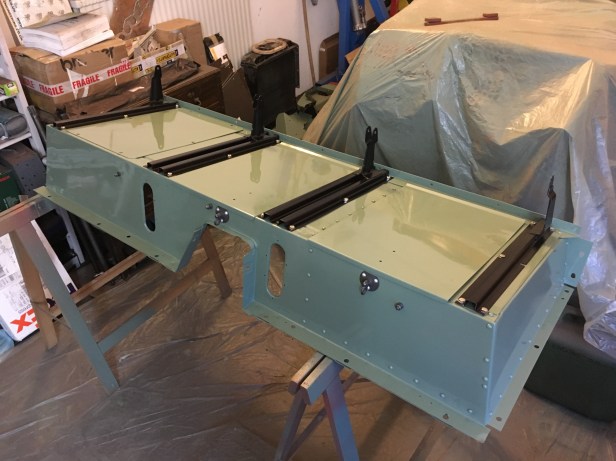
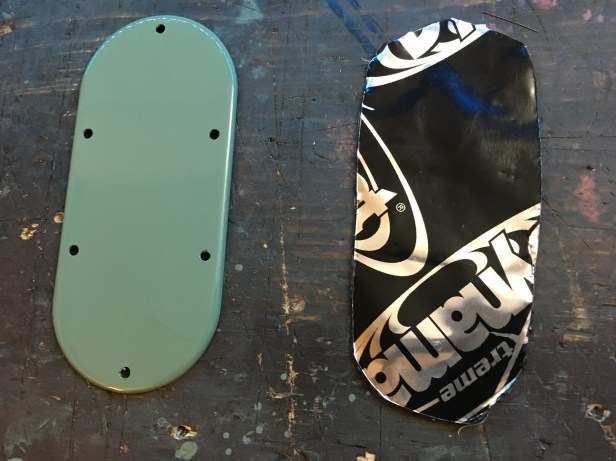
With the body of the seat box complete as far as it can go right now (seats, belts, cubby box etc to follow) there are 3 small covers that need to be fitted.

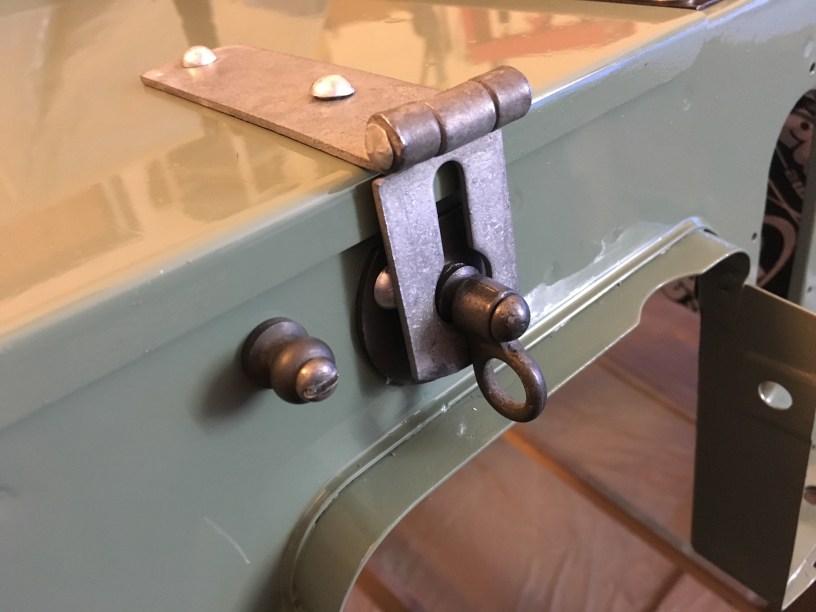
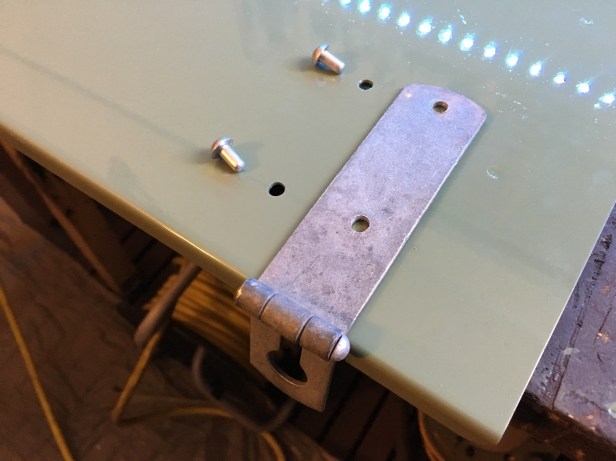
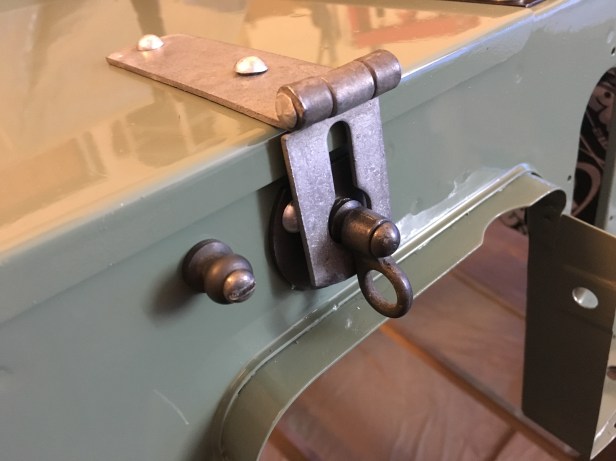
They had a good degrease, rub back and respray on Monday evening and Tuesday saw the Dynamat and hasps refitted. These clips are becoming extremely rare and (as far as I know) nobody makes replacements. They’re galvanised steel so they don’t rust but build up a  layer oxide that dulls them over the years.  So with a good scrub with some wire wool they came up quite nicely.

IMG_3487
Rivets ready to be drilled out of one of the cover panels
IMG_3488
Eye protection is a very good idea
IMG_3486
Brush on degreaser, left for an hour or so and all the grease and Waxoyl wipes off
IMG_3496
Fast forward 24 hours and the 3 cover panels are painted
IMG_3495
and a lyer of Dynamat fitted on the underside
IMG_3493
… and offer up to the seat box
IMG_3498
Then back on with the hasps using correct rivets. (I love my new air hammer) I labeled which clip came of which cover so they go back where Land Rover put them
IMG_3497
Battery box cover and stud for the leather strap that holds the seat base in place
IMG_3499
Middle cover with strap stud.

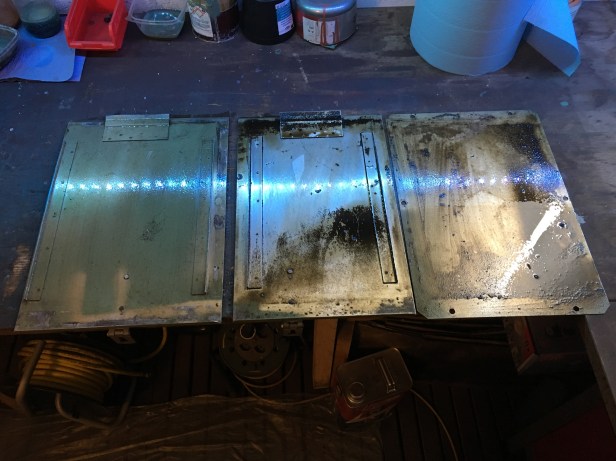
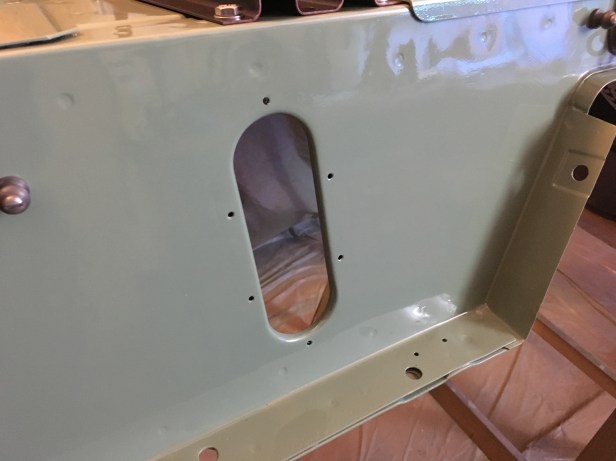
There is of course the 3rd cover…. in doesn’t feature particularly here. It is fixed in a more permanent manner on the right hand opening over the fuel tank.


IMG_3500
As the seat box is identical in left hand and right hand drive models, this cover plate needs to close off the hand brake aperture found in the passenger footwell…. where on a right hand drive model, one might find the handbrake.
IMG_3502
… and there’s the aperture
IMG_3504
Cover fitted. (you get a glimpse of the fuel tank cover)
IMG_3505
And thats it 🙂

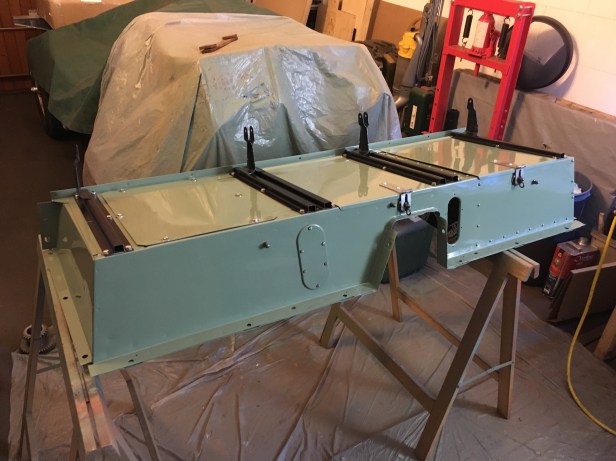
Next major part is the rear tub. Lots to do on that.