With the battery installed, a quick and easy job would be wire up the starter motor and test it. The 50 amp cables from Autosparks come with the ends made off and cut to the correct length. The Rocky Mountain starter motor comes with a wiring diagram of sorts but I’m not sure it covers positive earth S2IIa Land Rovers… We’ll see.
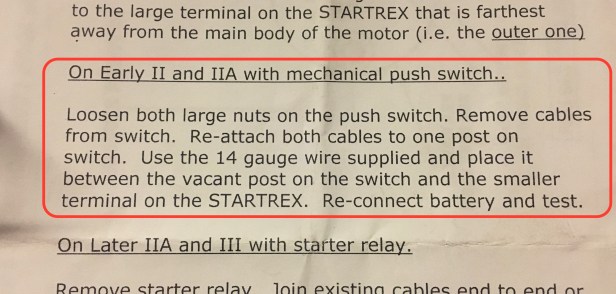
Typically the battery cables connect via the starter button, one cable on each switch terminal. The instruction tell me BOTH cables need to be connected to one terminal of the starter switch with a low amp (14 gauge) cable running from the now vacant switch terminal to the small (and obvious) terminal on the stater…. as per the diagram below … (We’re interested in the red box)

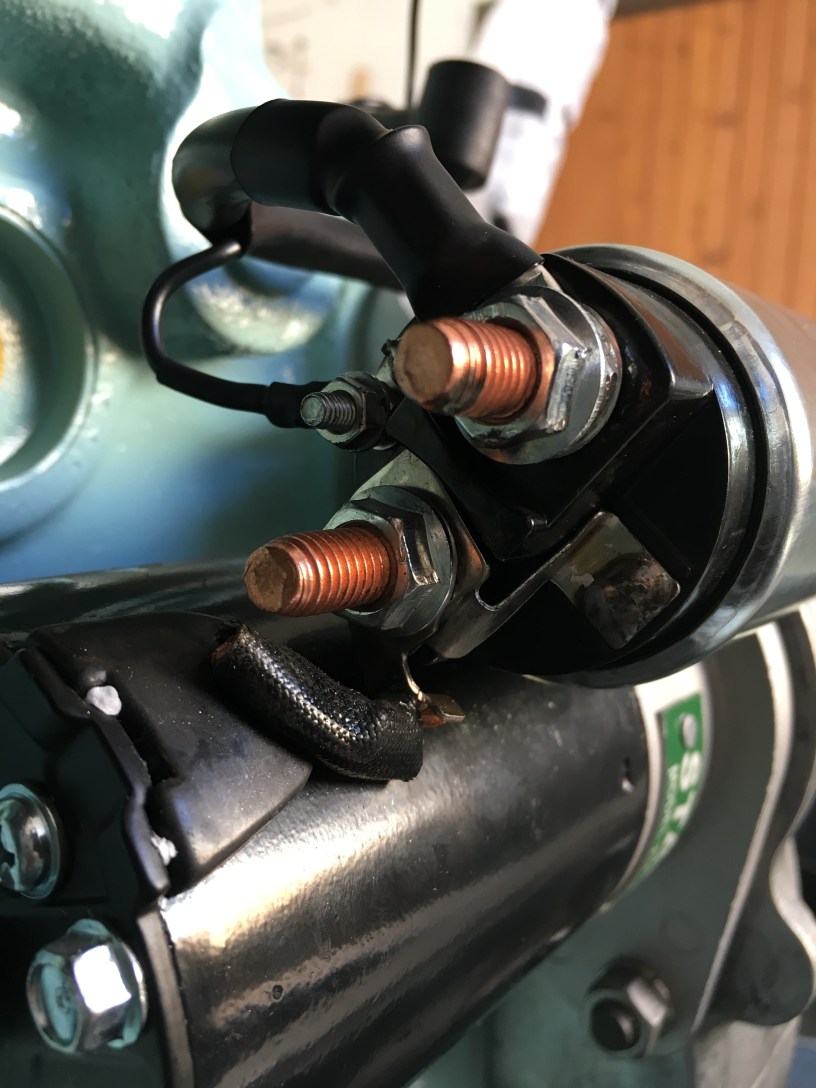
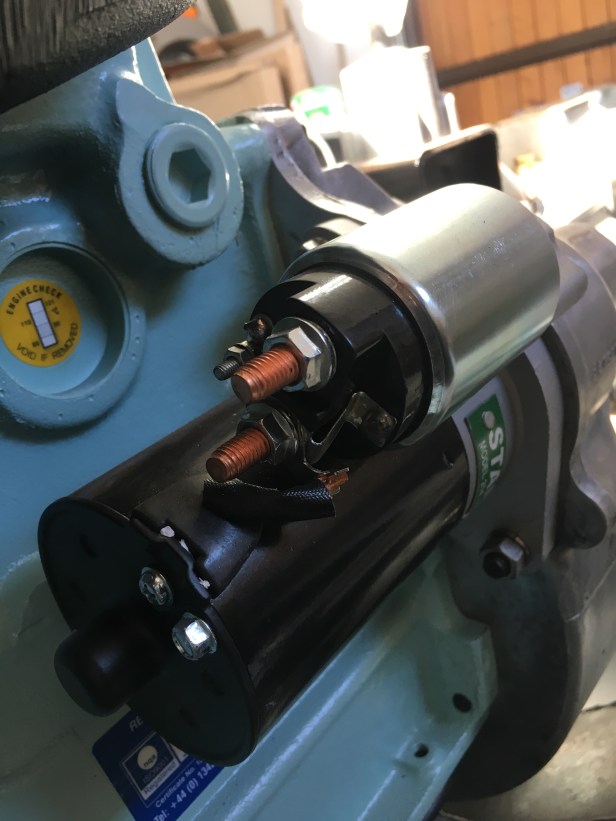
So far so, so good…. There are 3 terminals on the starter motor….. non of which are labeled, positive, negative or anything else. Fortunately the vague instruction do state to connect the high amp (red cable in the above diagram) to the outer-most terminal (furthest away from the body of the starter).
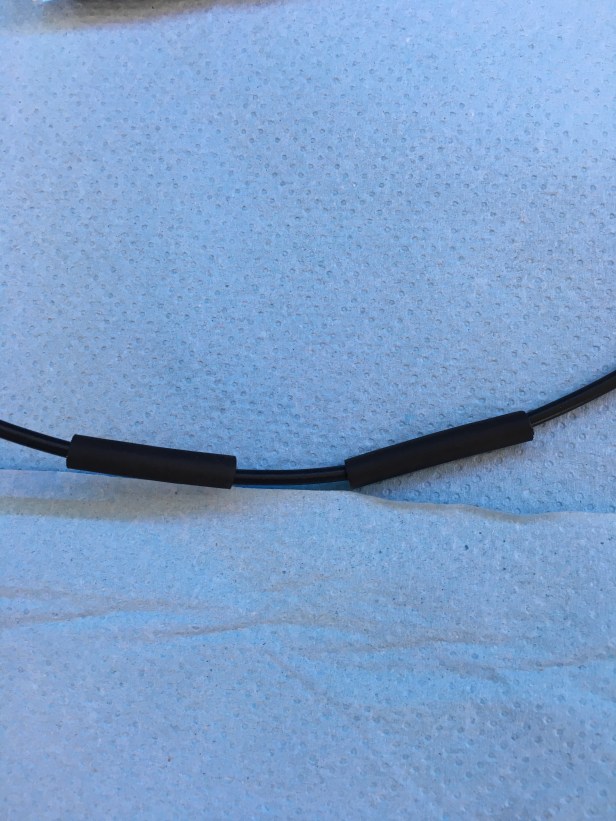
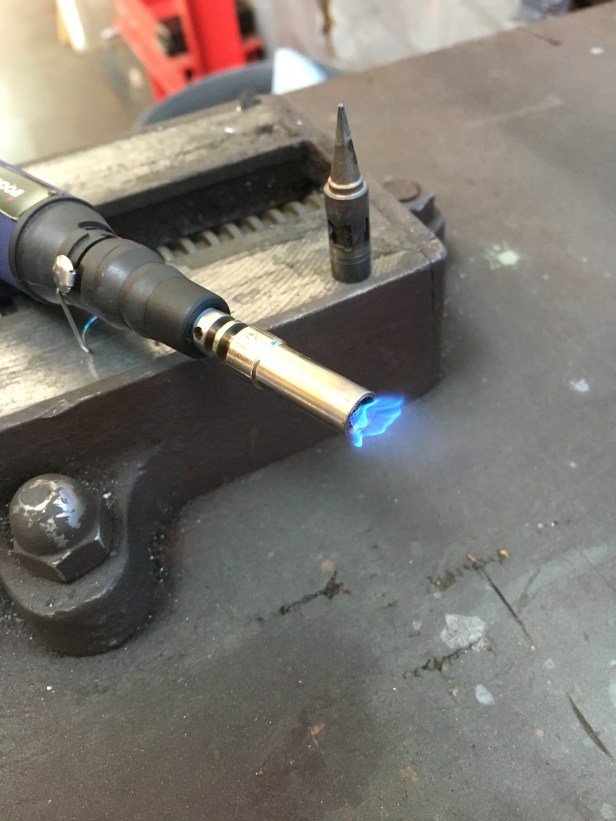
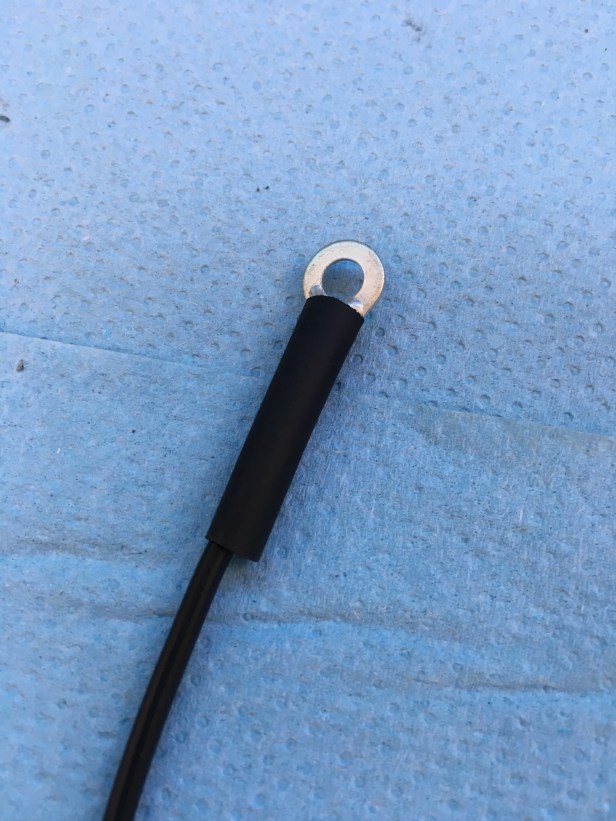
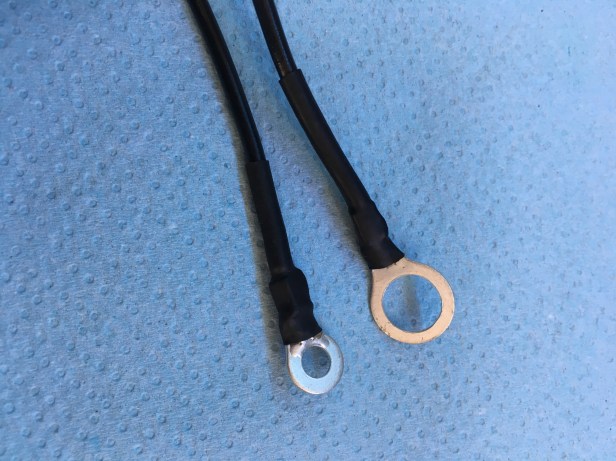
As the main cables come with both ends made off, not much to do there except bolt them in pace but the lower amperage cable arrives in it component parts…. and in an attempt to make the topic a bit more inserting…. here’s the “correct” way to make off the ring terminals….