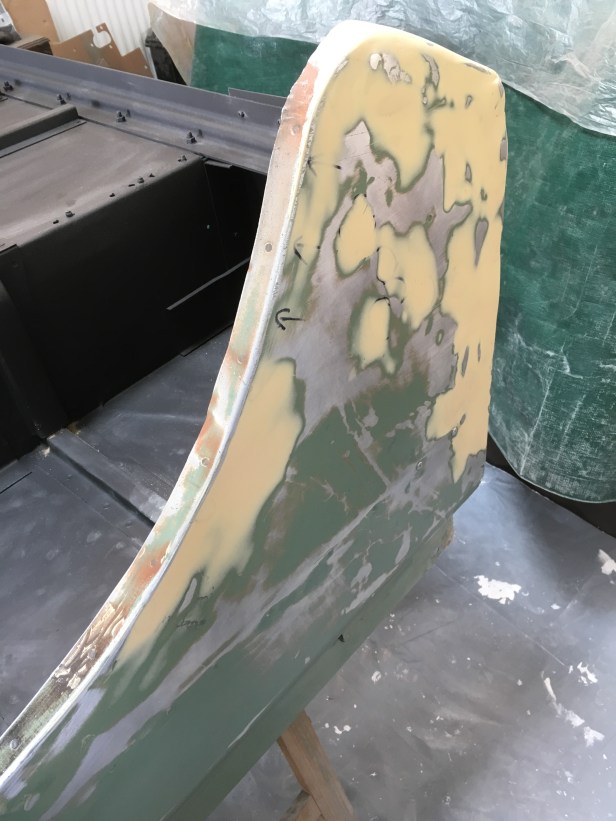
Progress has been slow the last few weeks…. but there has been some progress. The rear tub bodywork was in need of a lot of work to straighten things up. I have no experience in hammering dents out and don’t have the time to practice the technique, so… 2 pack body filler was used to fill all the dents.

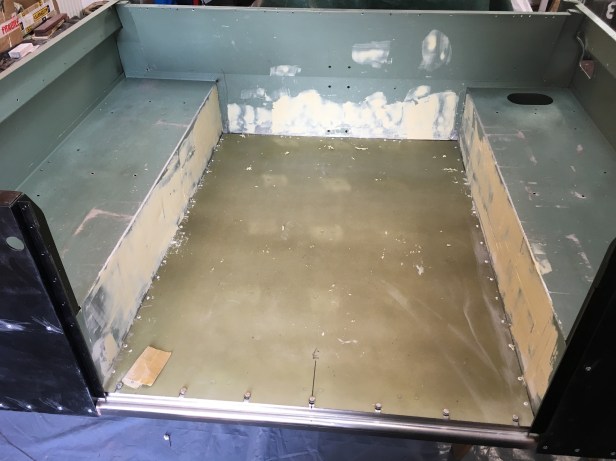
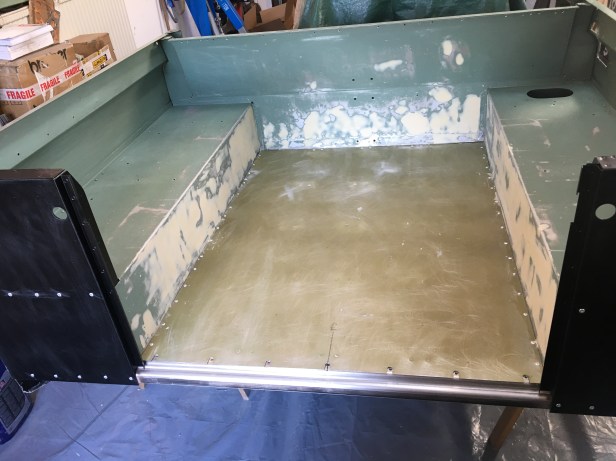
With the wheels off the chassis, (being powder coated) rendering it immovable, space is limited in the garage and the rear tub is actually quite big…. I don’t like working in mess but I’m getting used to it.

IMG_3831
Tub of filler, activator, something to mix it on and a couple of spatulas
IMG_3832
The instructions suggest the amount of activator (purple stuff) should equal 2 – 5% of the volume of filler used.
IMG_3816
It wasn’t practical to take a lot of pics of the build up but this corner was rubbed back to metal and filler applied. What we see here is the 3rd application to build up the corner
IMG_3786
This corner was full of dents… not now
IMG_3815
After each “filling”, small pin holes need to be filled and rubbed back
IMG_3785
Think we can call that side done. Once the first coat of primer is applied, its likely imperfections will show up and more filler will be needed
IMG_3833
Now onto the inside of the tub. Having gardening equipment thrown into it for 40 years has taken its toll on the inside of the seat box.
IMG_3834
A lot of filler can correct all of that
IMG_3844
Its a dusty job but the surface finish is quite satisfying
IMG_3842
AT LAST….. ready for the first coat of primer
IMG_3845
It will need a good rub back and another couple of coats but I’m pleased to have the first coat laid down…. time for a beer