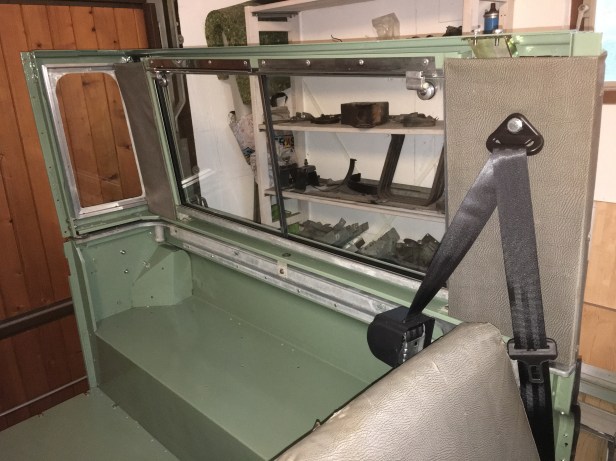
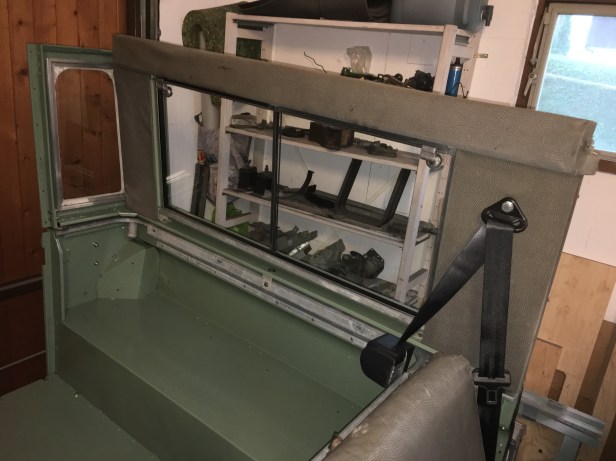
One of the tasks that needed to be finished was ref-fitting the 4 small interior trim panels. There are two on each side of the vehicle, on either side of the rear sliding windows and are one of the key features of the “Station Wagon” model.

All the panels needed a little bit of adhesive applied to the back to hold the “elephant hide” vinyl. After a good clean with some thinners and bicarbonate of soda (separately I hasten to add) the rearward panels were clipped back into place.

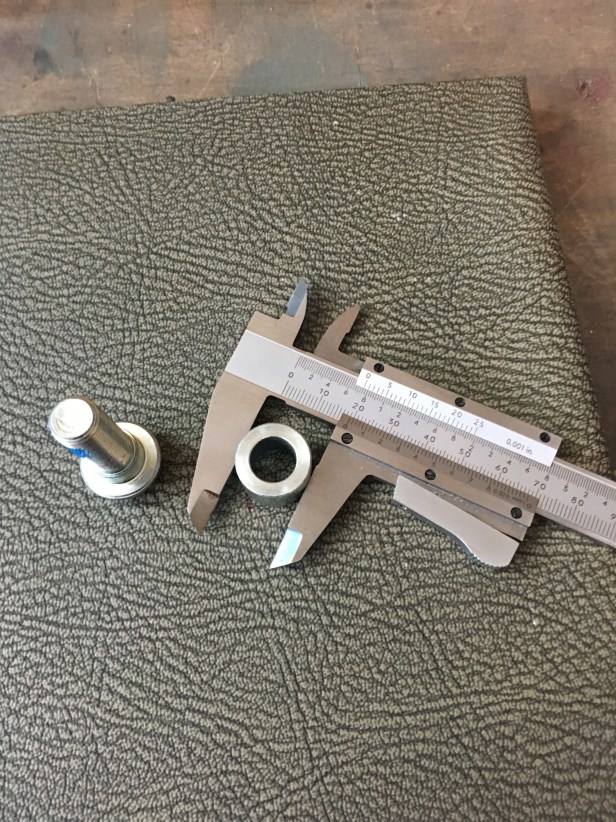
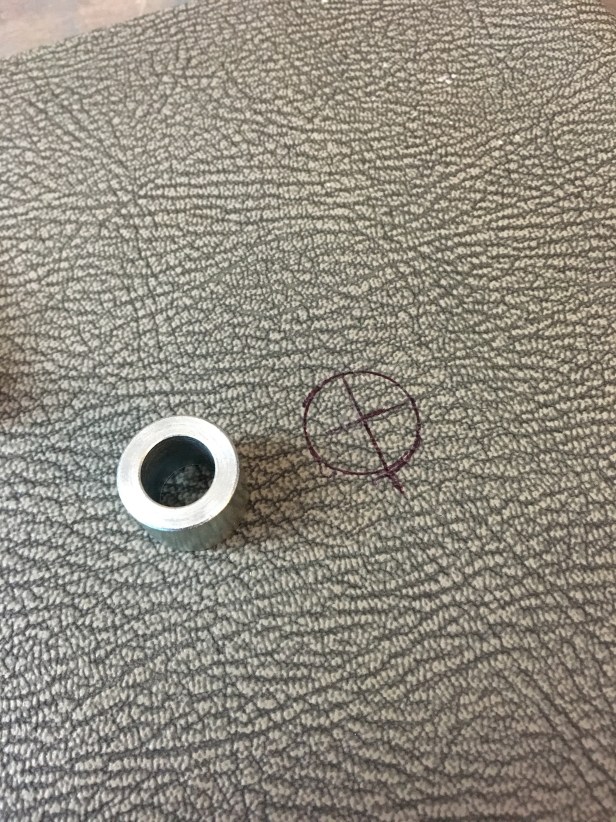
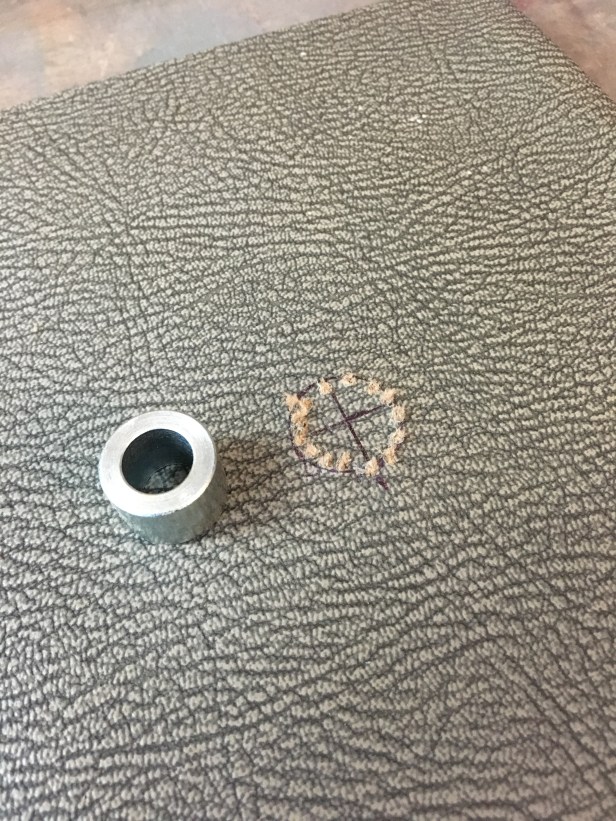
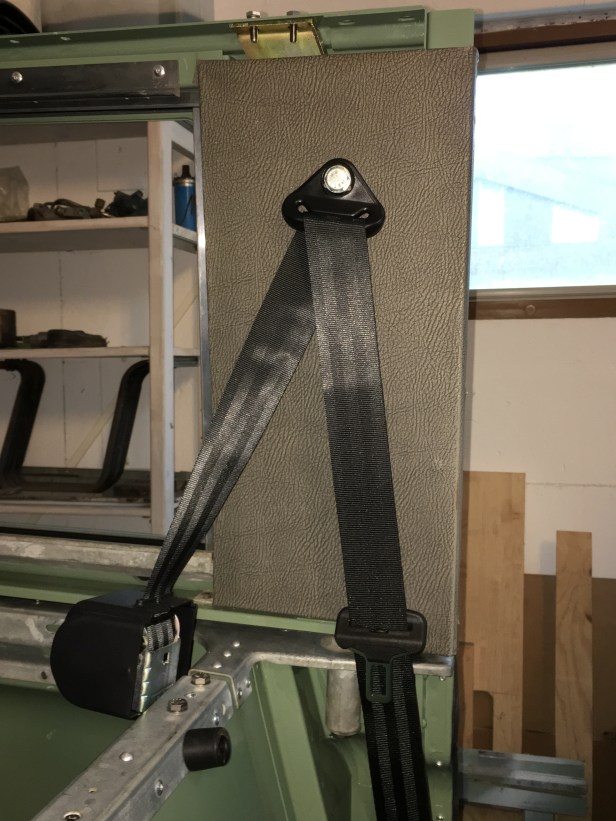
The forward pair (just behind the front seats on either side) needed a hole drilled to accommodate the new seat belt upper bracket and it was important to get the location absolutely correct…. which I did fortunately… Twice 🙂

IMG_6483
Seatbelt upper harness bolt and sleeve. A suitably sized hole will have to be drilled in the panel wide enough for the sleeve to pass through
img_6484.jpg
Vernier callipers show the diameter to be 19.2mm. A 20mm dia drill bit would do but I don’t have a drill bit that large (or a drill with a chuck big enough to hold one)…. So….
img_6485.jpg
Mark around the sleeve, employ the old adage of “measure twice, cut once” and then…..
IMG_6486
Stitch drill the new hole with a 3mm dia drill bit. The middle bit was trimmed out with a Stanley knife
IMG_6487
Perfect fit. Sleeve, bolt and the left over pieces
IMG_6490
Drivers side upper harness fitted through the original trim panel
IMG_6491
Same on the passenger side
IMG_6515
One of the two rearward trim panels
IMG_6517
Both panels in context. Atop both of these is a longitudinal panel….
IMG_6520
The longitudinal section above the window has a steel frame backing that clips to the inside of the roof panel. The foam inside resembles a smashed up packet of “monster munch” and will need to be replaced and I’m confident I can reuse the vinyl. Yay.