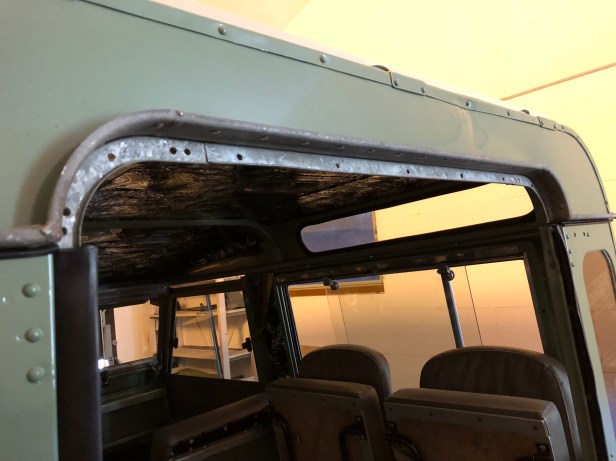
One evening last week I did some check measurements on the roof panel and the fixing holes on the top of the side panel. I was slightly alarmed as I had an error of 30mm. This would mean the rear door would almost fall through between the seals.
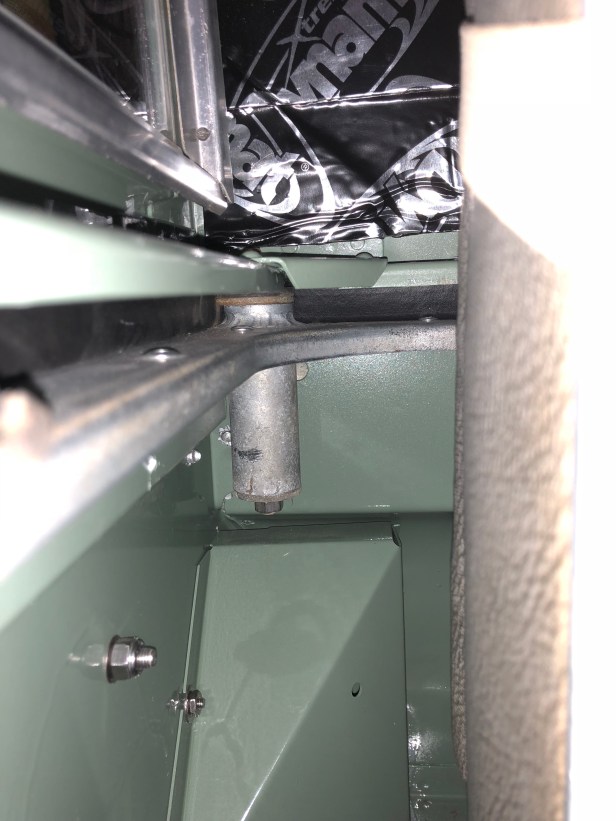
I loosened the 6 bolts that secure the side panels and was able to mitigate the 30mm gap by moving the top edges towards the centre of the vehicle. Not now I had a gap at the bottom (between the rear tub and the side panels) that I could get a finger through.
I had replaced both of the rear end panels on the rear tub last spring and I was now seriously worried that I hadn’t aligned them properly. An adage from my previous life, “measure twice cut once” has helped me not make drastic mistakes but now I’m wondering if I should have measure thrice…..
If the rear end panels (on which the side panels sit at the rear) weren’t square to the rear tub, the error would be amplified the higher up the vehicle you go.
I did some measurements across the rear door opening in the tub and I had an error of 2mm. (that’s fine). Performing the same measurements between the two side panels, confirmed my 30mm error at the top but 0mm at the bottom. This proved the new rear end panels were pretty much where they should be… but what was going on further up?
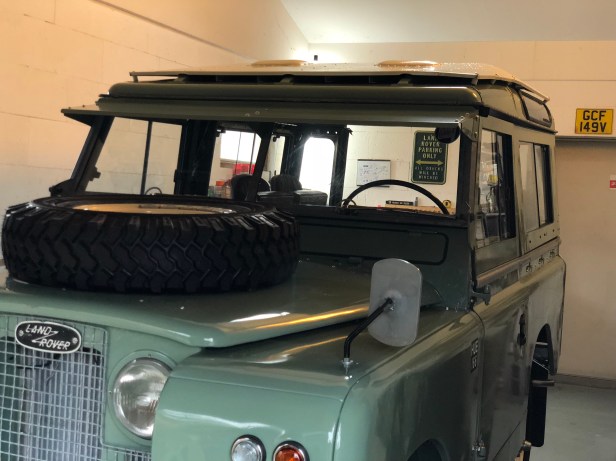
The only thing to do was to fit the roof. It’s so rigid, it can’t be manipulated too much into place so this would be a good tell tale of where the error is.
As mentioned before, the vehicle won’t fit through the garage door with the roof on, so this is a temporary fit to prove the whole thing fits correctly (or otherwise). This way, I can get everything lined up correctly and fit the remainder of the door seals, locks and keeps in the relative luxury of a heated garage.