
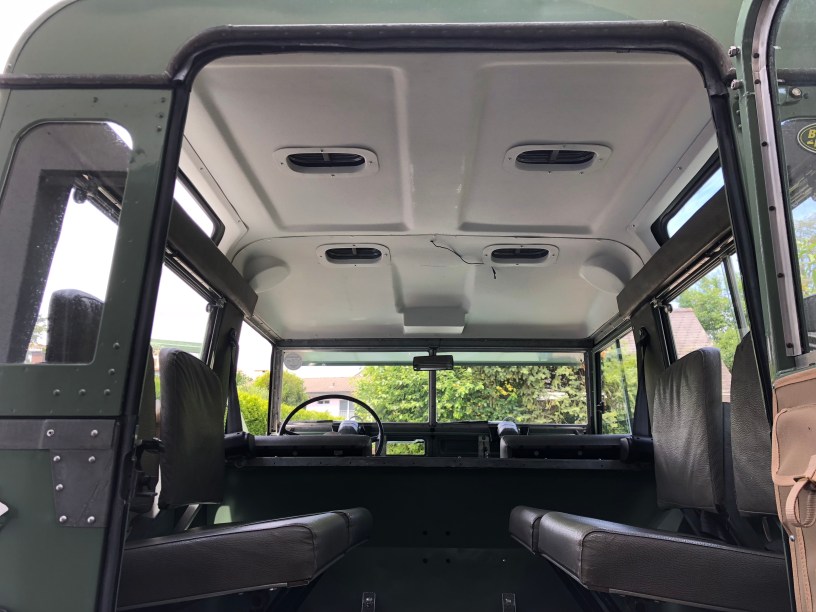
With the front and rear sections installed it’s time to fit the middle section.
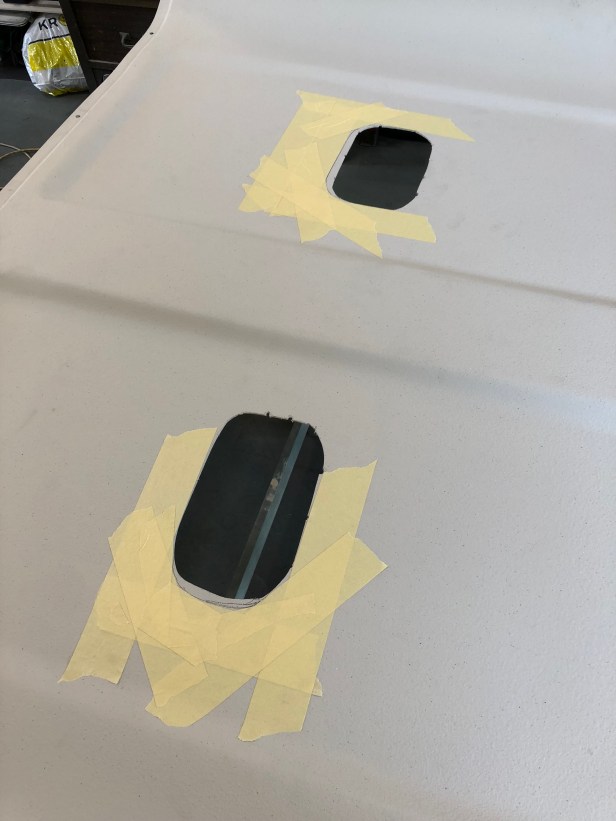
This entails trimming the vent holes I cut last weekend to size and cutting out the safari roof lights… not a part I’m looking forwards to for 2 reasons. They need to be cut from the finished side of the liner. Not the rear, like the air vents. Secondly the trim pieces are a particularly odd shape is it’s hard to gauge where the cut actually needs to be.
Roof Vents:
I marked up where the final cut should go with the floppy liner temporarily fitted in the vehicle. The finished surface is extremely easy to get dirty and picks up small marks readily… not what I would expect from a “utility” finished product.

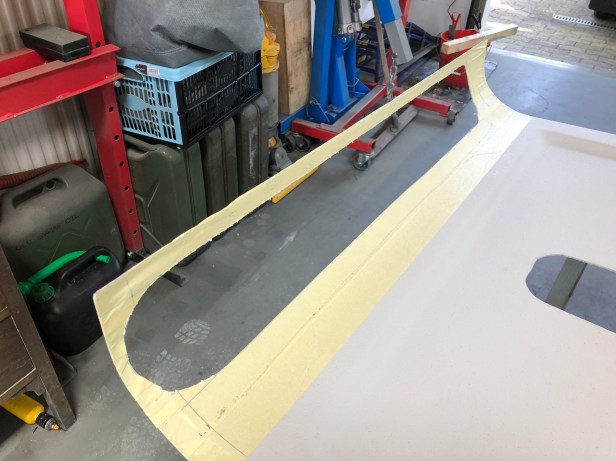
Safari Rook Lights:
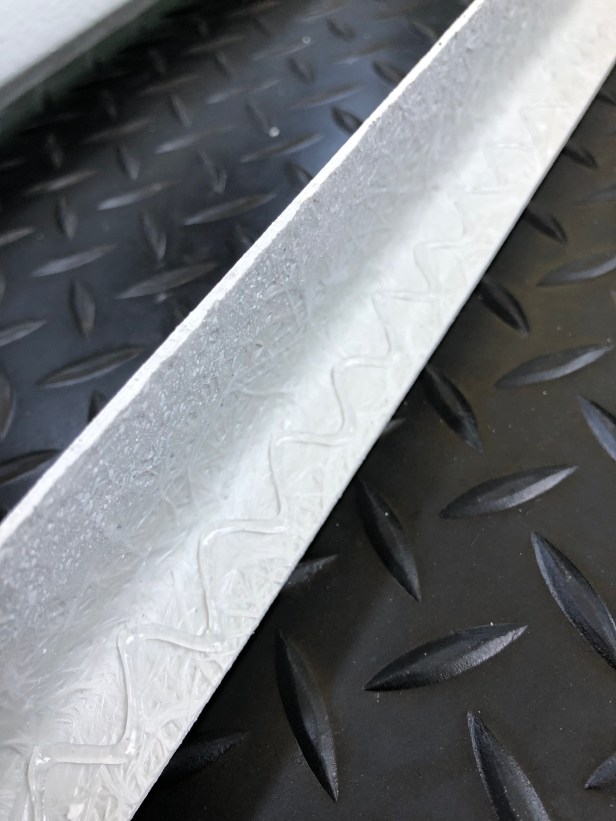
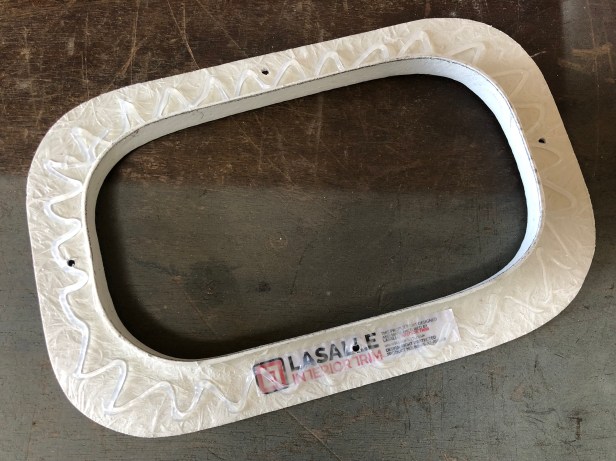
Taking into account, the centre line of the middle roof rib is not the edge of the panel (as per the instructions), measurements were transferred onto the floppy mid section carefully. Radius ends were marked out using an equally floppy trim panel.
The measure twice cut once adage was a bit hard to implement due to collective floppiness of the parts.
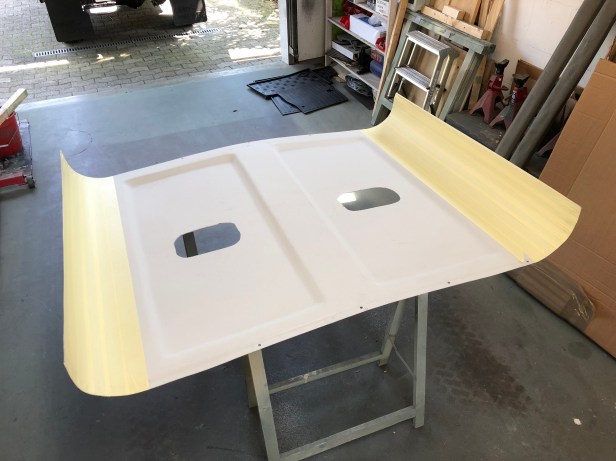
It appears I didn’t take a picture of the marked up mid section. The radius ends had to be cut from the “rough” side. It would be very hard to cut these two ends from the finished side.
With all of the thrashing around the fibreglass was doing when the jigsaw was running, I was happy not to lose any finger tips or break the panel!
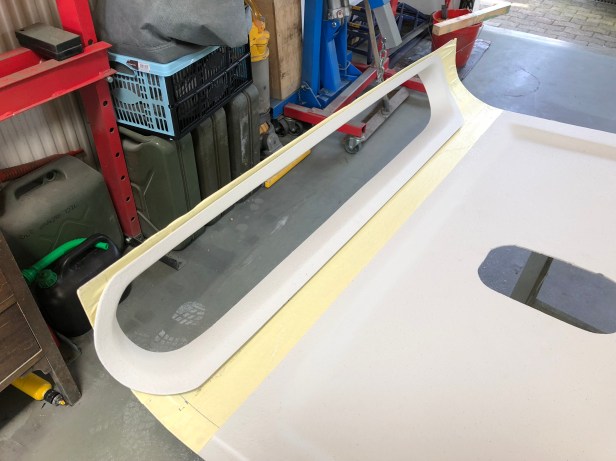
Hmm… Should have taken a shot of the liner with both roof lights cut out… You’ll have to use your imagination.
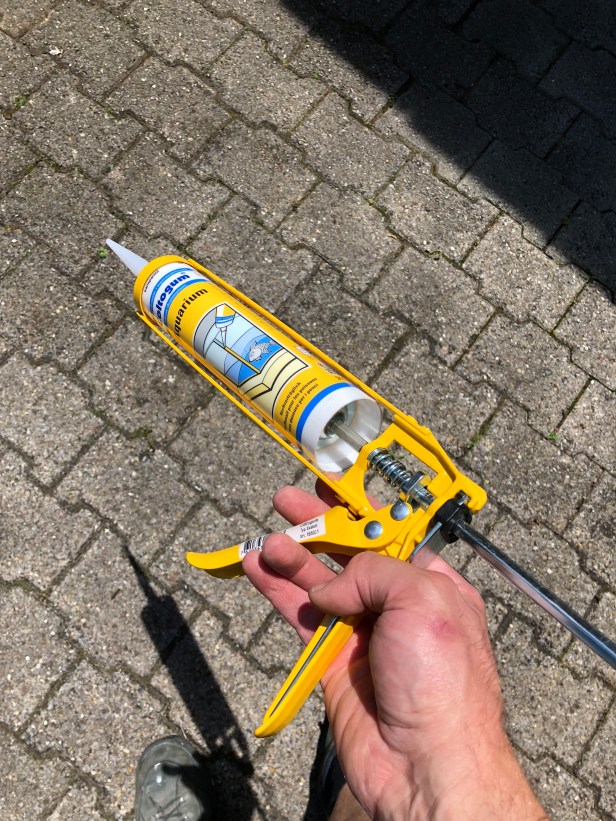
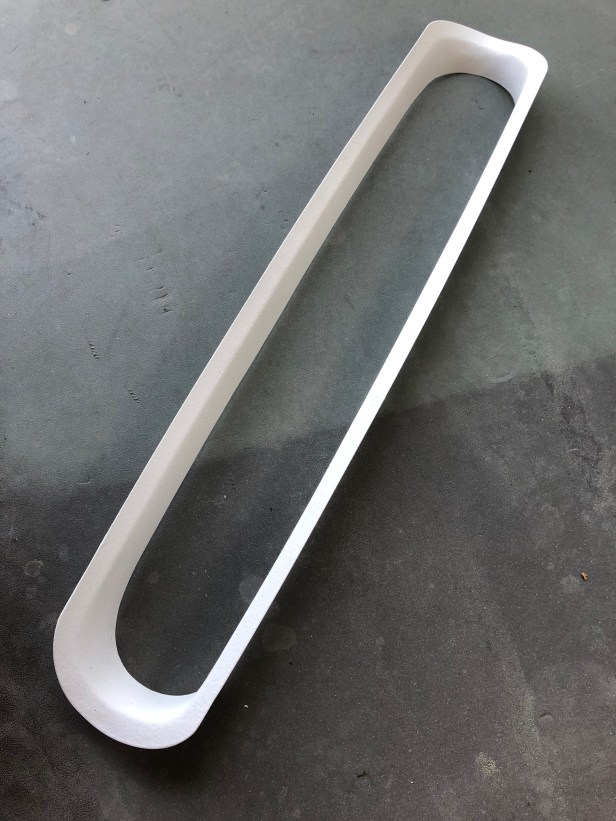
In reality, the sealant approach to locate the trim panels doesn’t really work… Everything is just to floppy.
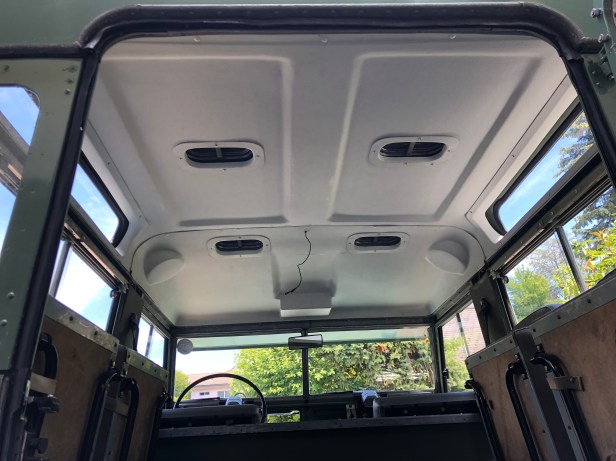
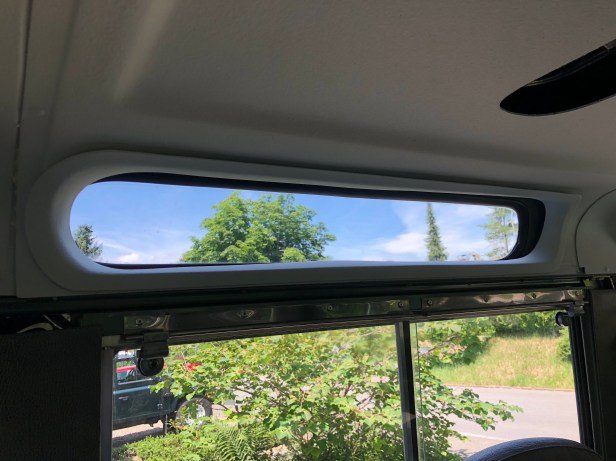
The next thing to do was reinstall the original trim panels. These have two rows of brackets that engage with the top of the window slider and the galvanised roof edge. As the roof liner covered the roof edge, just the edge of the window slider can be used. This is more than sufficient as there are a couple of fixing screws at either end holding things securely.

I need to find a product to remove the marks I’ve left behind. Washing my hands every time I moved the panels didn’t help keep things clean.
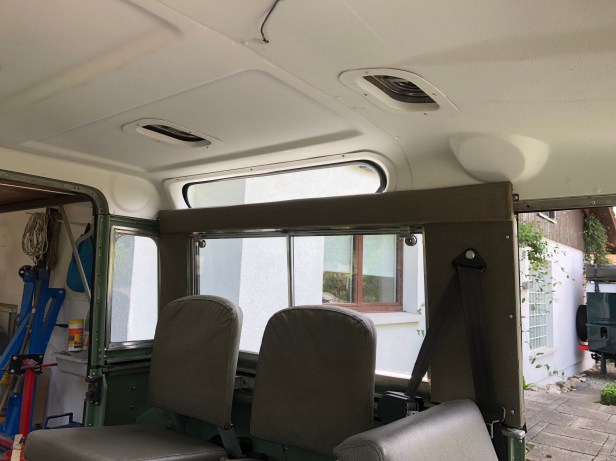
I’m pleased this is now complete as it’s by far the most frustrating part of the entire build. It’s be no means perfect and (if I’m honest) falls below the standard I expect from myself when working on the vehicle but it’s horrid stuff to work with and I’m happy to see the back of it.
Next job will be to install the interior light but I first need to remove the dash panel and figure out why the supply cable has a permanent live feed !

Man, that doesn’t sound like fun, but looks good! I’m wondering what the channel in the front centre is for? A radio?
LikeLike
Thanks Phil. Glad it’s installed. Yes, the console is for a radio. There isn’t an option to omit this feature sadly.
LikeLike