The new roof liner arrived from LaSalle trim in Inverness Scotland on Friday. They are made to order so I’ve had to wait a few weeks for it to arrive but will finish off the interior nicely.
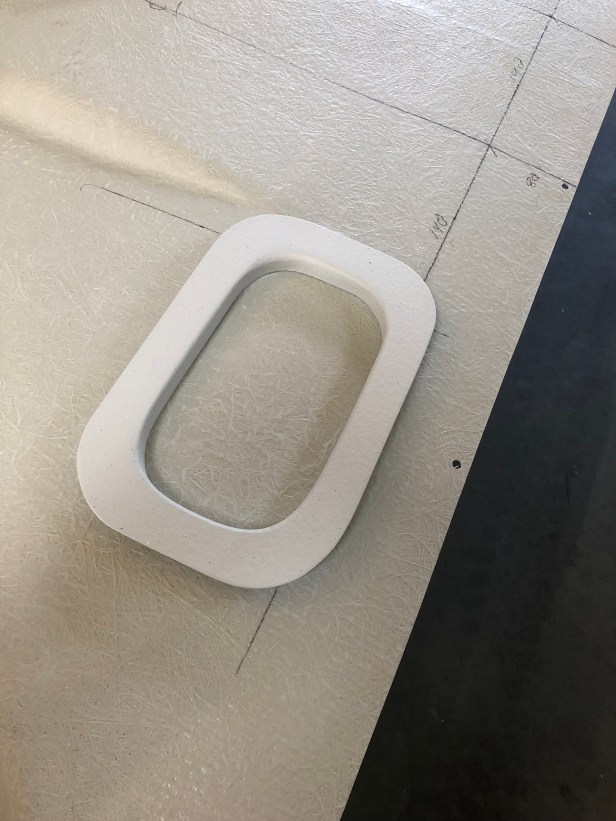
The kit of parts contains 3 sections and trim pieces for the 4 roof vents and the 2 alpine windows. As the roof vents and alpine windows aren’t cut in the roof by Land Rover to any particular pattern the new trim panels need to be cut accordingly to the position the apertures in the vehicle.
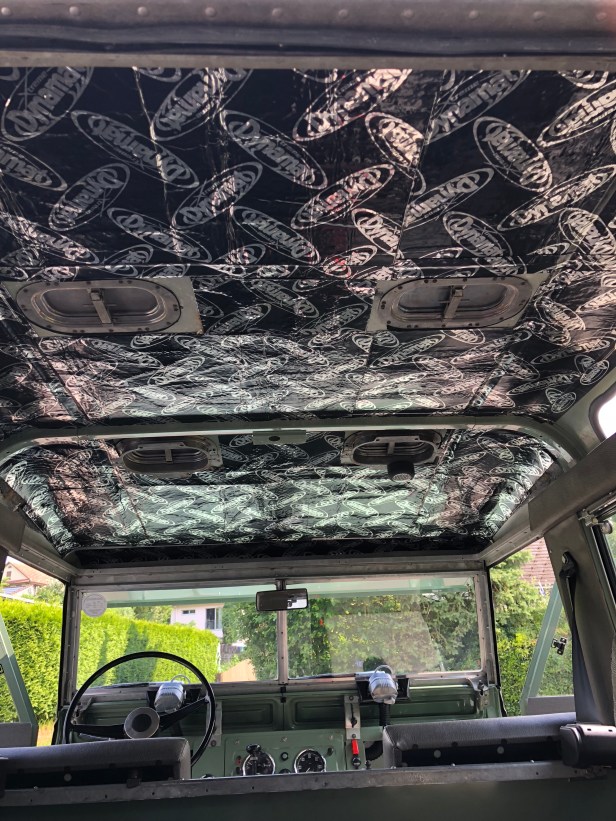
A view everyone is familiar with….
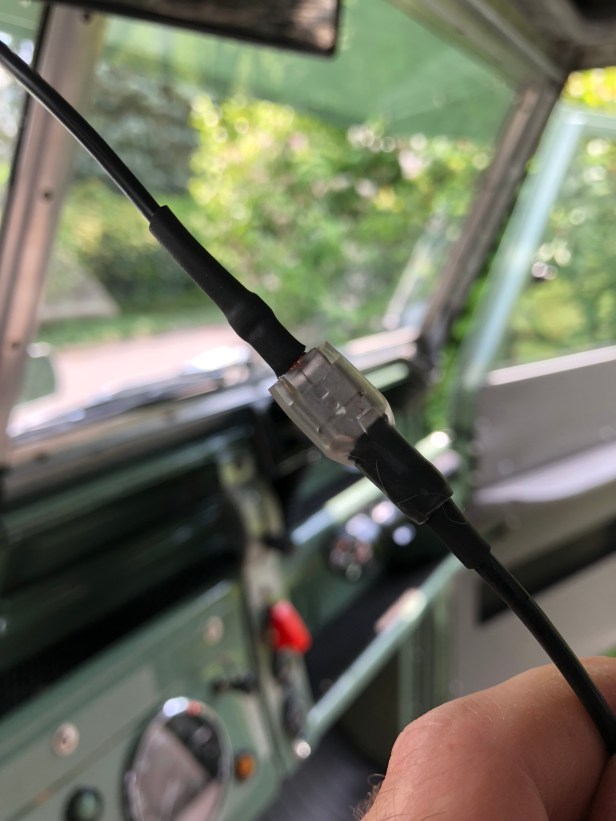
First job is to extend the cable that supplies power to the interior light .
Both ends made off and shrink wrapped. I don’t want to be taking the roof lining out to fix a bodged connection. A little plastic cover sits over the connector to prevent any shorts.
Oddly, the cable had power in it. It should be switched from the dash panel. I’ll have to figure that out once the light is installed. For the time being the cable it blanked off and fixed to the underside of the roof
I used some adhesive cable grips to secure the wire. Better than gaffer tape.
Onto the main event…
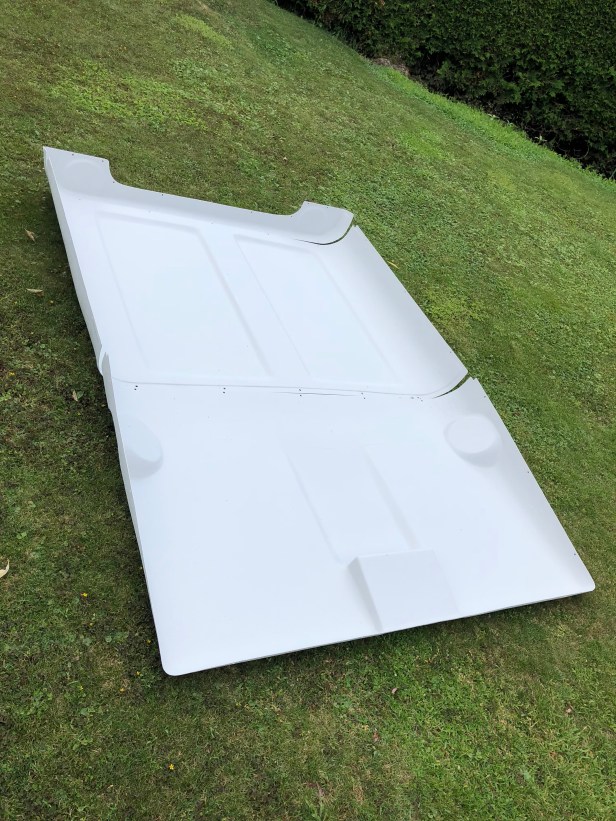
The roof liner comes as 3 fibreglass parts
First the front section is fitted. It’s initially offered up to mark where to drill the fixing holes
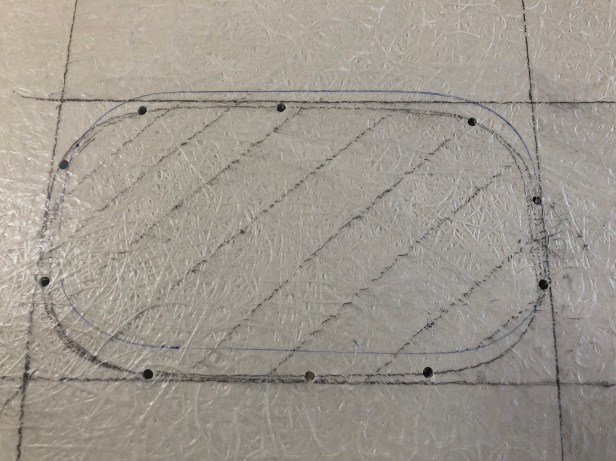
Once all the 6.5mm dia holes are drilled in the right place it’s time to cut out the two air vents. The instructions say to use the centre of the cross rib (see above picture) as a setting out point for the X axis. I also struck a centre line down the length of the roof to measure the Y axis measurements.
After some very careful measurements and double checks, it was time to mark up the roof liner
As the cutting will be done from the back side I have to transpose the measurements accordingly
Once key locations are marked up the vent trip panel is used to make out the hole
The instructions say to measure off the rear edge of the trim panel but as I found out, the centre line of the cross member is not aligned with the rear edge of the trim… its aligned with the pre drilled holes! An error of 7mm.
To check I was heading in the right direction, I drilled some holes, refitted the panel and checked I could see poke a drill but through and not hit the roof… this is when I found the error. So with that in mind, I drew a second mark.
Time to get the jigsaw out…
This is what cutting fibreglass does to a brand new wood blade! I swapped for a steel cutting blade. It worked a lot better but got very hot.
The panel is then refitted and …… a quick check to make sure the holes are in the right place. Which they are… thankfully. They both needed some trimming. I did this in situ and what a bitch of a job it was.
With everything aligned and where it should be the plastic rivets can be inserted and “closed” with a tap form a light hammer.
Rivets are pushed in by hand and the shank tapped home
Typical with all rivets, these would have to be drilled out if they needed to be removed.
The saggyness of the rear edge will be resolved when the middle section is fitted.
Trim panels are pushed into place. I may paint these pastel green as per the rest of the vehicle. At the moment, they are not fixed permanently.
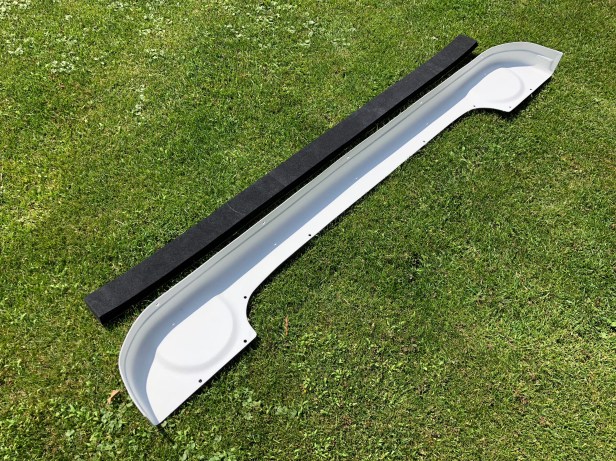
The 2nd piece of the kit to be fitted is the rear section. This fits above the rear door. The neoprene gasket fixes to the underside of the roof giving the rear of the mid section some support.
Rear section and gasket
Easily done…
The next step will be to fit the middle section. This is a bit more involved as the alpine roof lights need to be cut out as well. I ran out of time on Saturday. It was very hot and I was covered in fibreglass dust. It was time for a shower and a beer.
It’s not the done thing to use noisy power tools on a Sunday so I’ll get on with the middle section one evening this week….