

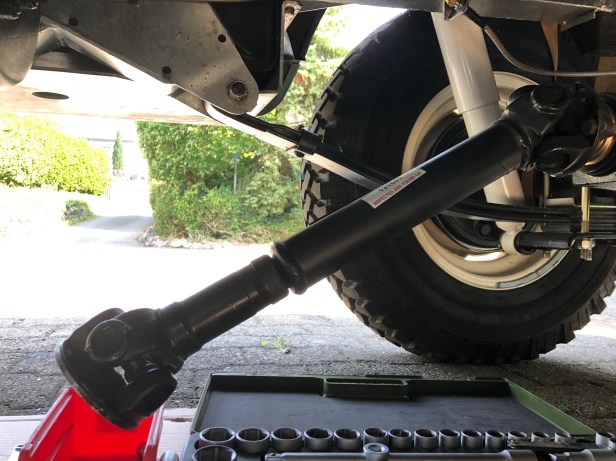
It had been bought to my attention when Classic British Cars returned LGL after its pre inspection, inspection there was an oil leak from the transmission drum. I had seen oily deposits flung about the underside of the vehicle but had assumed this was grease from the prop shaft universal joints (UJ). This is not unusual as any old grease pushed out of the UJ (when new grease is injected) gets flung all over the place when driving along.
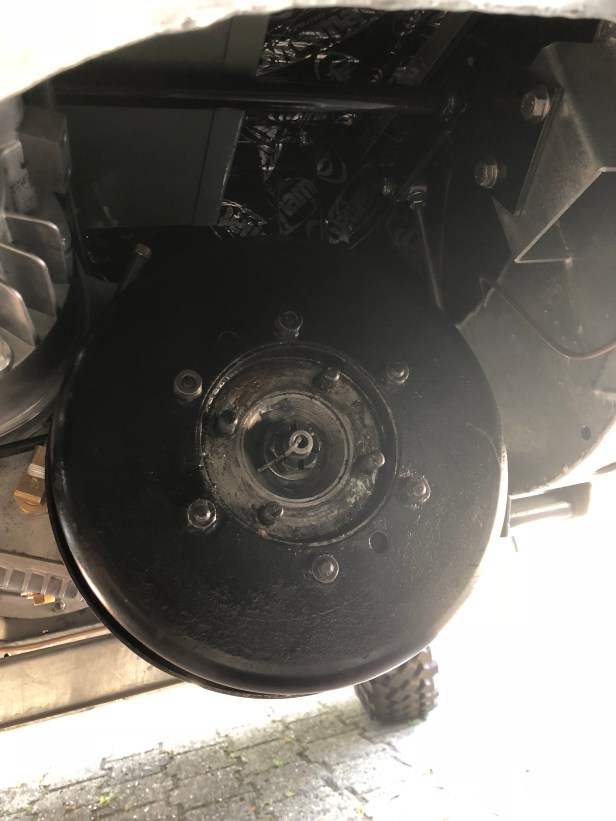
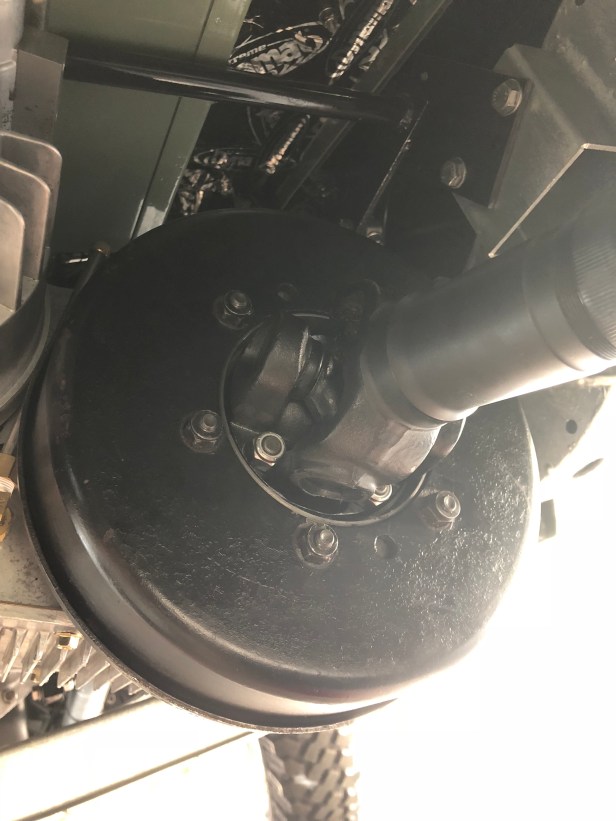
This was something different however, had the distinct whiff of EP90 and had covered almost the entire underside of the vehicle. Definitely not excess grease. With the vehicle sat on the drive motionless for about a month, a district drip was seen running down the face of the hand brake drum. Definitely the transmission drum flange.
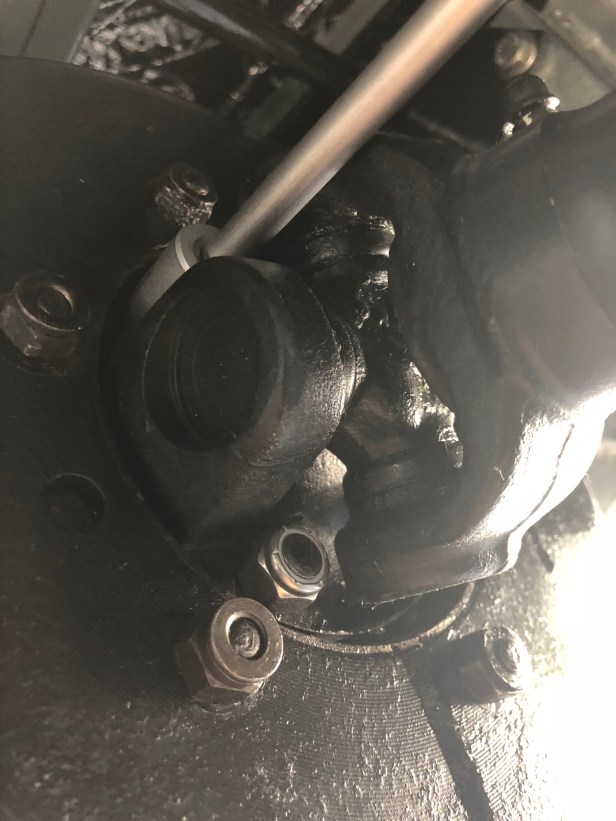
One of the risks of reusing anything which rotates inside a seal (which the transmission drum flange does) is that, there is likely to be a wear mark where an old seal has rubbed against the landing surface and worn a groove… thus rendering a seal (old or new) useless. I had reused the transmission drum flange so was pretty sure this is where the problem lay.
A “new, old stock” flange was ordered from PA Blanchards to replace the original item. As it turns out, oil wasn’t bypassing the new seal, but migrating down the splined shaft and weeping through the felt sealing washer right behind the castleated nut! But it was comforting to have a brand new Genuine drum flange on the vehicle… Read on…
Drum Flange Removal
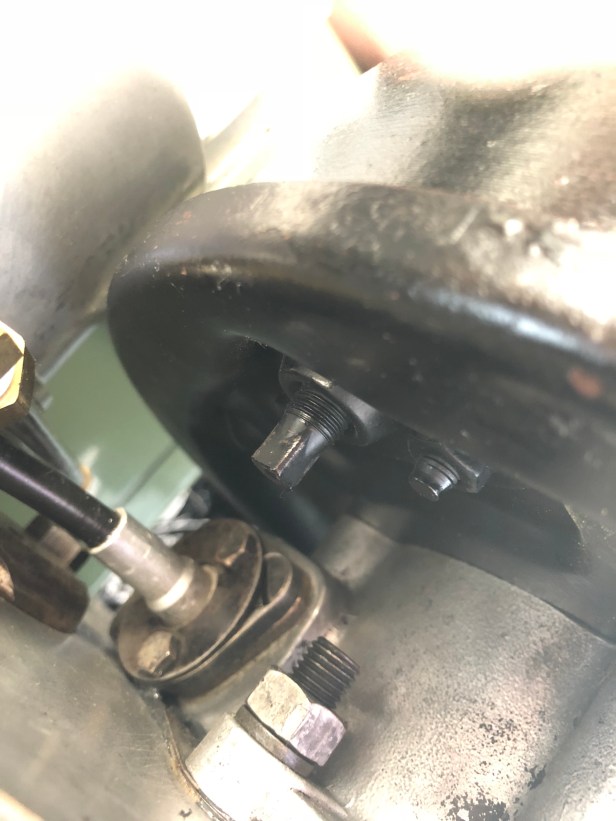
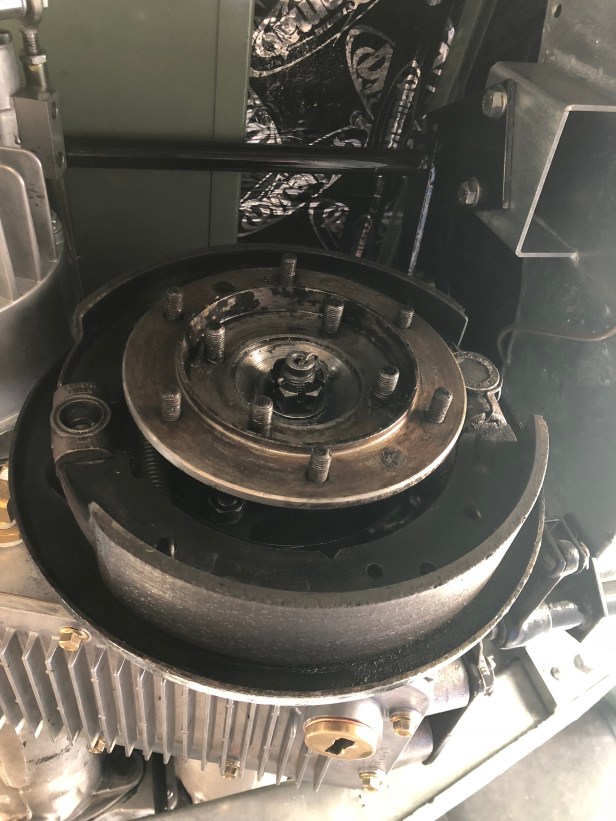
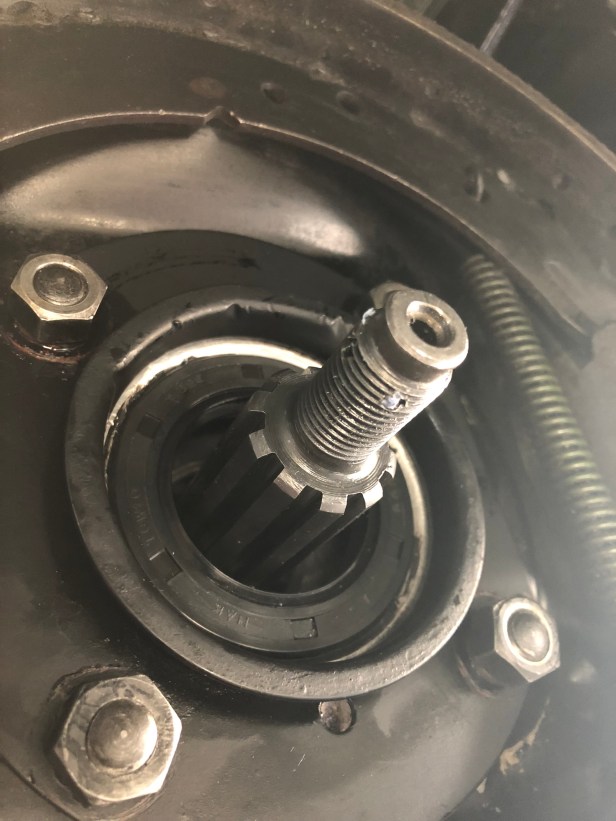
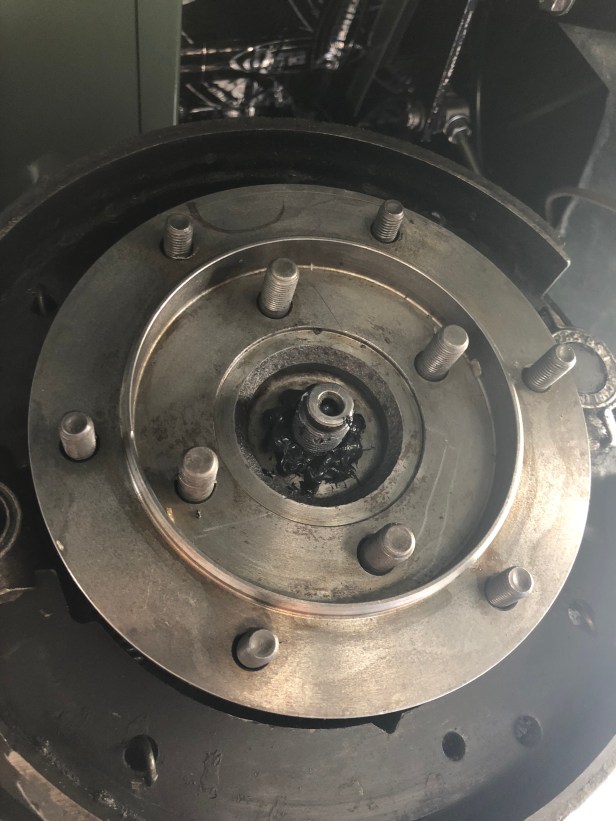
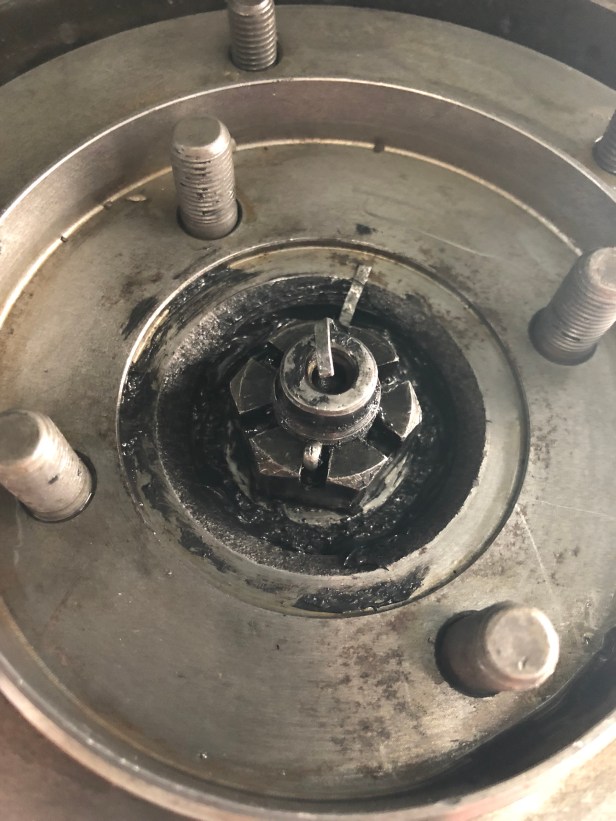
If the oil had been bypassing the seal, then I would expect the seal below the spline shaft and above the mud shield to be wet. It’s bone dry. So the problem does not sit with a worn seal land on the drum flange.
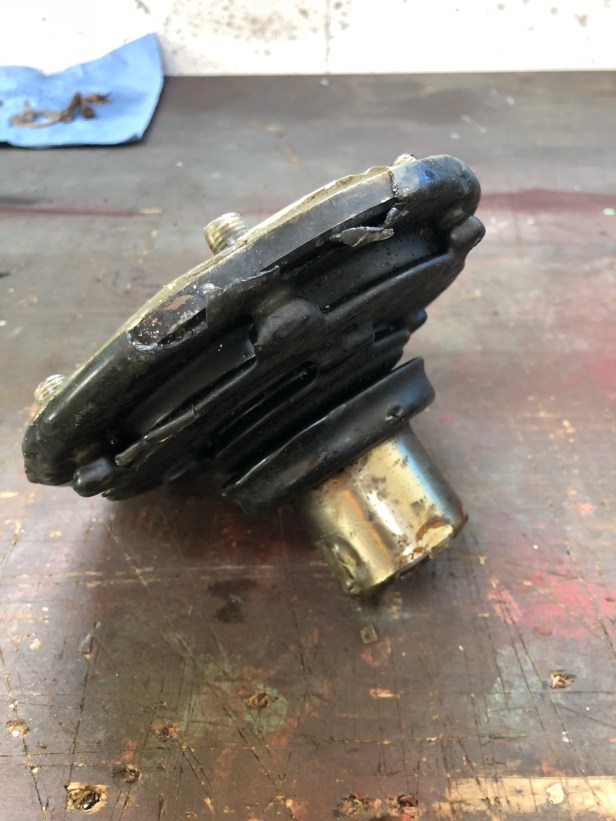
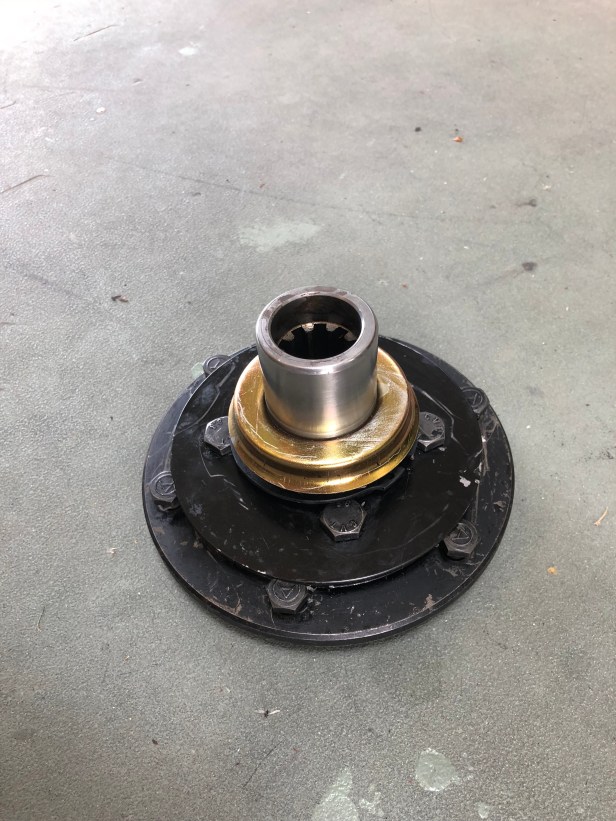
New Drum Flange
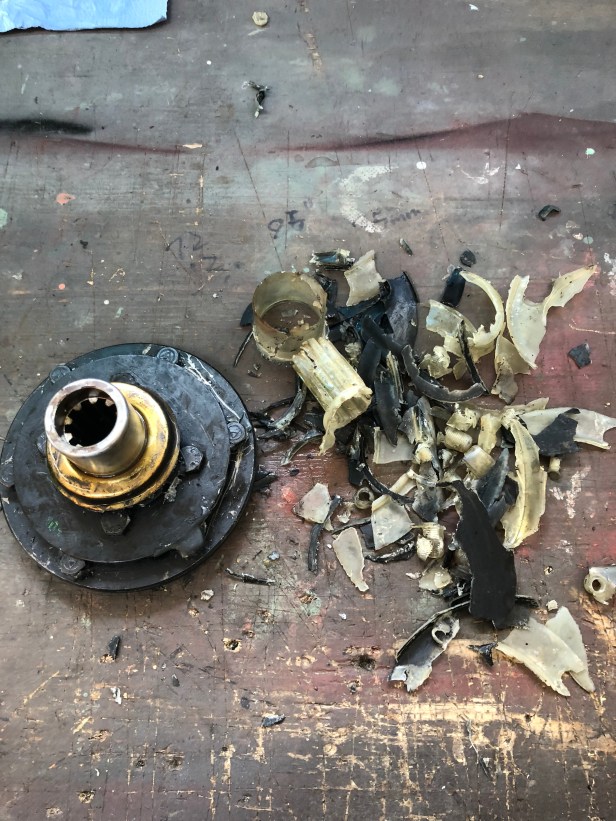
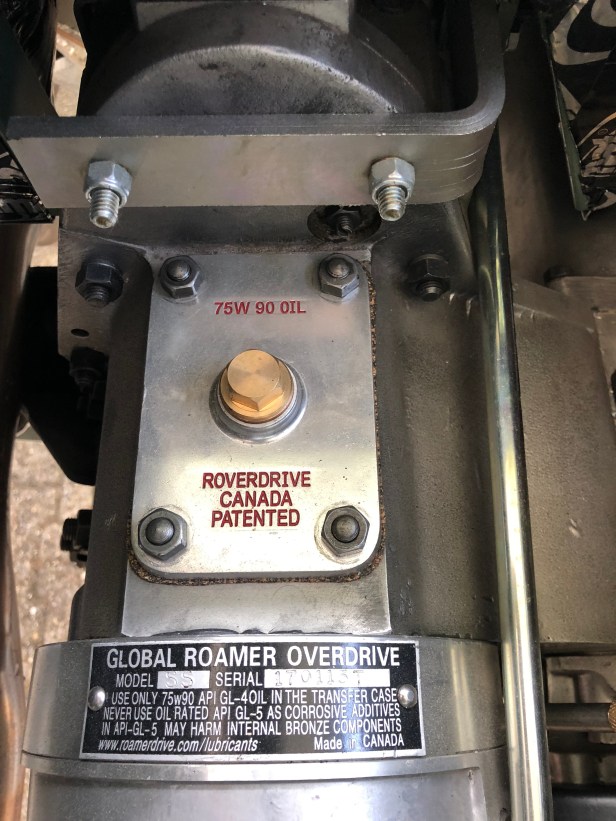
Before fitting the new drum flange, it first needed the original “wax” removed from it. I’m not entirely sure what this material is. It’s not really wax, more of a waxy plastic… Lets call it wax for the sake of argument.


Having eliminated a problem at the seal, the only way oil could be migrating out was along the spines of the shaft. To counter this migration, there is a small felt “washer” that sits on the last portion of the splines, inside the flange to stop the oil. It doesn’t always work and hasn’t done so in this case.
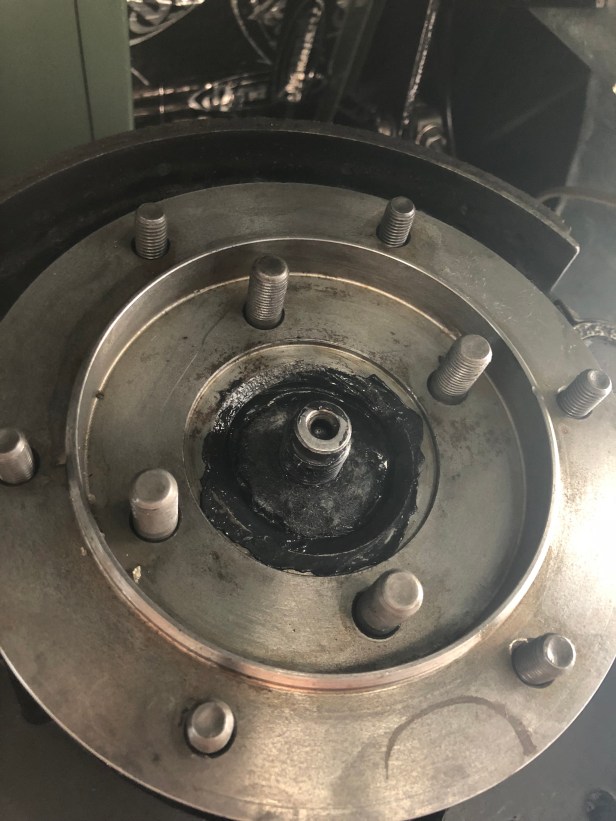
A popular solution I found on a number of forums was to place some sealant on the splines of the shaft and seal in the felt washer. Nothing to lose but I’ll only know if its worked with a few road miles on the clock.
Ironically, when I stripped the gearbox down, I recall a load of (what appeared to be) bathroom mastic in the vicinity of the output shaft. Hopefully some proper gasket sealant will work better.
I throughly cleaned the shaft splines and dried the new output flange, then gunned some Loctite gasket sealant along the inner splines of the flange… and fitted the flange.
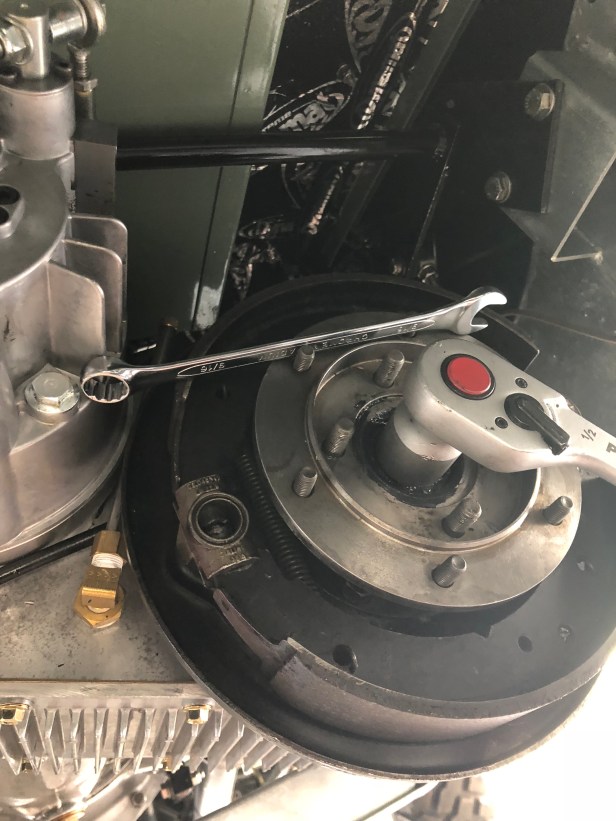
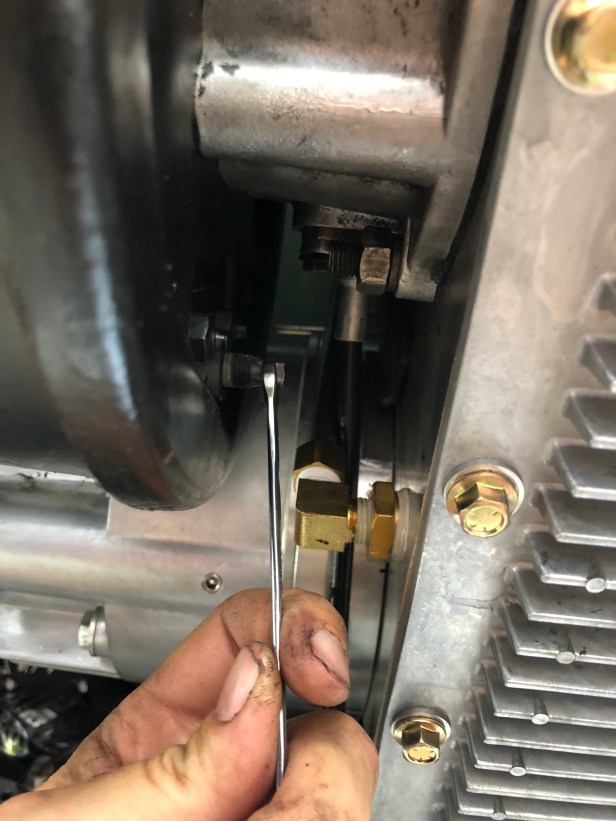
It’s advantageous to be able to really tighten down this nut. Something that is hard to do with the gearbox on the bench. With a spanner braced across a couple of bolts against the overdrive, I was able to really tighten it this time. (lets just say it wasn’t that tight when I took the flange off)
The new leaf springs are now in transit from the UK so by the end of next weekend I should be ready to go back to the MFK!… assuming they have a reasonable appointment slot of me.
