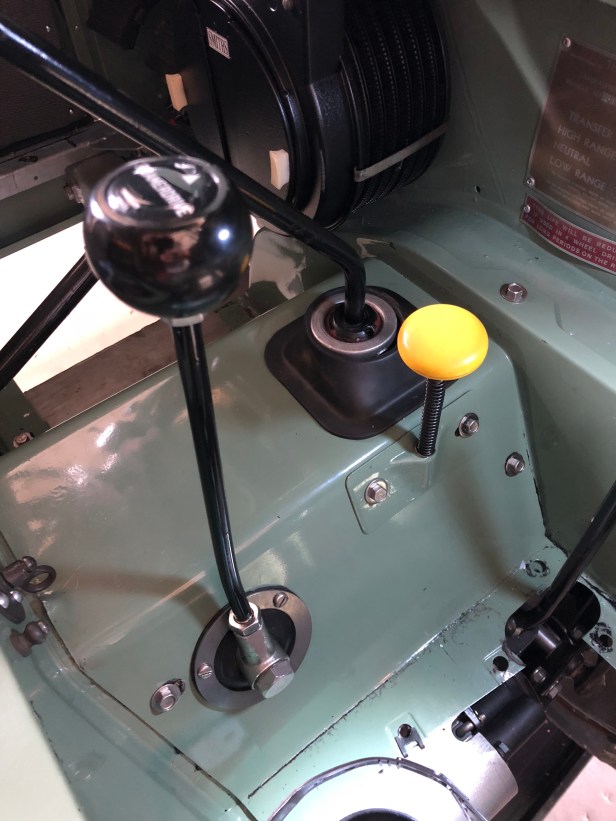
Reverse gear selection was becoming harder and harder. I couldn’t have set the the gate on the selector shaft correctly. Theres no “rule” as such. I was having to slam the lever over to the left to open the gate and allow the ball on the end of the lever engage with the reverse selector shaft. Not very slick. It should slide in nicely with a satisfying “click”
The adjuster on the selector shaft gate consists of a small grub screw and lock nut. I need to screw the screw in to “open” the gate so as when the gear lever end strikes the gate, it’s at a steeper angle opens easier.
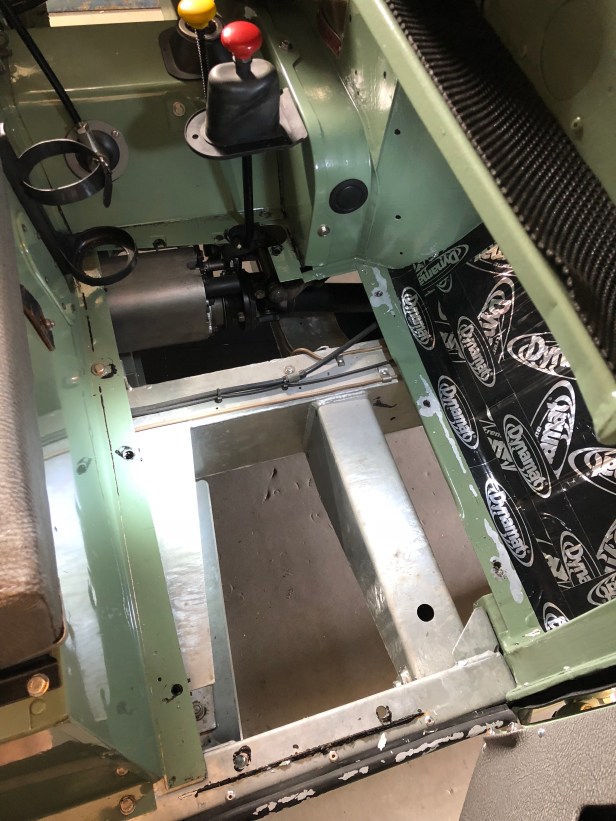
The screw which controls this operation is very well hidden though. First I have to remove the floor and gearbox tunnel!
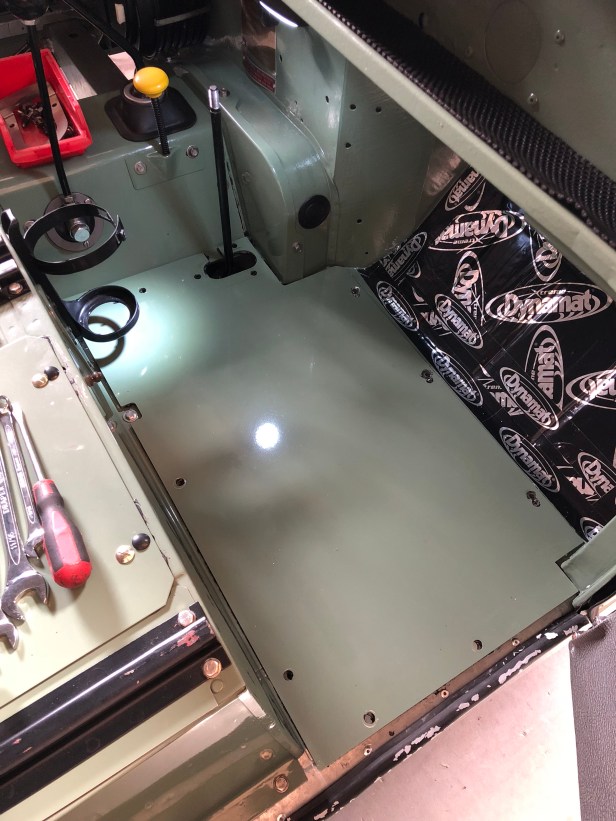
All this needs to come out…
Easily done. 3 different type of fixings makes it less straightforward. I repainted the leading edge of the bulkhead where the original hasn’t adhered to the zinc. I also removed the excess scraps of Dynamat.
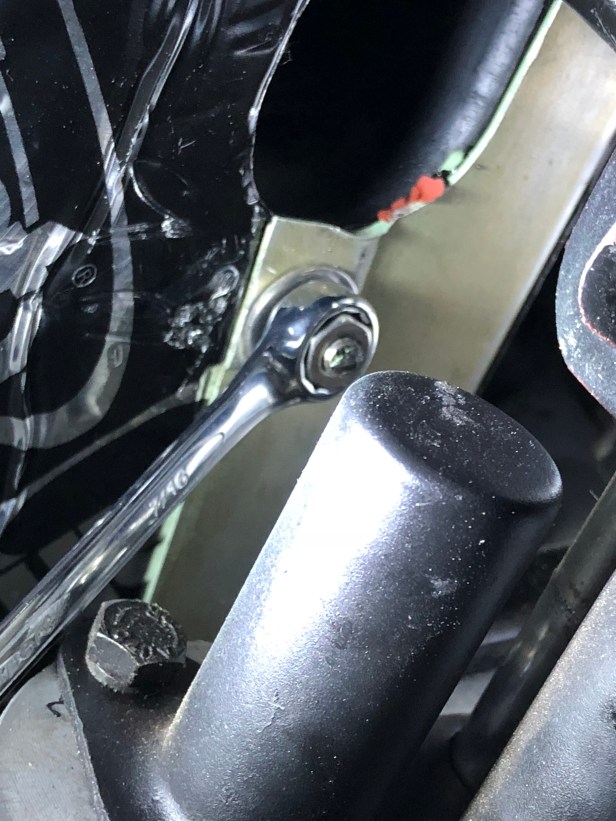
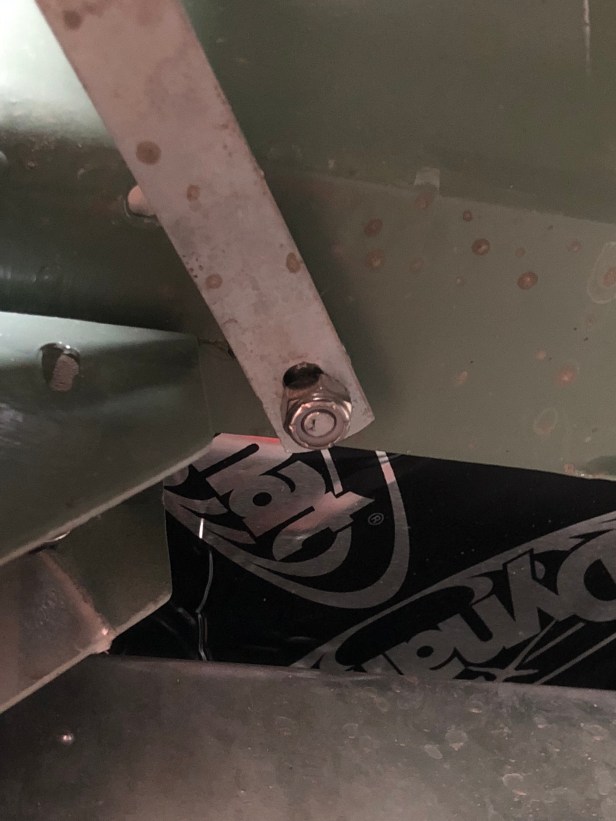
Onto the passenger side. First the high / low lever boot has to be removed. 2 of the 3 bolts are in a remarkably inconvenient location.
Passenger floor panel removed. Same tidy up of the paint and black sticky stuff.
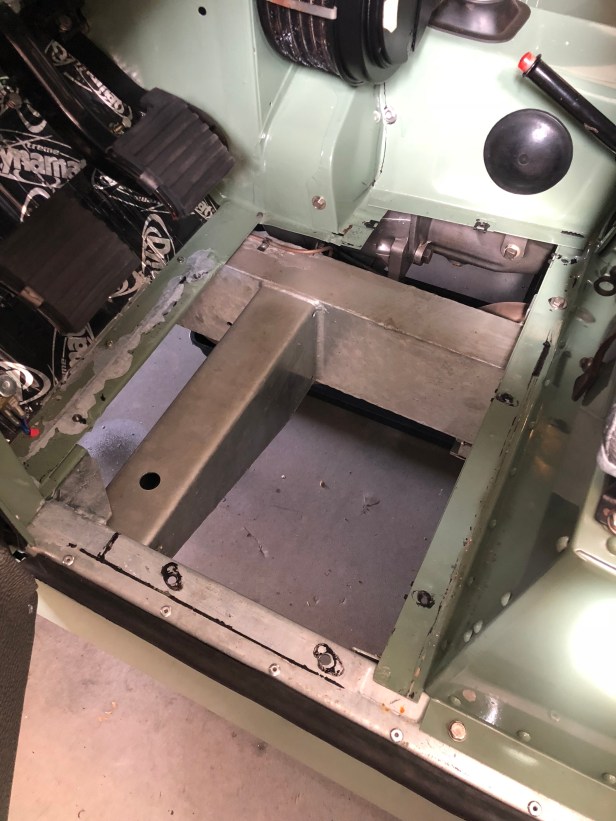
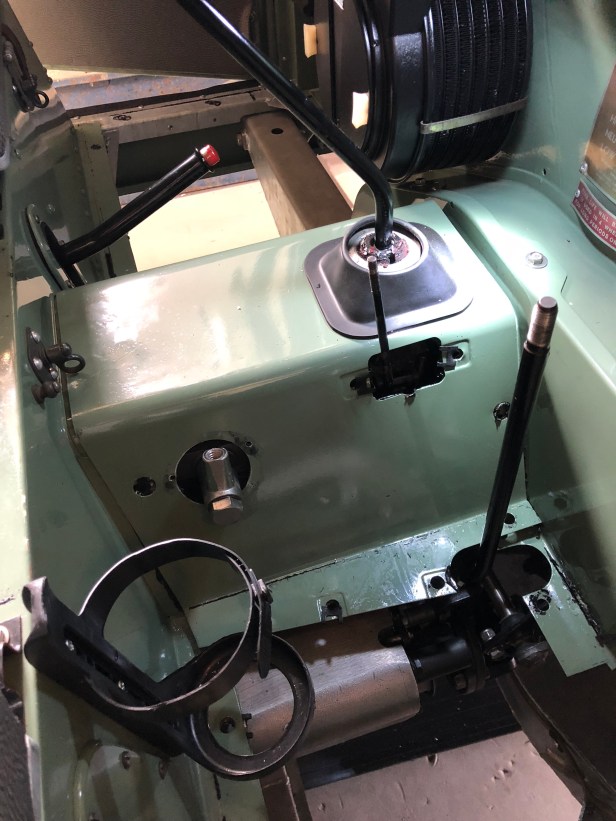
Next comes the gearbox tunnel. OD lever and 4WD selector shroud, spring and knob already removed
With some careful wriggling, taking care not to scratch the paint, the tunnel is removed revealing the gearbox and gear lever assembly
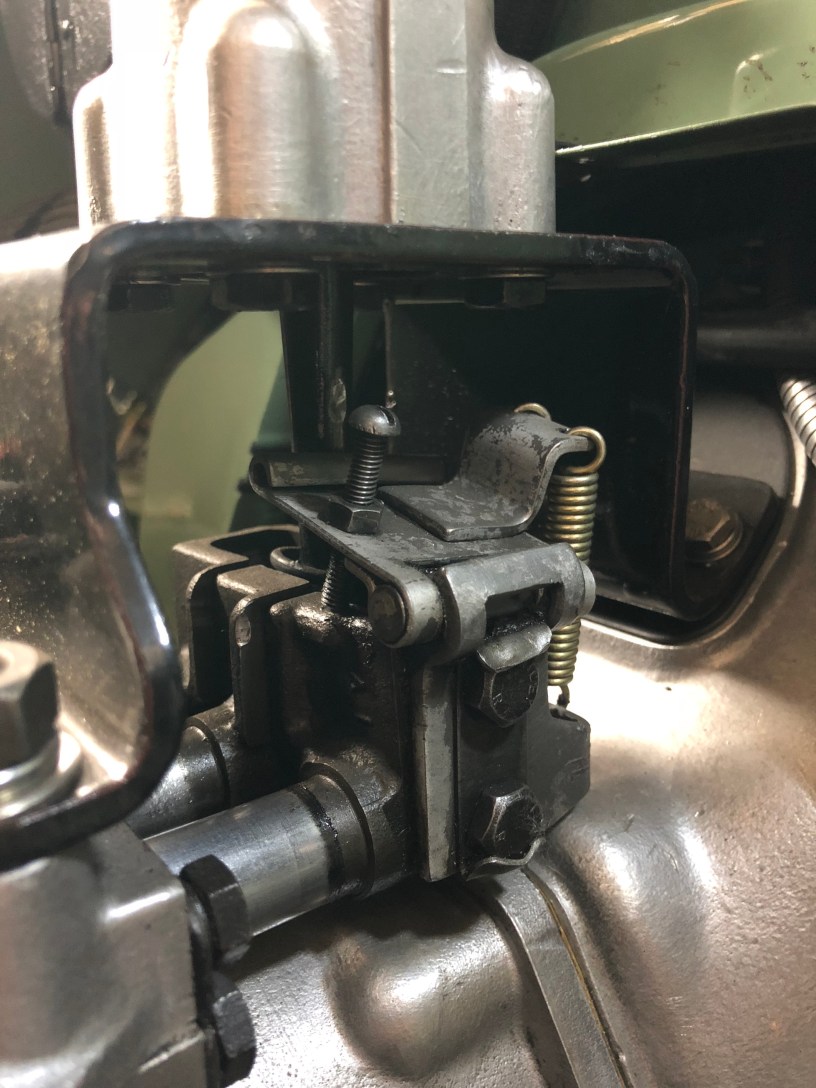
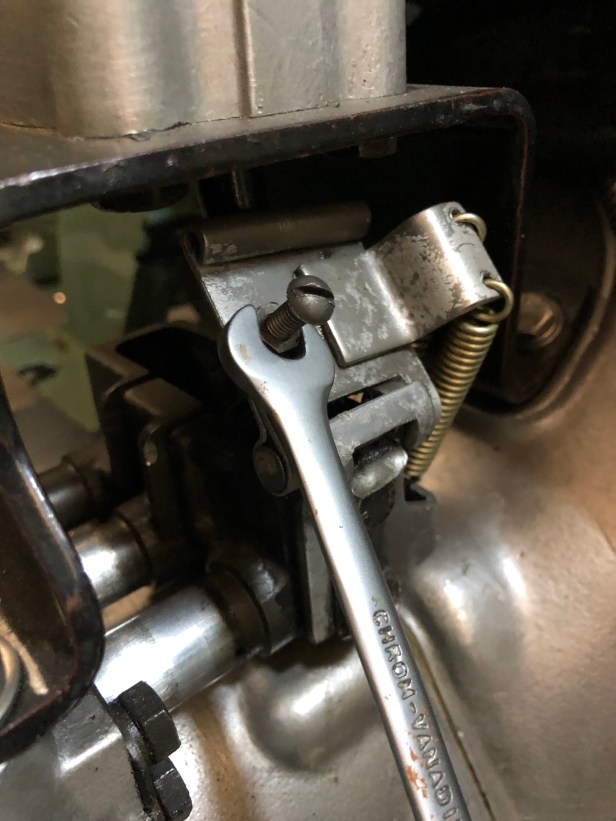
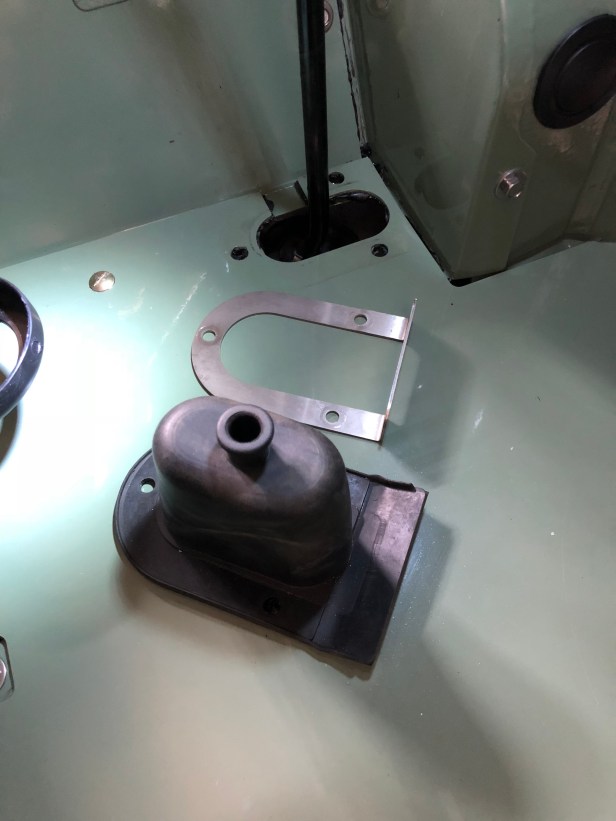
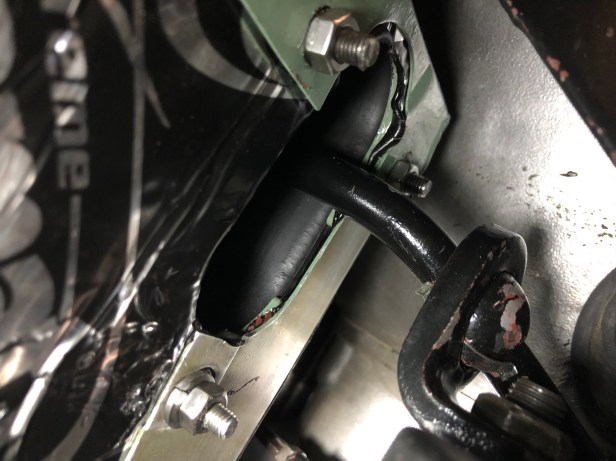
The offending article. The gear lever can be seen (just) in the background. The angle of the gate is too tight for the lever. Slamming it through the gate could lead to the lever snapping off eventually! Also visible are the 1st, 2nd and 3rd, 4th selector boxes.
Oops. Didn’t take a picture of the gate in its final position. This shows the gate in the open position with the lever engaged in reverse as I nip up the lock nut.
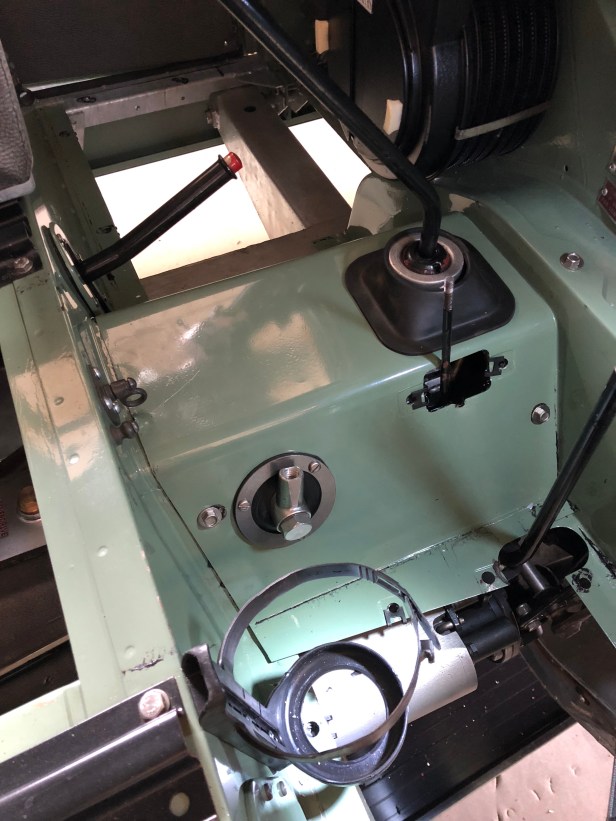
Tunnel goes back on
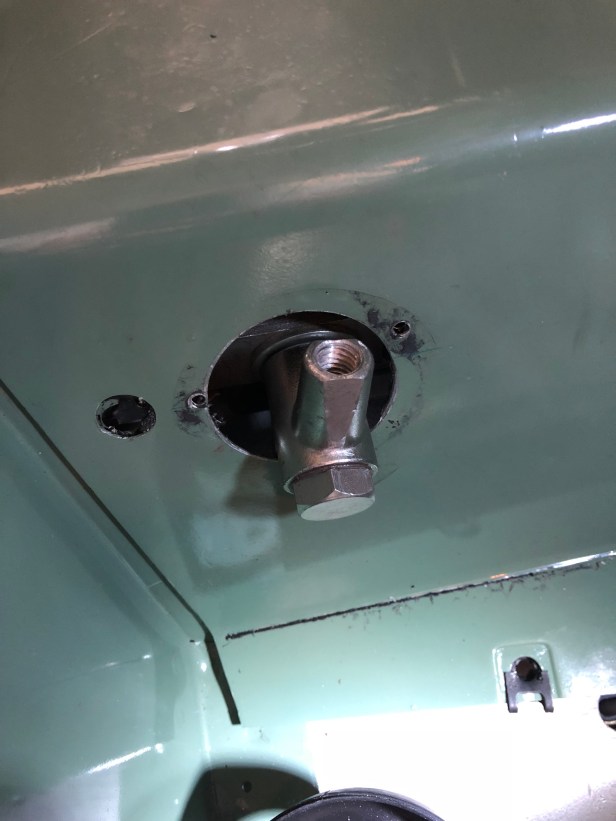
Overdrive selector bell crank
OD bell crank with the rubber dust shield
All the hardware reinstalled on the gearbox tunnel
Checking that high / low and 4wd levers all function freely, the floor panel is put back in
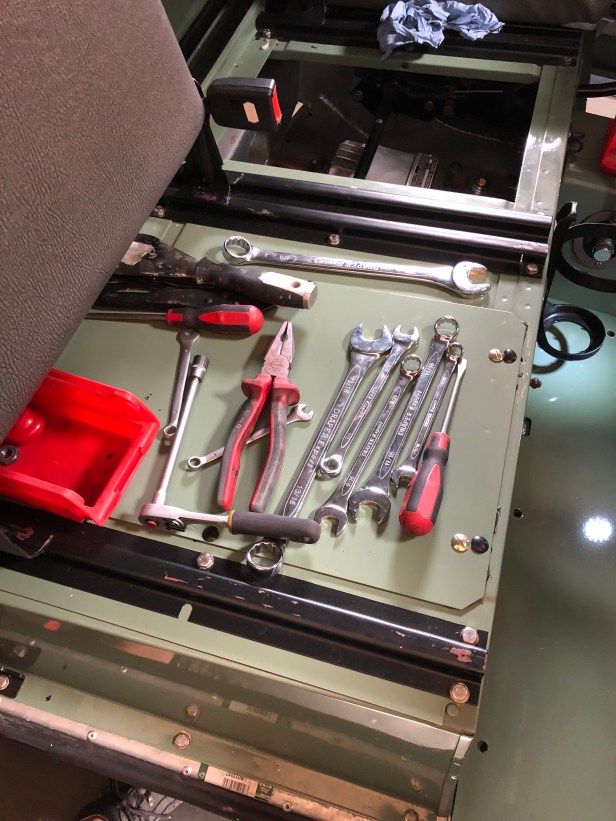
Yeah, it’s a lot of spanners job…
High / low rubber boot and retainer read to fit. This would be so simple with two people.
… but with a series of intricate levers and pulleys, and the use of some Molegrips (don’t tell anyone) I managed to get all 3 fixings back in tight.
Bodywork brackets fixed back on each side
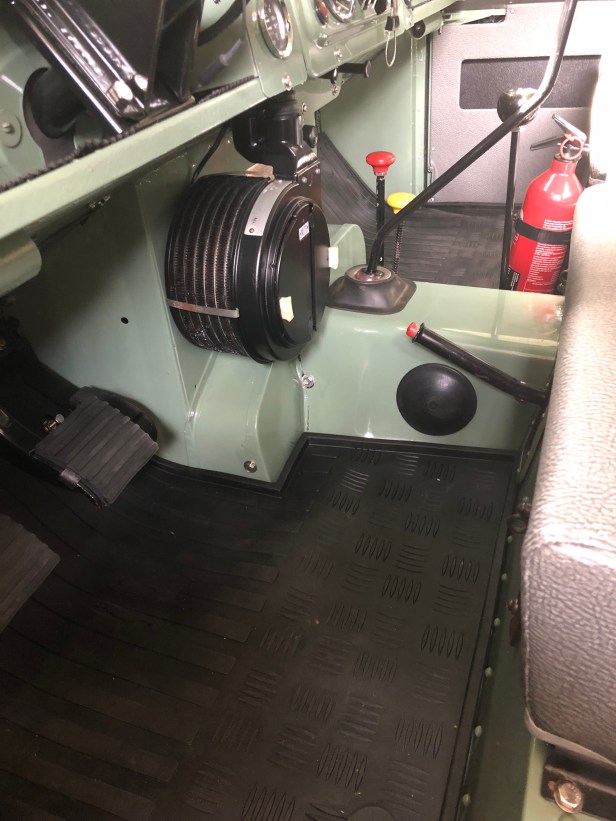
Floor mats and fire extinguisher refitted.
Whilst I was there, I repaired some damaged paint on the nose of the bonnet, checked the fluids and adjusted the greeting box.
Wednesday nest week is the retest with the inspector… It’s only on the points flagged last time. Sunshield, LED lamps, suspension and the speedo (which packed up when the guy took it for a test drive). All evidence gathered or offending articles have been replaced.
I’d call it done. Lets hope the inspector thinks so…


Thank you so much for showing how this all works. It’s been invaluable to me on how it all goes together. Many thanks..
LikeLike