I think I’d mentioned briefly in an earlier post that the fuel tank was weeping in a couple of locations along the seam welds.
I had misdiagnosed the smell of petrol in the cab being down to the tank. It was in-fact the main jet holder being loose on the carburettor. But the tank does have a leak… It’s not a bad leak by any means, but it will become a bad leak eventually.
It’s not the original tank (I’m pretty sure of that) and more than likely an inexpensive replacement.
From the condition and cleanliness of the tank compared the rest of the vehicle when I stripped it down, this tank was fitted relatively recently… it didn’t last that long then!
I’ve opted for an Allisports aluminium tank. It wasn’t cheap but it will never corrode and unless I manage to put a hole in it, it will never have to be replaced. The customer service at Allisports is also second to none.
Lets get on with changing it…
First, remove the passenger seat base and seat back
Remove the cover panel… the old petrol tank is revealed
After removing the fuel pick up pipe, a home made dip stick is used to see how much fuel is actually in the tank. There was about 2” of fuel in the tank which means a little more to me than the gauge in the cab reading “almost empty”
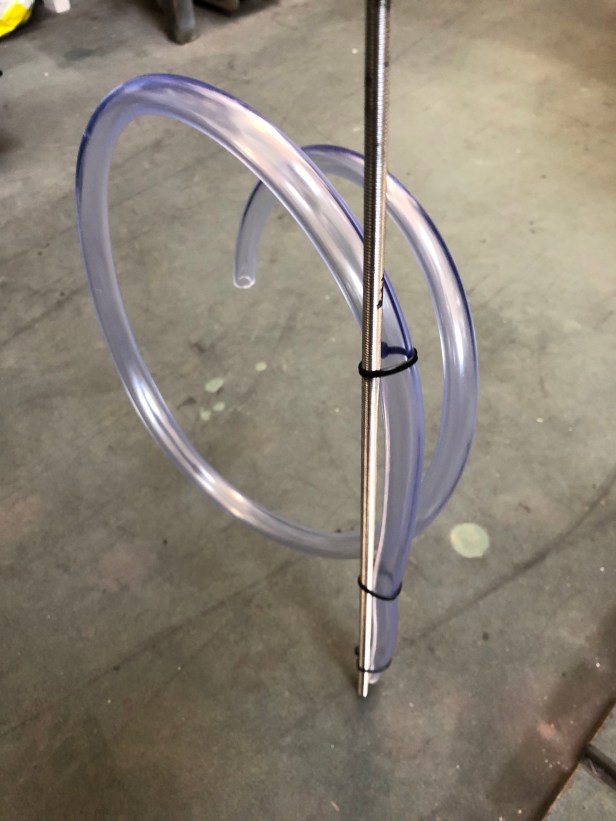
I recon there’s about 10 litres of fuel in the tank which starts to make things a bit heavy for moving about, so I made a syphon to extract the petrol.
Leaving a gap of 1 cm between the end of the pip and the dip stick should be enough to get most of the fuel out without picking up any sediment that might be on the bottom of the tank.
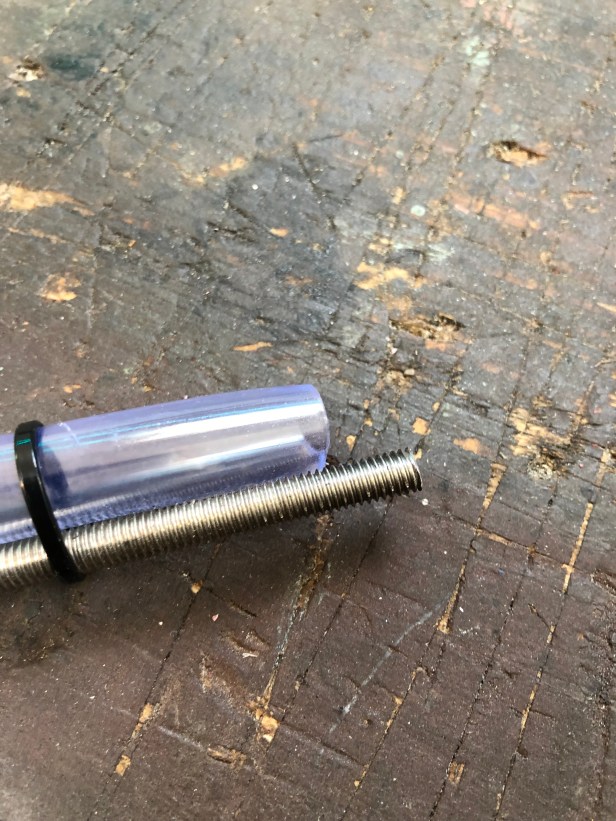
Best laid plans… I cut the hose a little bit on the sort side. I would make a real mess tying to suck and get the hose in the gerry can…
Once the syphon had started it was easier to direct the fuel directly into a conveniently placed receptacle. I am please to say I avoided a mouth full of petrol getting the syphon running 🙂
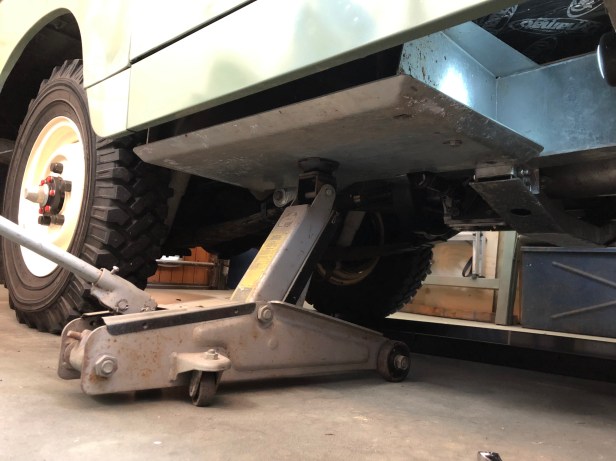
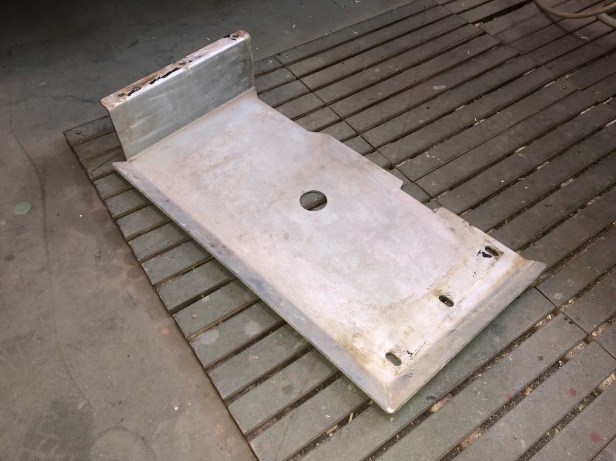
With most of the petrol drained out it was time to remove the 6 fixings and drop the tank. The tank guard from Pangolin 4×4 in the US is a very heavy piece of steel!
Leaving a bolt is either end…
… the trolly jack is pressed into service to take the weight and remaining bolts removed.
Fuel intake pipe and breather are loosened and removed.
With the tank on the jack it’s simply lowered down in a controlled manner.
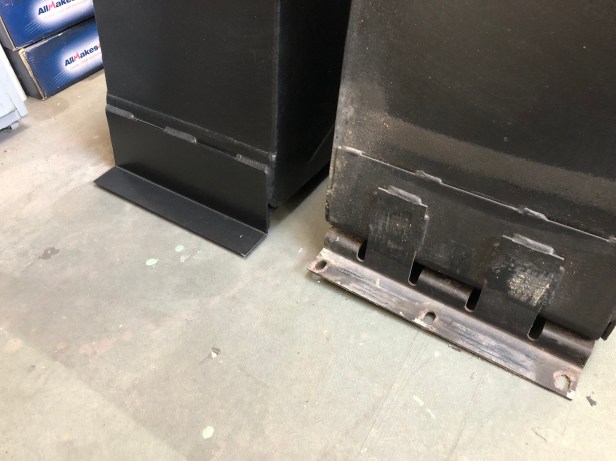
New and old side by side
The Allisports tank will need the fixing holes drilled.
This is the weep… the seam weld has started to corrode allowing fuel to weep out just a tiny bit but enough to soak the underside of the old tank
This seam isn’t going to last much longer either
Time to swap over the components residing on the top of the tank.
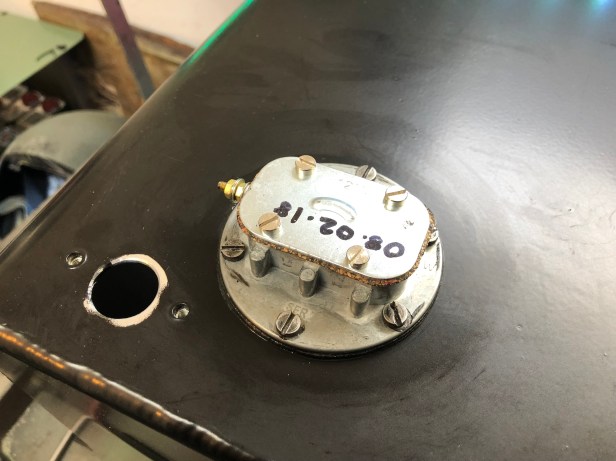
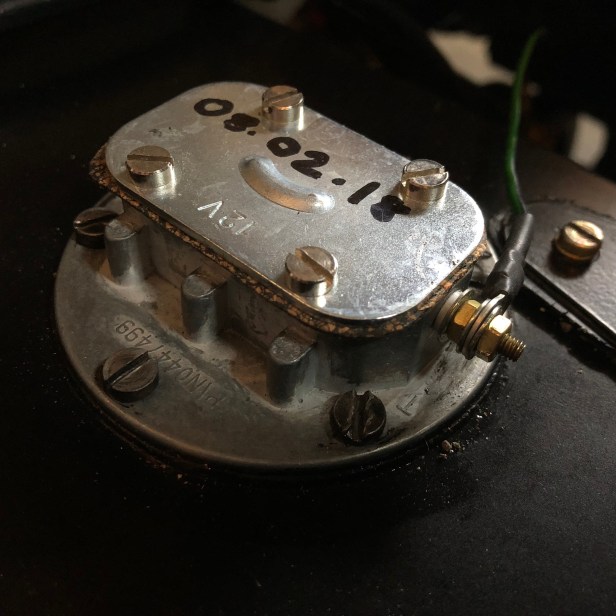
First of all some sealant is applied to the aperture where the fuel sender will fit.
Fuel sender fitted and the excess sealant cleaned up. Coincidentally I was replacing the tank exactly 1 year after fitting the new fuel sender!
Cover plate fitted. I’m not sure what this hole is for.
Nothing is an exact science…
I’m pretty sure the chassis outrigger which the tank hangs off is slightly in the wrong position on the new chassis. I had a problem refitting the old tank during the build whereby the filler tube was fowling the back of the seat box. This time I have the same issue with the breather tube.
I offered the tank up and marked where I had to slot the hole.
Using a small cutting wheel on the Dremel, I very quickly enlarged the hole. Such a versatile little tool.
Aperture enlarged sufficiently for the breather tube to pass through without damage.
Now its time to fit the tank and gaurd…
Tank is temporarily and held in place with a couple of G Clamps whilst the holes in the chassis are transposed onto the tank.
10mm did holes are centre punched and drilled
The drain plug is checked over. Surprisingly (for an aluminium tank) there’s a magnet on the inside of the plug. I like this little feature.
Tank fitted and the bolts installed to ensure all the holes line up before struggling with the heavy tank guard.
TANK GAURD…
After much grunting and cursing, the tank and guard are successfully fitted.