

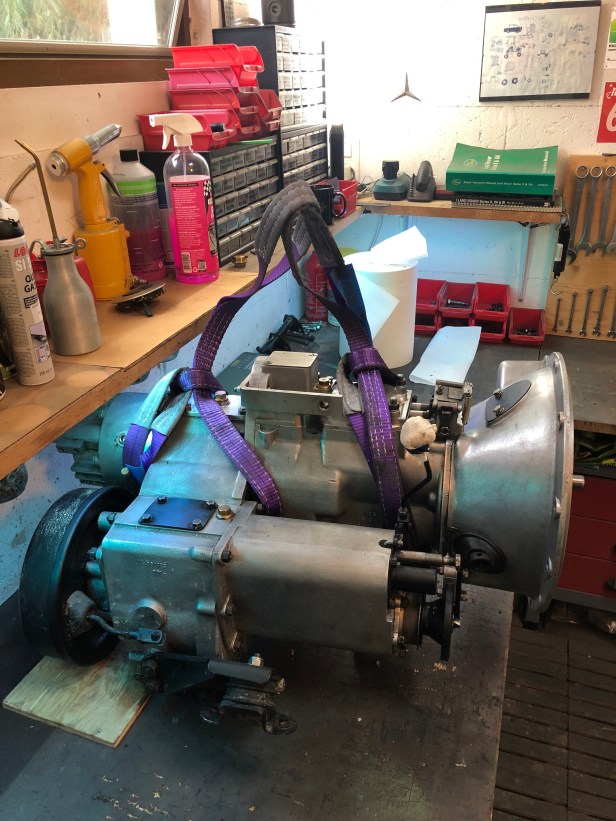
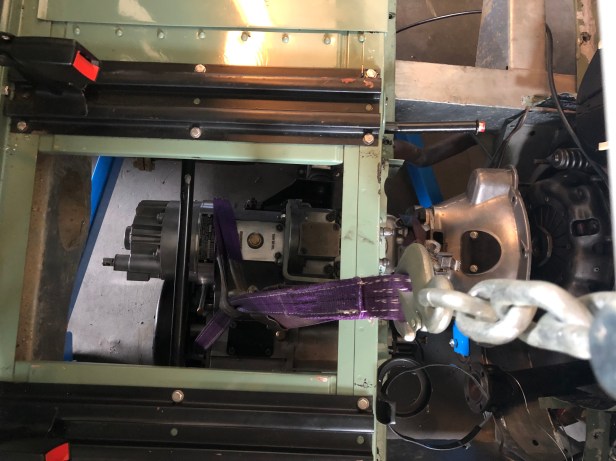
The removal of the gearbox was complicated by the fact that I had difficulty in finding the centre of balance of the unit. This isn’t easy to do with one end of it bolted to the engine.
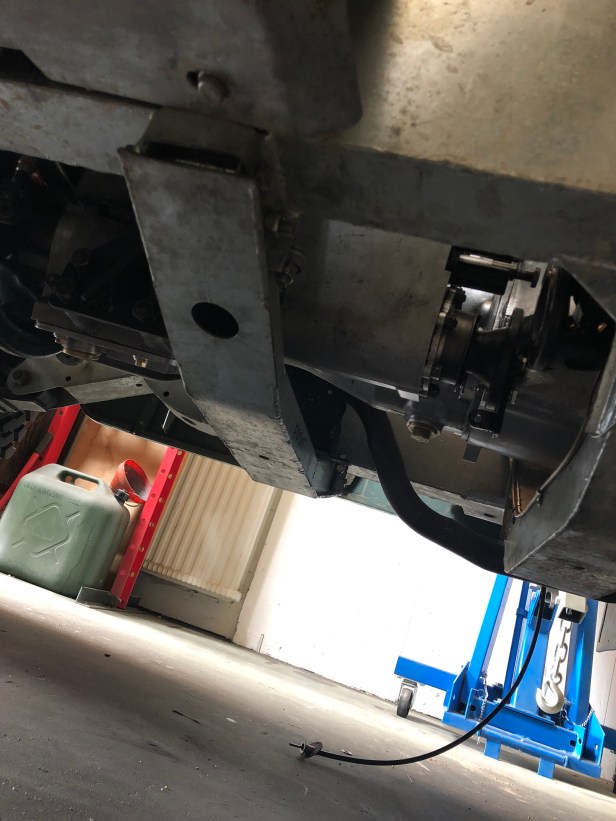
It was further compounded by the fact that seat box was still in-situ. Normally this is removed and the gearbox is lifted up and out through the door. I had a removable cross member specified on the new chassis thinking it would be easier to extract the gearbox from the underneath.
This was standard feature on all military Land Rovers and unless you happen to be in the Royal Electrical and Mechanical Engineers, it has to be easier to take the gearbox out through the door. I’ll but going that route if there’s a next time.
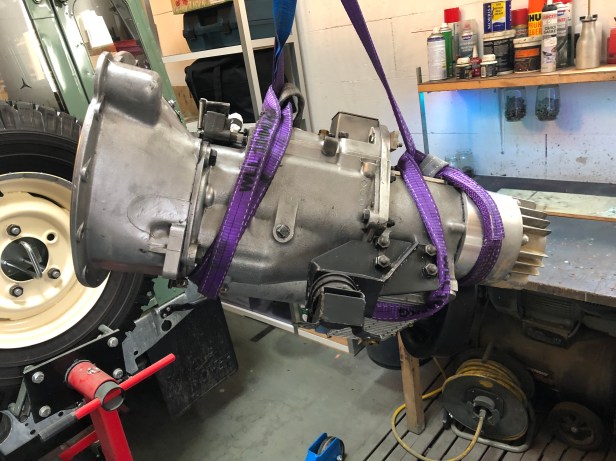
With the gearbox starting its return journey from the bench I could fettle with the lifting straps to establish the centre of balance with a bit more accuracy.
Here goes…
Attempt number 1:
Attempt number 2:
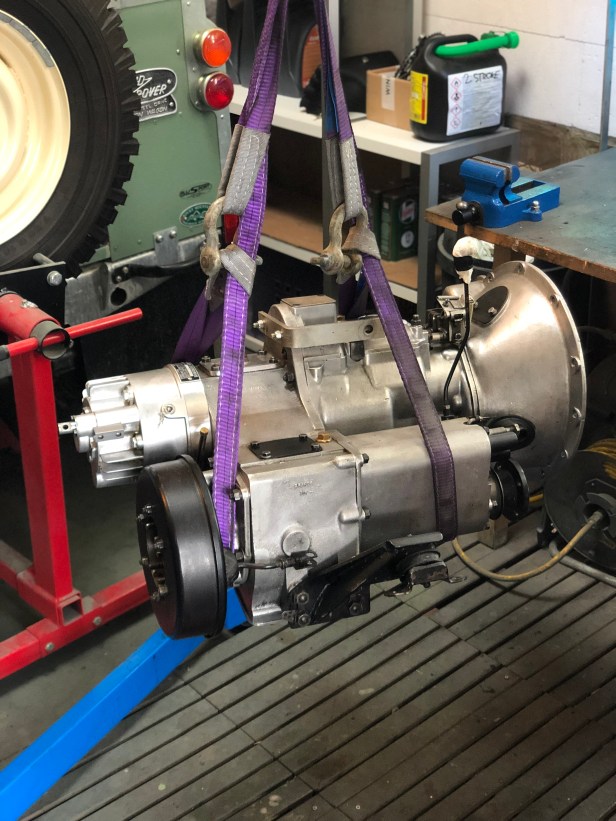
Now all I have to do is, put it down and drag it into position under the Land Rover. Dismantle the crane and reassemble it with the jib inside the car.

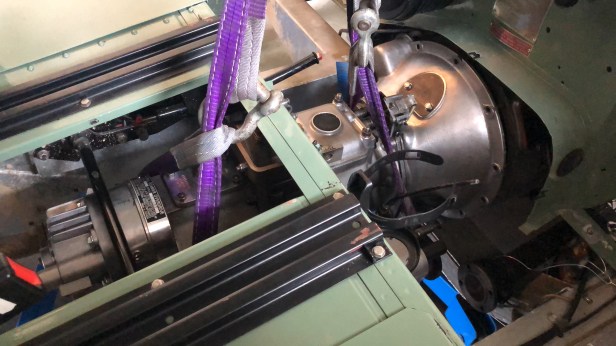
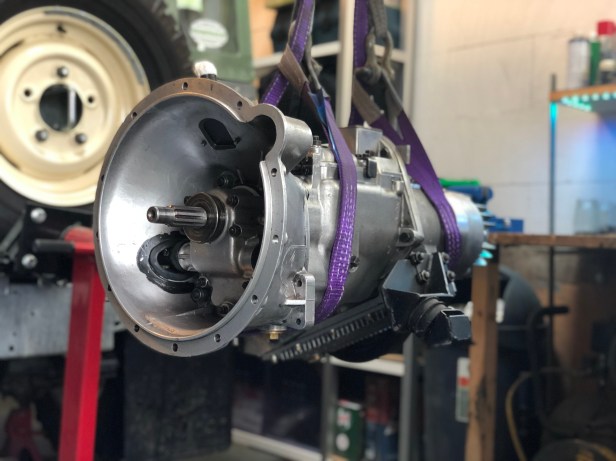
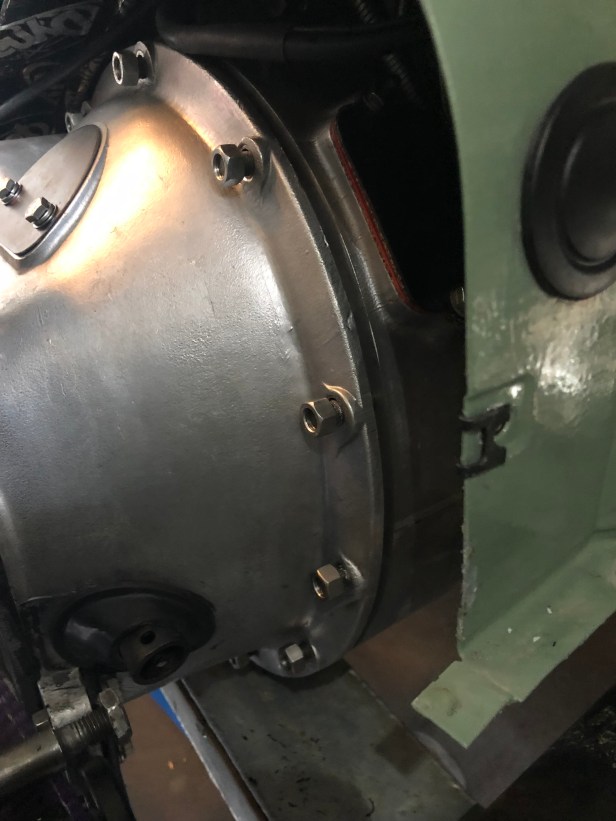
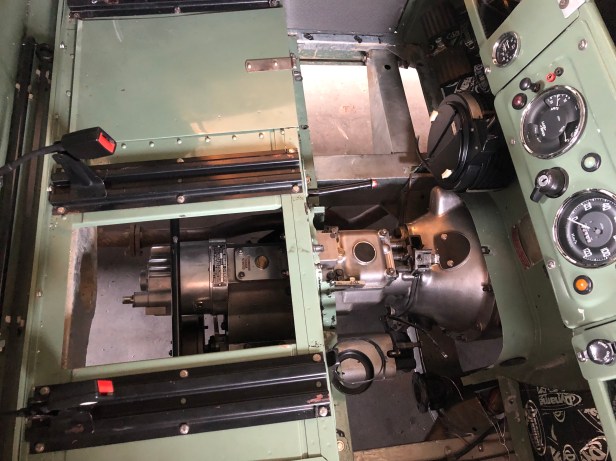
It’s an exact science getting the pinion to slot into the end of the crank but with (more) joggling things about, it slide home and onto the flywheel studs with a satisfying clunk.

Next steps:
- Connect the slave cylinder
- Refit handbrake bell crank
- Connect the hand brake
- Connect the speedo cable
- Refit front and rear propshafts
- Fit gearbox tunnel
- Fit floor panels
- Fit the steering wheel
- Fit the seats and cubby box
- Drive about with the inane grin only Series ownership can muster 🙂
