

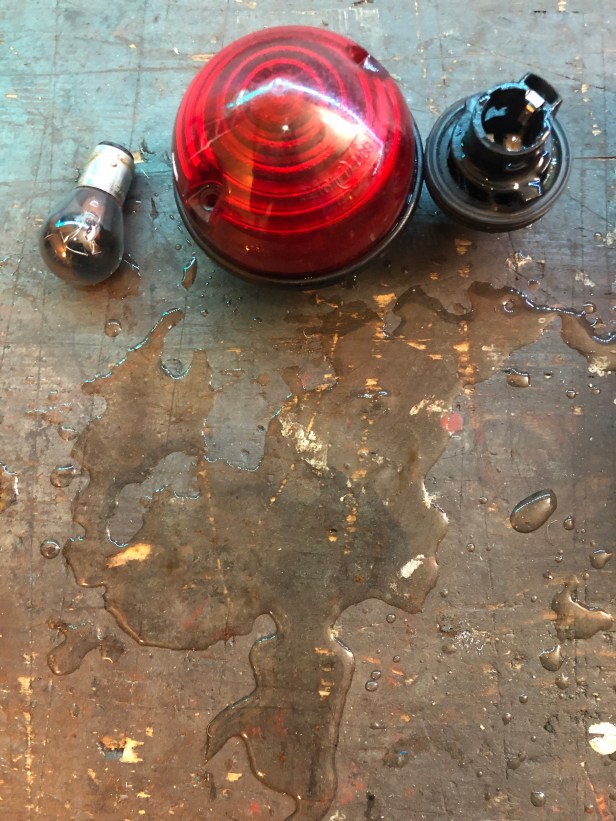
There seems to be a two year pattern of needing to replace the stop / tail lights on the Defender. In December 2017, the simple task of changing a blown lamp resulted in both units and sockets needing to be replaced. Water had gotten in and destroyed the contacts and connectors. Genuine Land rover lamps were ordered from Land Rover (at eye watering expense) and fitted… That’s it I naively thought.
Almost exactly two years later and the same things has happened again. Replacing a blown bulb resulted in the contacts dropping out of the holder again… this was only after I’d drained the 50ml of water from the lens itself.
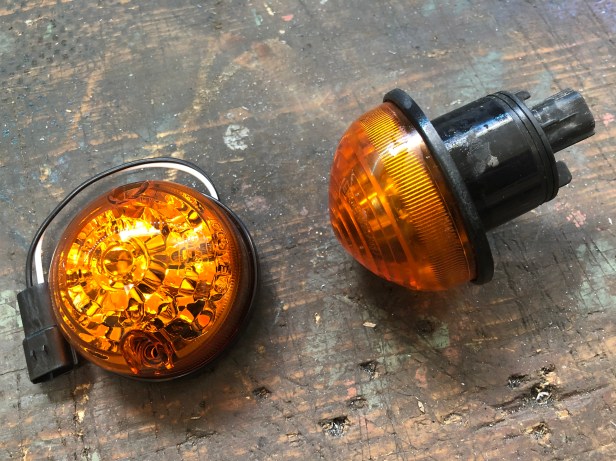
I searched the internet (invented at CERN don’t you know) ceaselessly for an entire 15 minutes and found Wipac (the folks who make headlamps for most vehicle manufacturers) also make a sealed LED unit to replace the porous Land Rover ones.
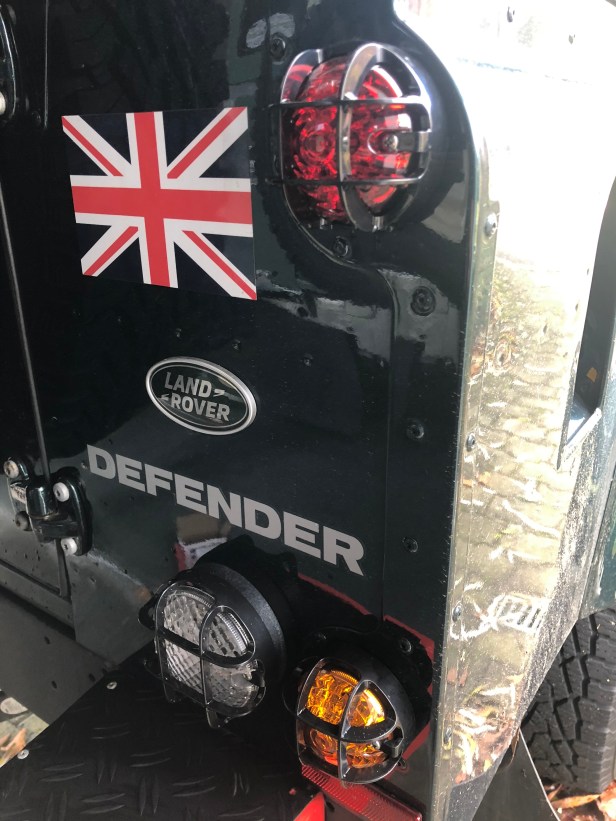
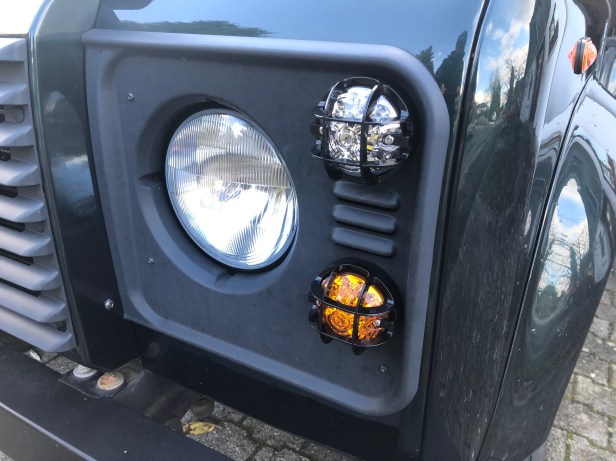
In the interest of having things match, I decided to replace all the indicators and side lamps as it was inevitable I’d have to do them at some point. As I was saving nearly 10 times what I’d pay for Genuine Land Rover parts (yes really), I spiced things up a bit with some lamp guards… I know how to live!
Our story starts on a wet and windy night…


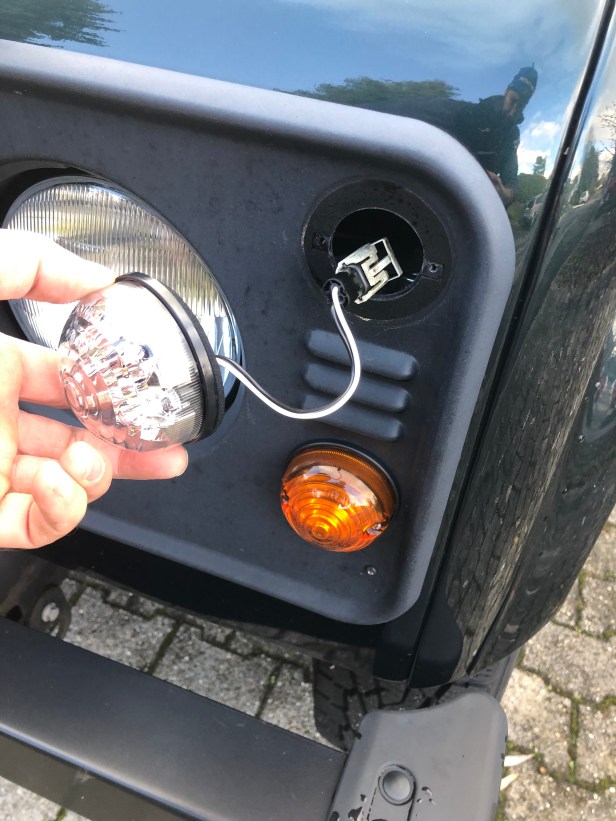
A short time later a full set of replacement lamps arrived. These are IP67 rated with a lifetime rating of 10,000 hours.


Changing a Defender indicator relay:
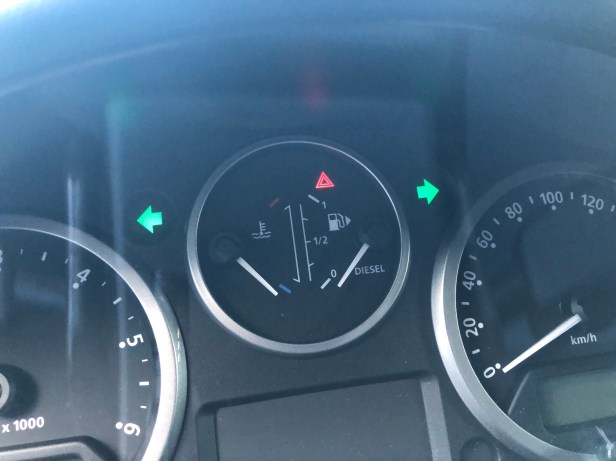
With LED indicators, the relay (the thing that clicks when you signal) needs to be replaced with a unit that can “sense” the lower current.
Relays designed to work with a traditional incandescent bulbs come in two flavours; “electric – with lamp out” and “thermal”. The Defender has the former.
“Electric – with lamp out” relays require a certain amount of current draw by the bulb. If that current draw is less than required, the relay will click faster. This is an audible cue that one of the indicator bulbs in that circuit is not working.
The same condition will be met if an LED bulb is fitted. As an LED draws significantly less current than an incandescent bulb, a traditional relay will read a fault… and click faster. Hence the need to an LED specific relay.


Fortunately, the world wide web came to my help in the form of a Land Rover manual. I need to exchange relay number 5. Oh hold on… I have 3 relays on the top row not 2 as per the manual. I switched the hazards on and felt which one was actually clicking.


There’s some setting up to do in order to get the lamps to flash at the correct rate, hence the adjuster on the top.

Instructions then say turn the adjuster anticlockwise SLOWLY until the trailer warning light goes out. Which it did. Easy enough instructions to follow.
Hopefully I won’t need to replace these sealed units for a good few years… but this is a Land Rover and pretty much anything could happen.
On on 🙂

Hmm, the Defender doesn’t seem very robust … you need lights. Good thing you can fix all these things yourself!
LikeLike