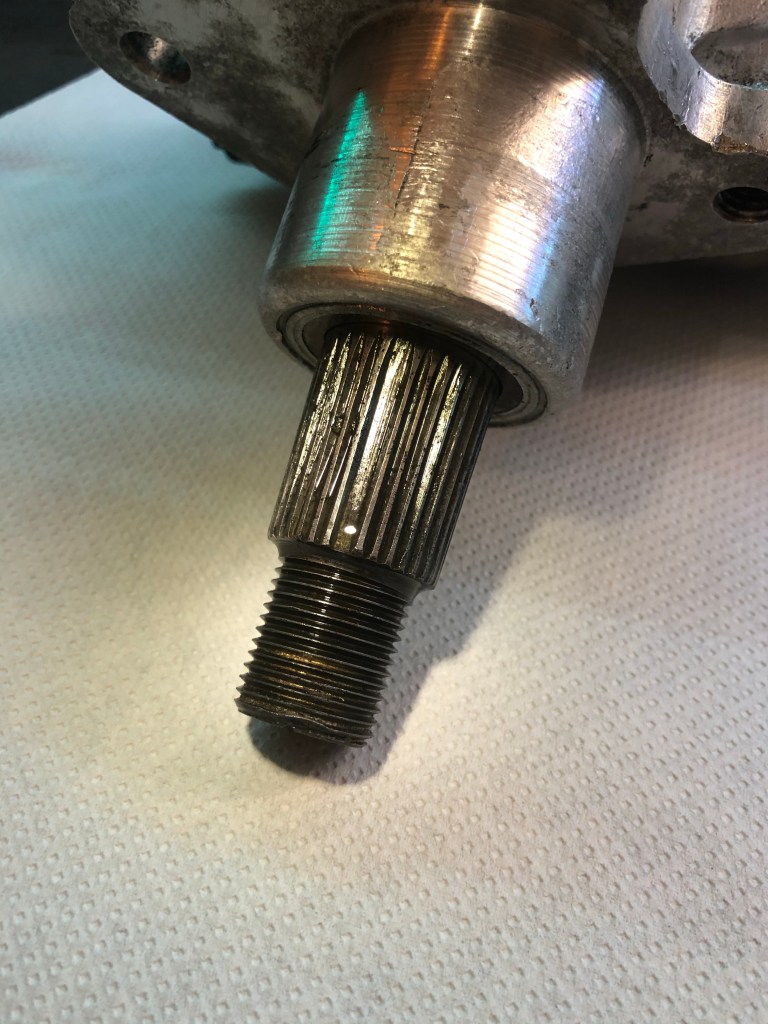
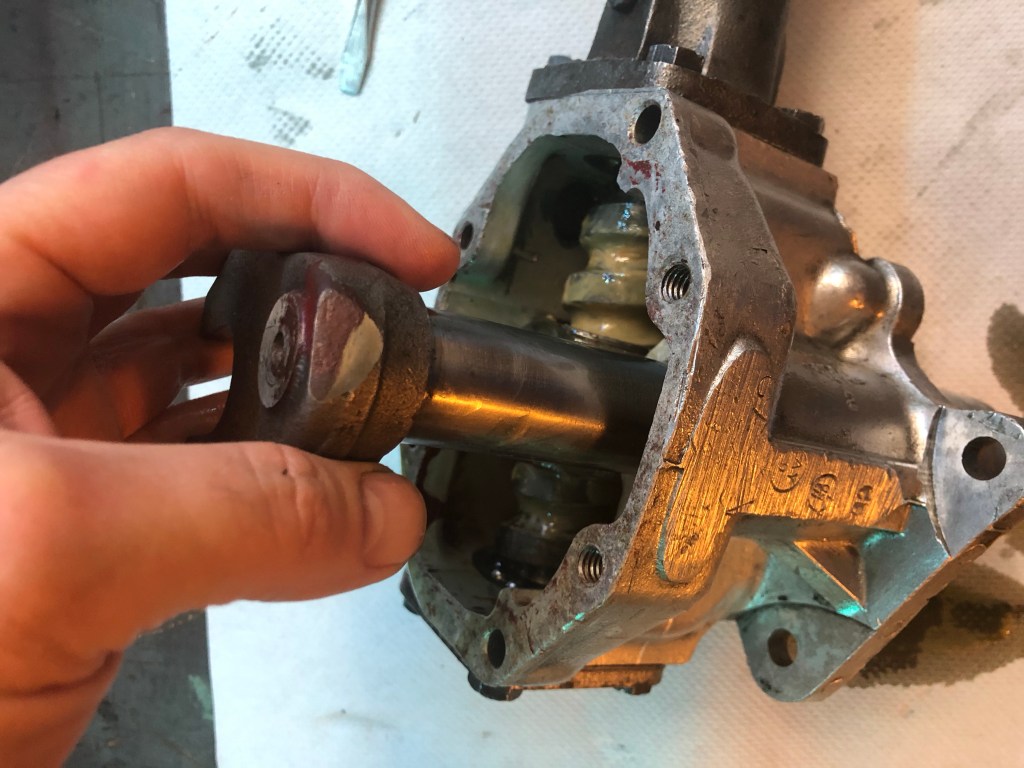
Carrying on from where we left in the last post... I pushed the polished rocker shaft back into the housing with a good dose of EP90
After leaving it a few days it was clear the O ring seal on the rocker shaft was long passed its best.
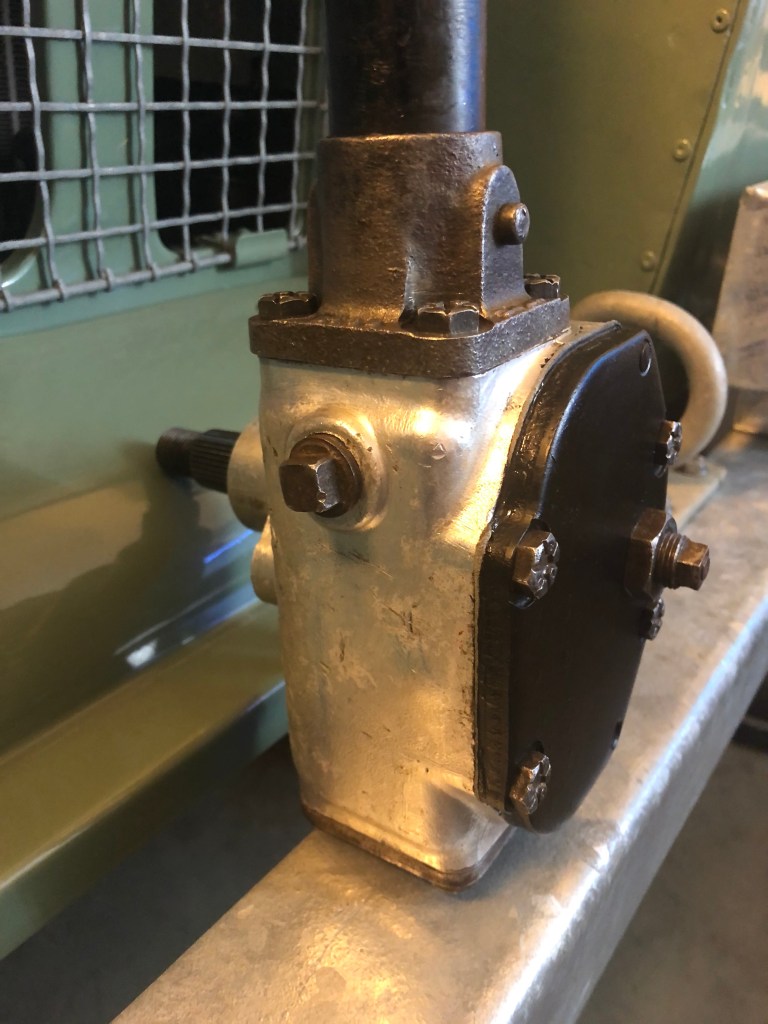
Oil can be seen glistening at the end of the splines.
This post covers the replacement of the O ring seal and cover plate gasket.
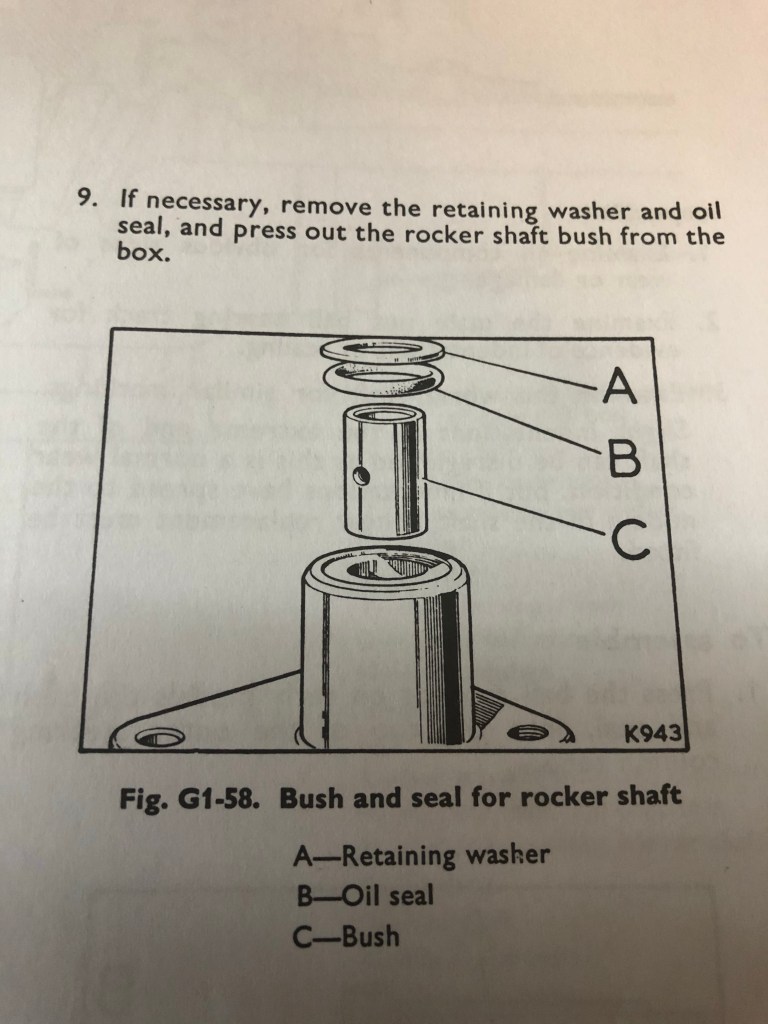
The manual blithely suggests removing the retaining washer and seal
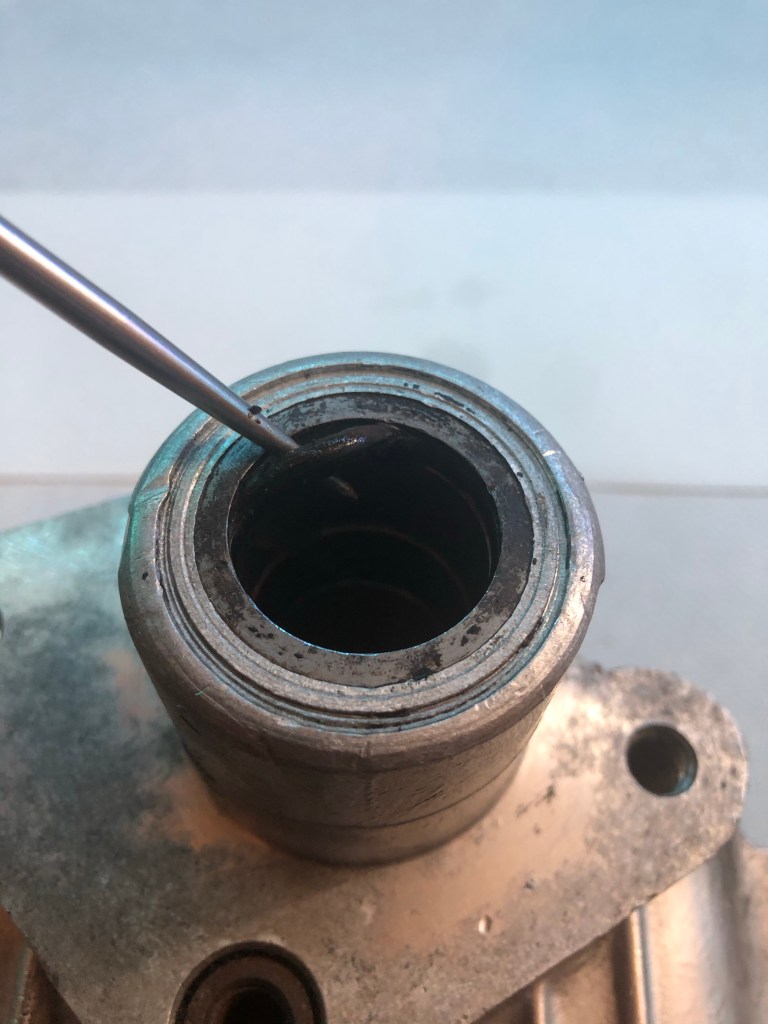
In reality, the edge of the aluminium housing is peened over the top of the retaining washer. Getting the washer out would probably render it useless. But with a long pointy thing, I could hook the old O ring out and leave the washer undisturbed..
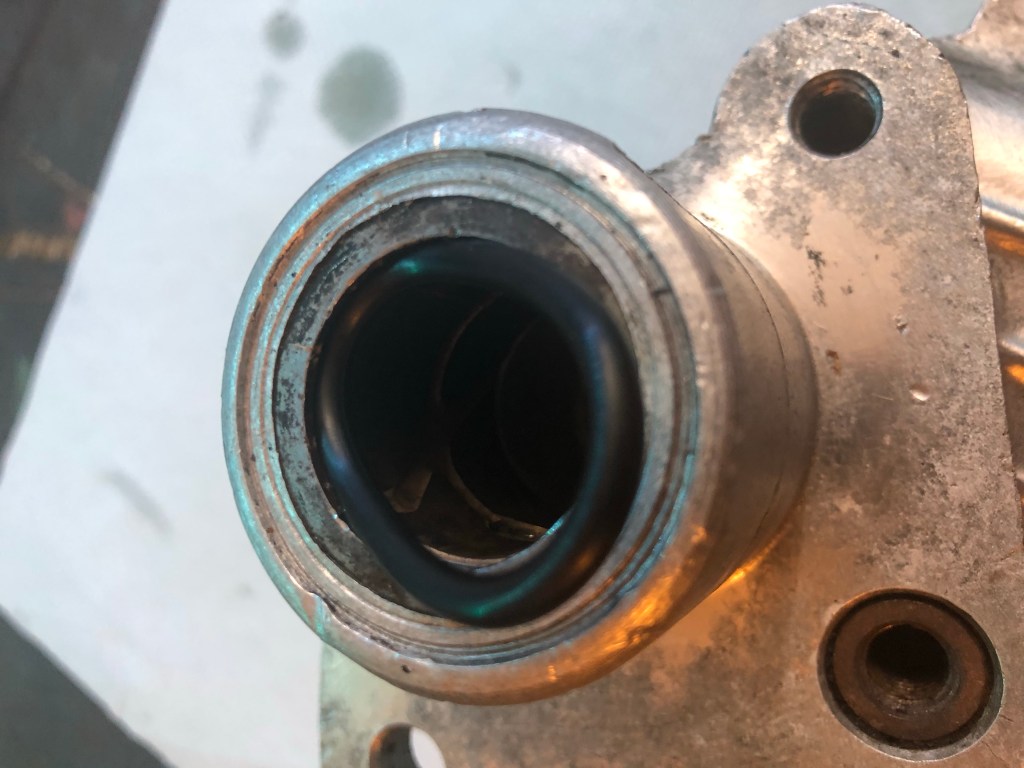
After cleaning the recess where the seal will sit, the new (and much softer) O ring is pushed in.
Next, the lightly oiled rocker shaft is fitted to the casing and pushed passed the O ring seal.
With the rocker shaft in place the cover plate can be fitted with its new gasket.
Firstly the mating surface was carefully stripped of the old red sealant and thoroughly degreased… which I didn’t photograph so you’ll have to make do with the “before” shot
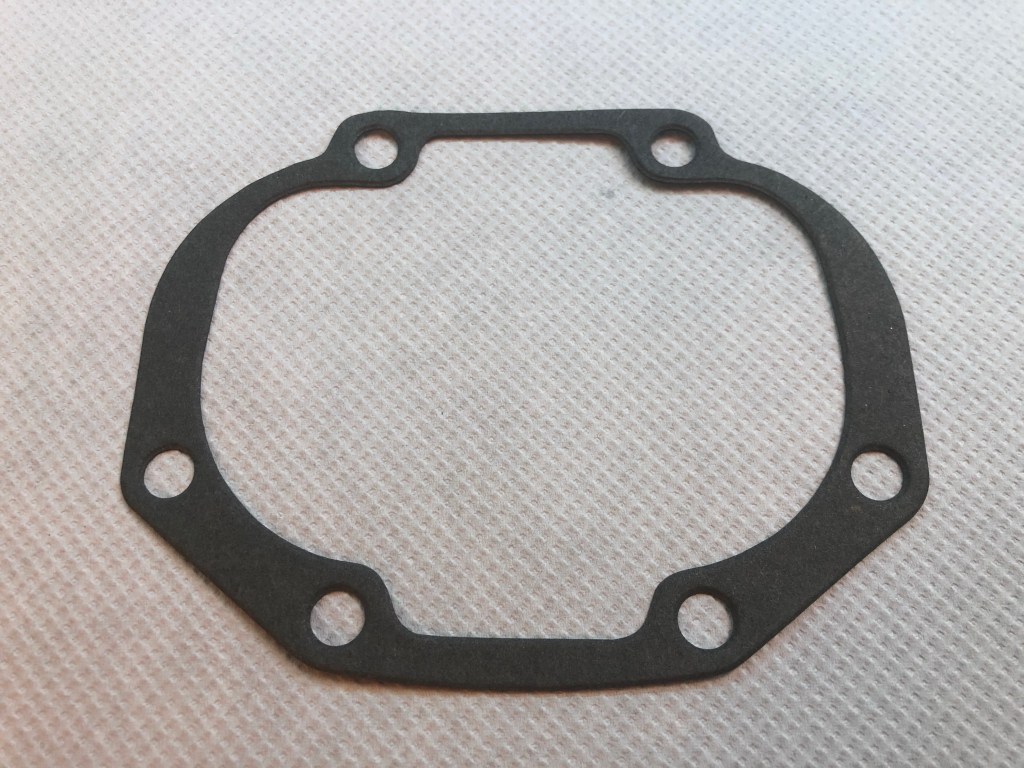
New paper gasket
The gasket will be bedded on with some trusty Loctite Quick Gasket.
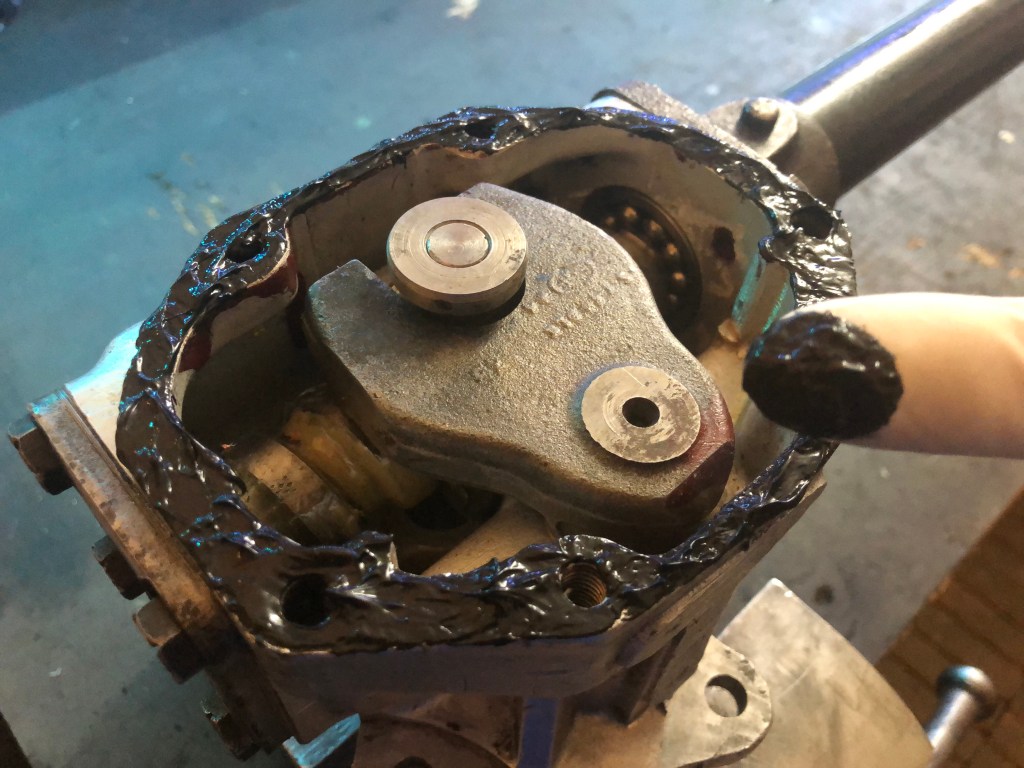
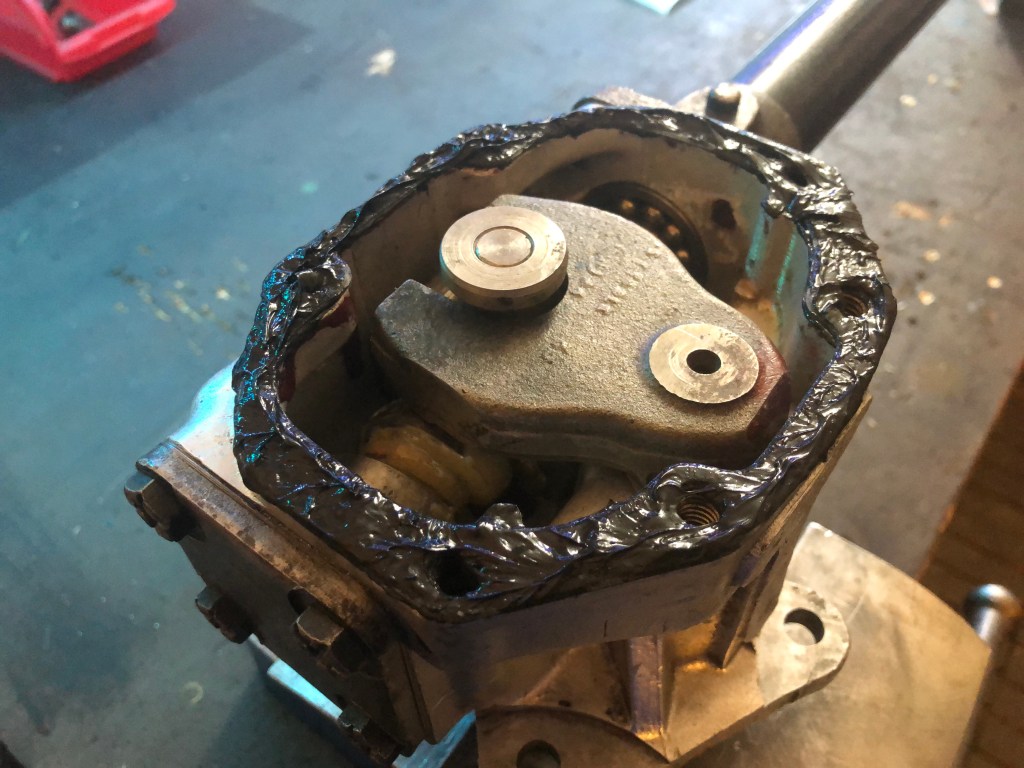
Bead of sealant applied to the casing.
Sealant is smeared around with a gloved finger
Gasket is applied to the sealant
More sealant is applied to the face of the gasket ready for the cover plate.
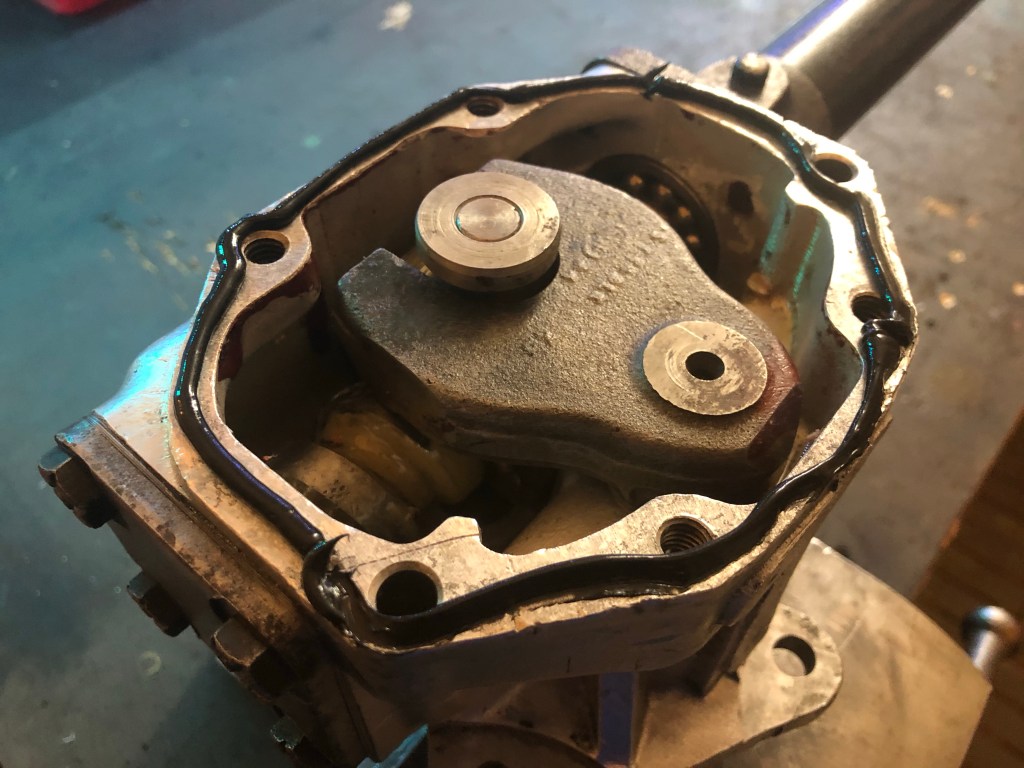
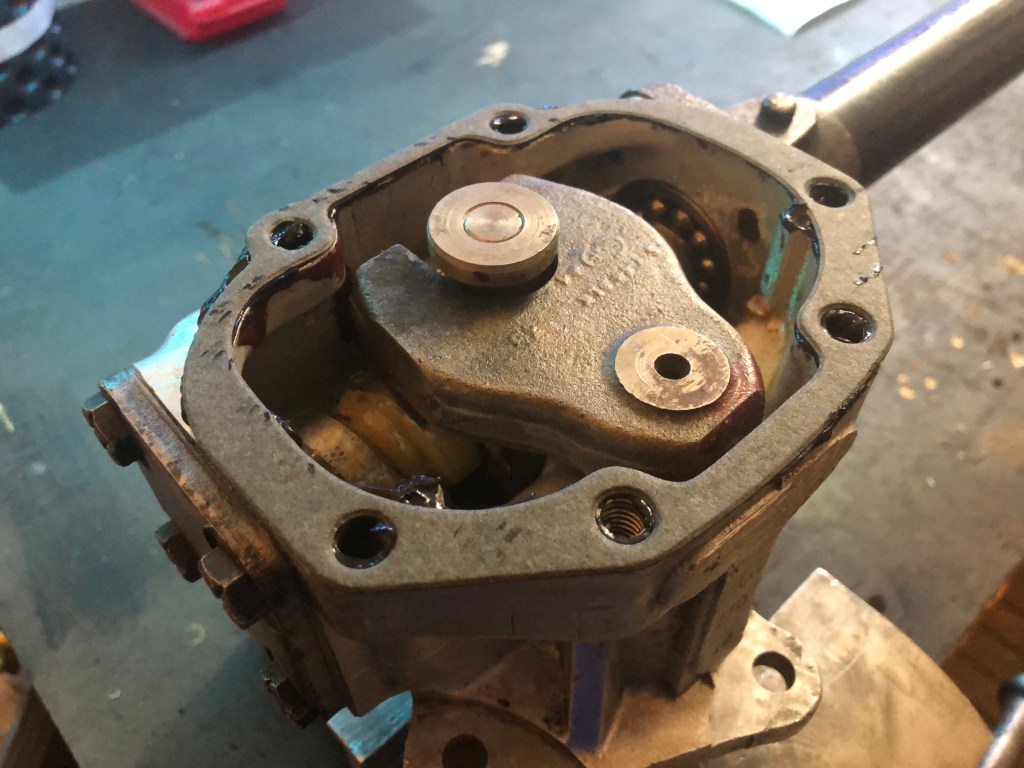
Before the cover plate is bolted down one last check is made to make sure everything is where it should be. In particular the special “washer” on the end of the nut (between the forks on the rocker shaft).
On the underside of the cover plate, there’s a machined recess along it’s length. The special washer locates in the recess which acts as a guide, ensuring the nut is always in the vertical position as it travels up and down the worm. Without this there would be a huge amount if play in the steering.
Cover plate, tidied up with a fresh coat of matt black paint
The cover plate has two lugs which allow straight alignment and a last chance to check the special washer is lining up correctly
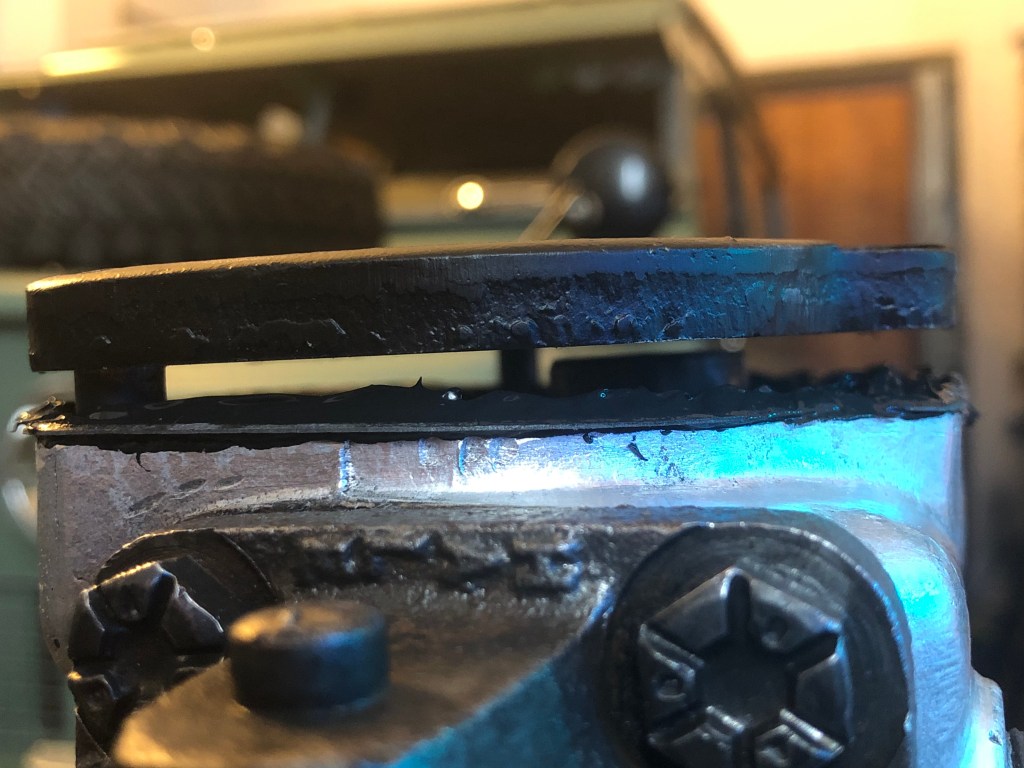
A soft faced mallet is used to tap the plate home (Lots of oozing of sealant)
The 4 original bolts for the cover plate and…
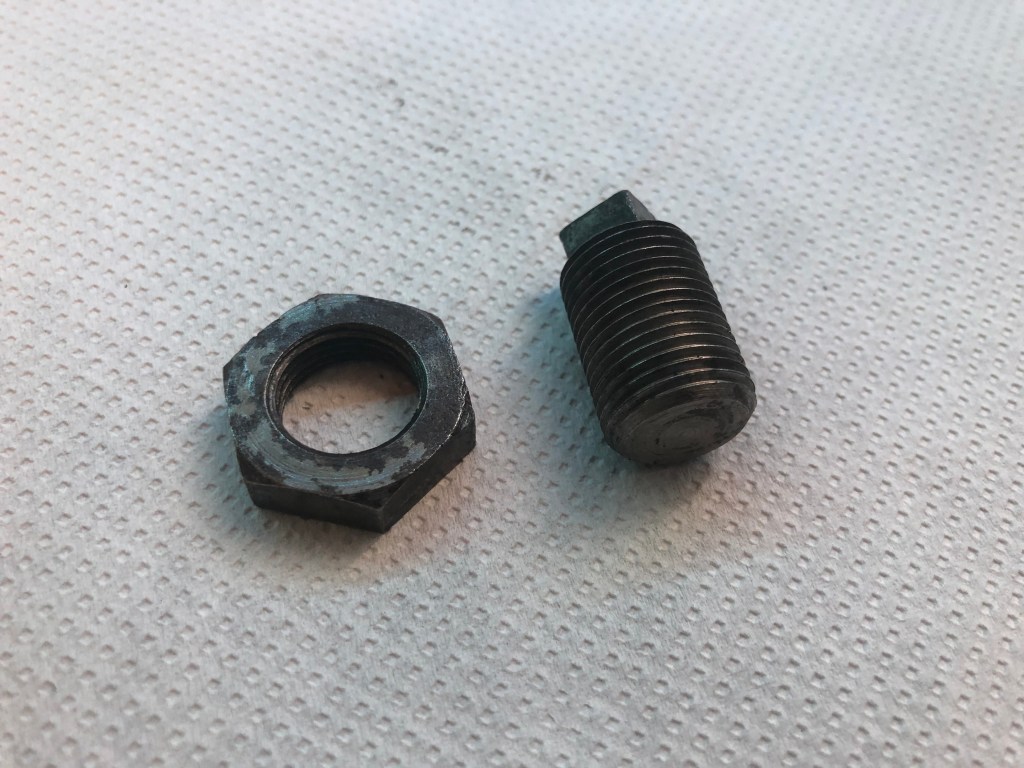
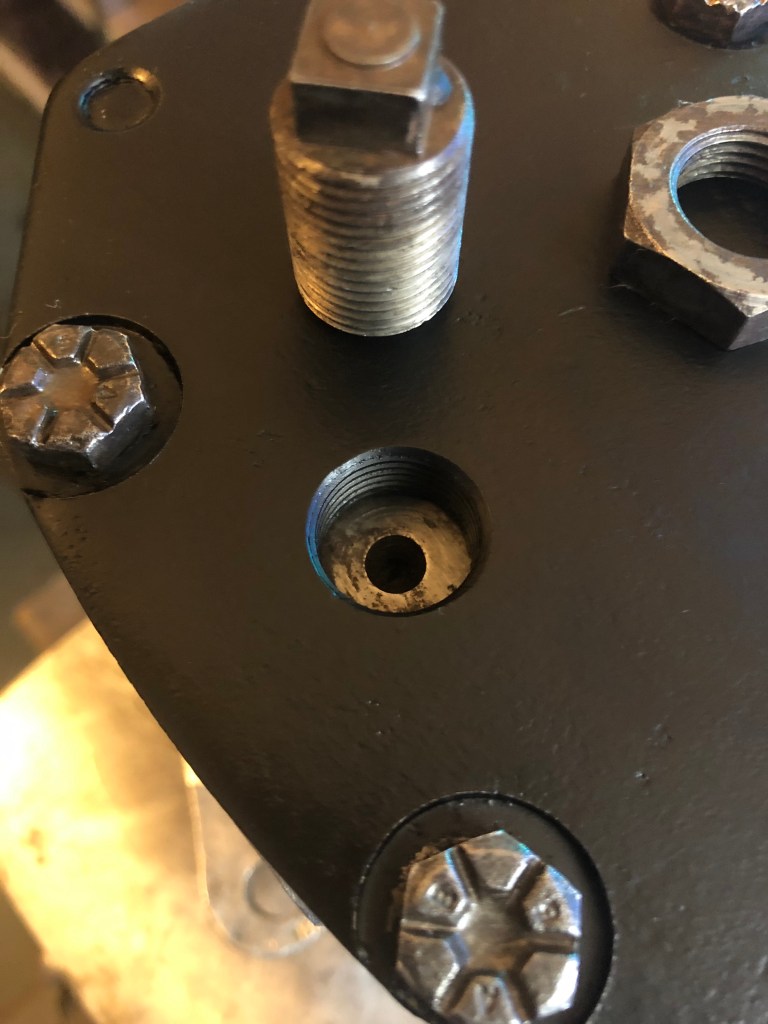
… adjuster stud and lock nut are the last pieces to go back on
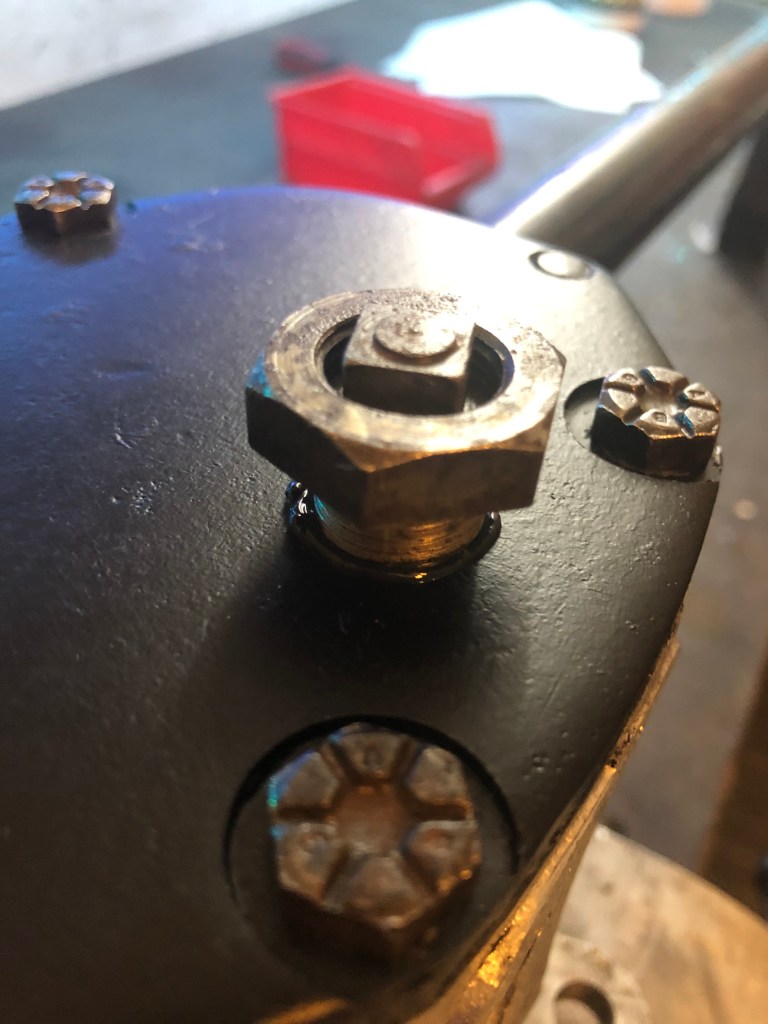
The retaining bolts are fitted and excess sealant cleaned off. The adjuster stud screws into this opening and presses against the end of the rocker shaft ensuring a positive engagement between the fork and nut on the worm. As the steering box wears, this is screwed in to compensate.
I applied some sealant to the threads… just incase. Once end-float has been eliminated from the adjuster stud, this is considered to be applying sufficient pressure to the end of the rocker shaft. The lock nut an then tighten down.
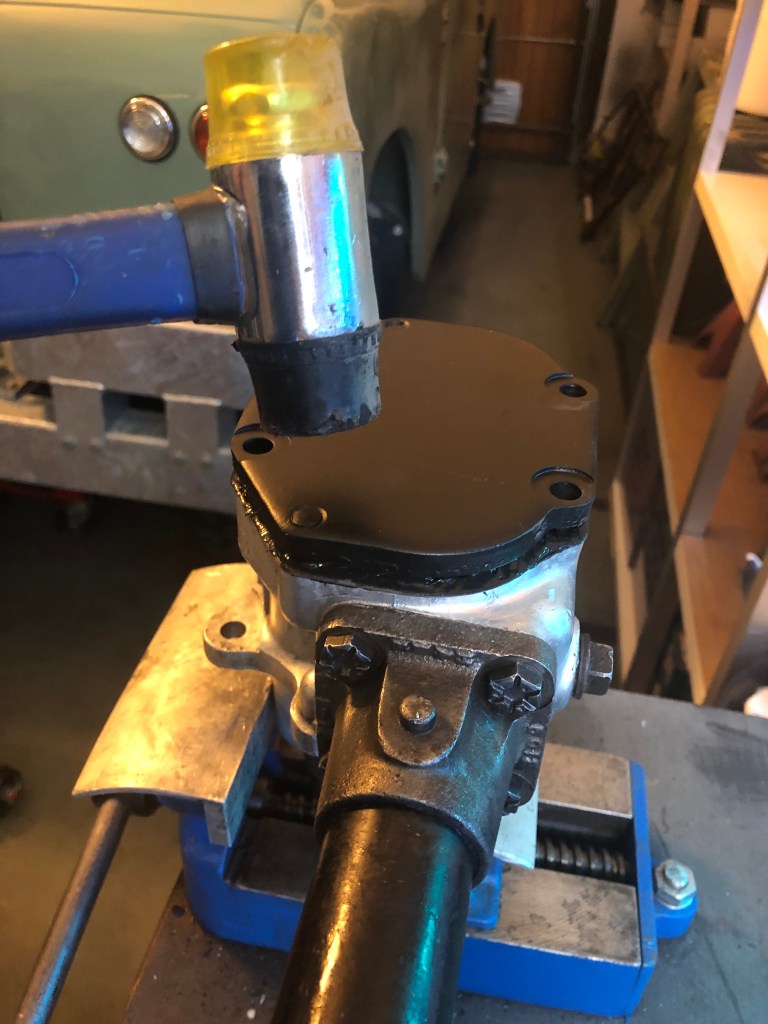
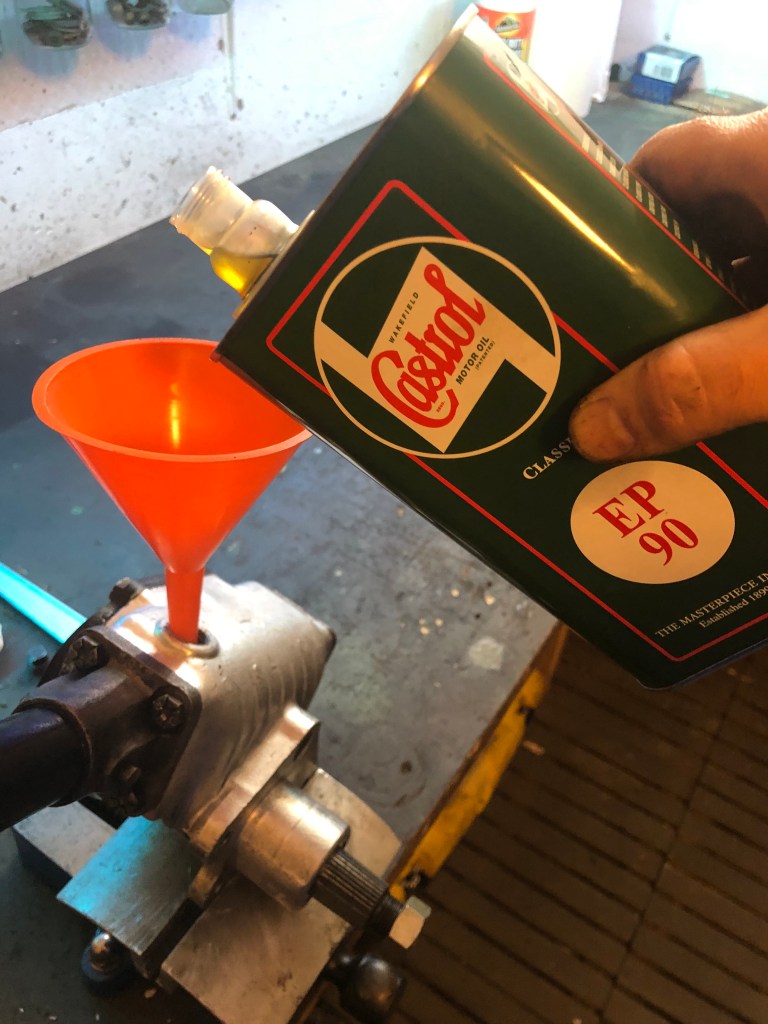
The steering box was left approximately 24 hours to allow the sealant to cure and then filled with delicious smelling EP90.
There is no volume of oil documented in the Workshop Manual, only, fill until the bottom of the oil filler hole. The steering box was placed in the vice at roughly the right angle and filled with EP90.
I’d call that job done.
Next step will be to rub back the steering column and spray it gloss black to match the other bits and piece in the cab.


It appears most of the content is missing from this post. I see it all in preview.
Hopefully it will all arrive……
LikeLike
Oh I see… I don’t need page breaks. Problem solved.
Read on 🙂
LikeLike