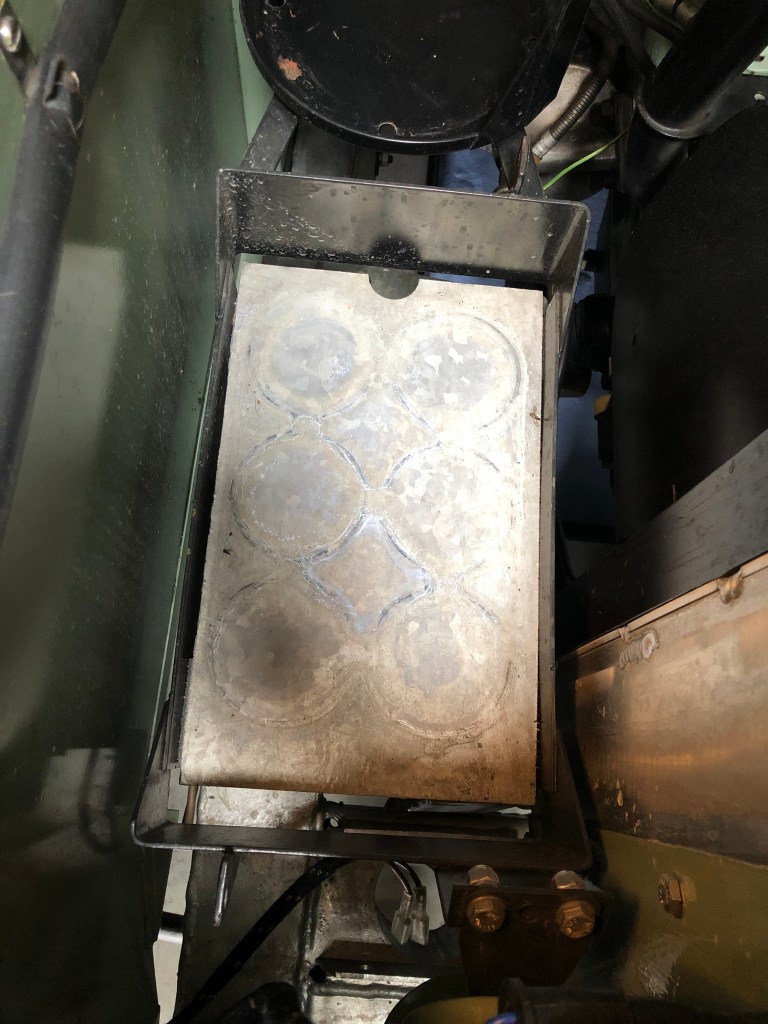
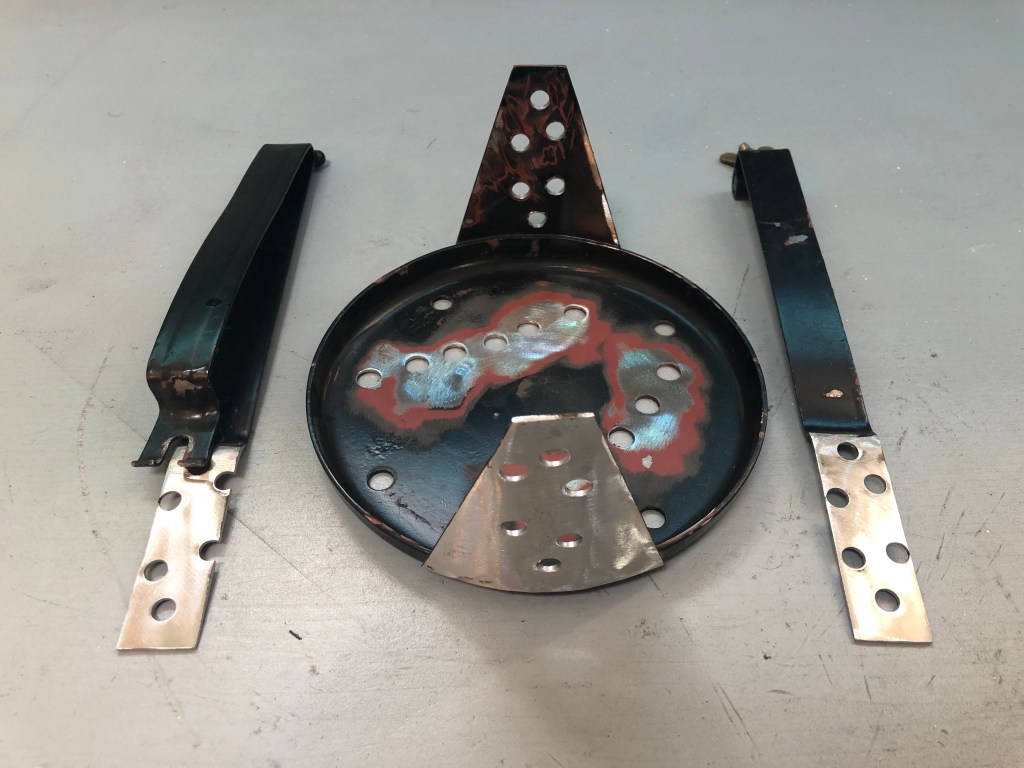
The next step was to rework the battery tray / oil bath air filter bracket. This part was not advertised as part of the sale (they are also as rare as hens teeth) and I already knew it would need some rework to allow the shorter oil bath for the raised air intake to fit.

The unit on the right is the original from LGL. The bracket will need to be adjusted to hold the new, shorter filter. With the extra spigot on the filter, the bracket needs to be rotated about 30 degrees as well

Battery Tray & Air Filter Bracket (Part number: 562929)

First the battery needs to be disconnected and taken out and the 4 nuts and bolts holding the air filter bracket removed. These nuts and bolts have to be the most awkwardly placed fixings on the entire vehicle. It was a lot easier installing it when there was no wing and radiator in place.

Battery removed. The battery tray / filter holder can be unbolted.
After much cursing the tray and filter holder are on the bench.

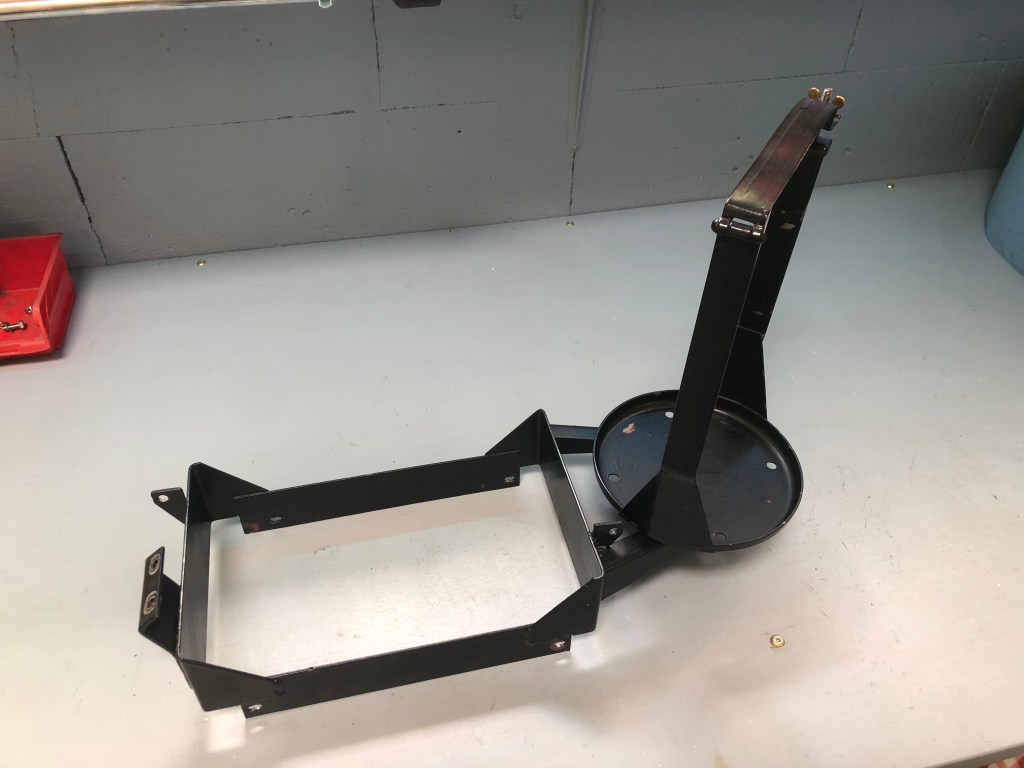
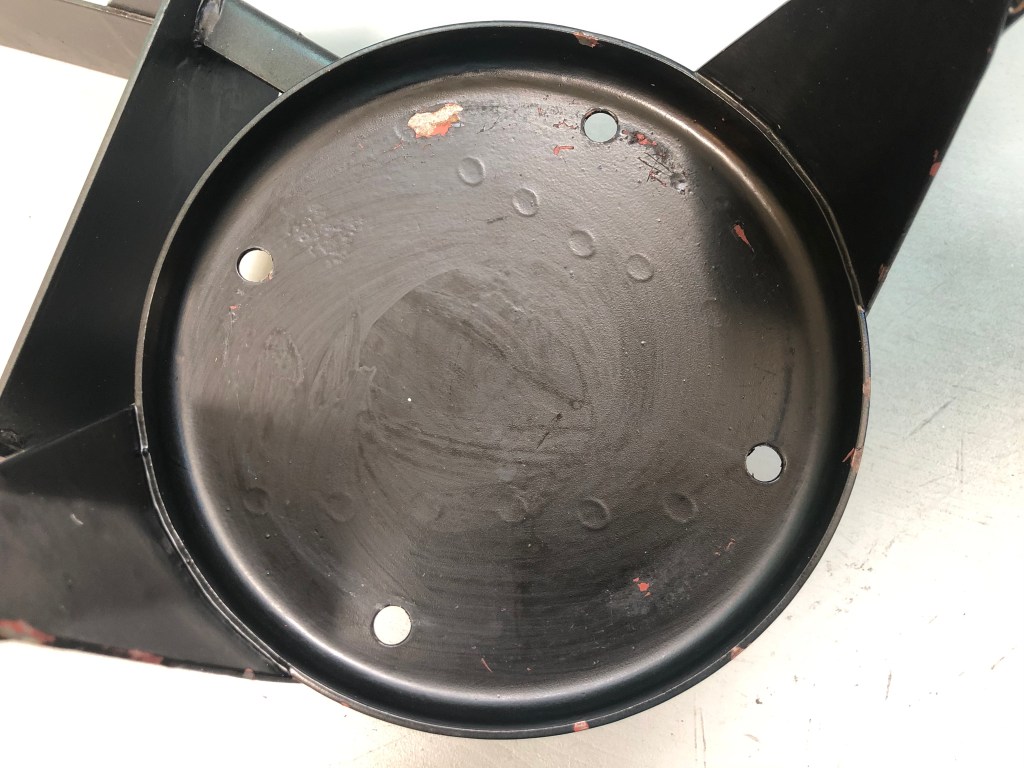
Two things need to happen. 1) the strap needs to be shortened to accommodate the shorter filter. 2) the strap needs to be rotated approx 30 degrees

The spot welds can be to be drilled out to remove the round tray from the battery frame
Easily done.
With a little bit of gentle persuasion with a small cold chisel, these two parts are separated.
By way of illustration, this is the new position of the strap relative to the battery tray
Next the strap needs to be separated from the tray. Once agin the spot welds are drilled out.
The pillar drill comes in hand for this task
The individual parts are given a good clean up with the angle grinder in preparation for welding.
Some trial measurements were made to establish the right height for the strap. The strap needs some tension on it when tightened up so I went with the lower line and matched this up on the opposite side.

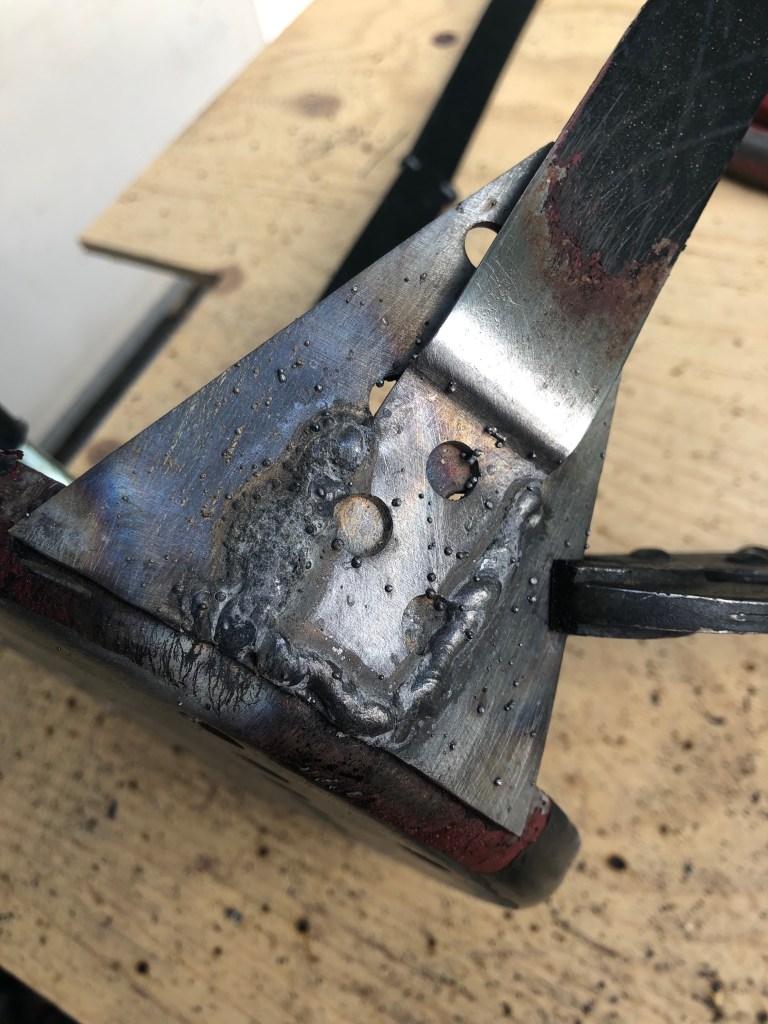
Now for some welding… I do not express to be an expert at welding. I’ve done it before, I understand the basic principals and watched lots of informative (and less informative) videos on how to do it. There’s no substitute for practice however. Practice was carried out on a hapless piece of 25mm angle. Once I was happy I had the power and feed rate of the wire correct I moved onto welding the strap to the tray.

Incidentally, I’m using a Stanley Micromig gas-less flux core MIG welder.

Not bad for a first attempt. The spatter will be ground back later.
Fast fowards a couple of hours and the strap is fixed back to the tray

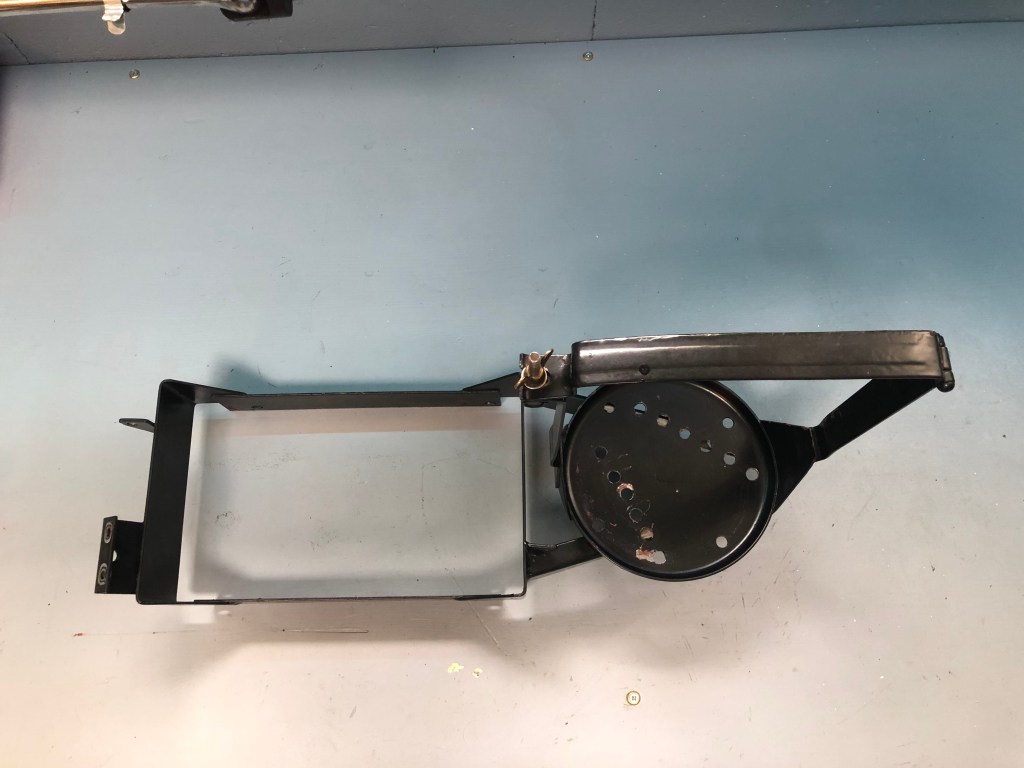
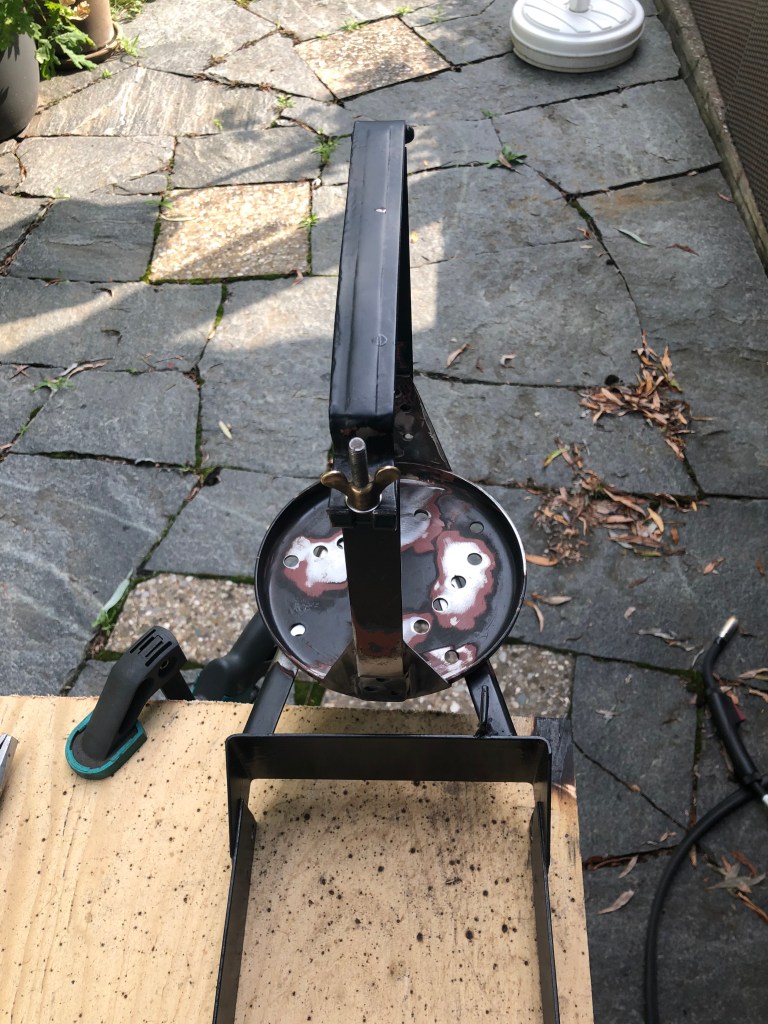
The next task is to weld the shortened strap and tray back to the battery frame.

Strap and tray in the original position.
Tray and strap offered up into the new position
First some spot welds were made to hold it in place temporarily
Then a longer bead was added to fix it properly. Not as neat as the first welding but it cleaned up OK with the angle grinder later on.

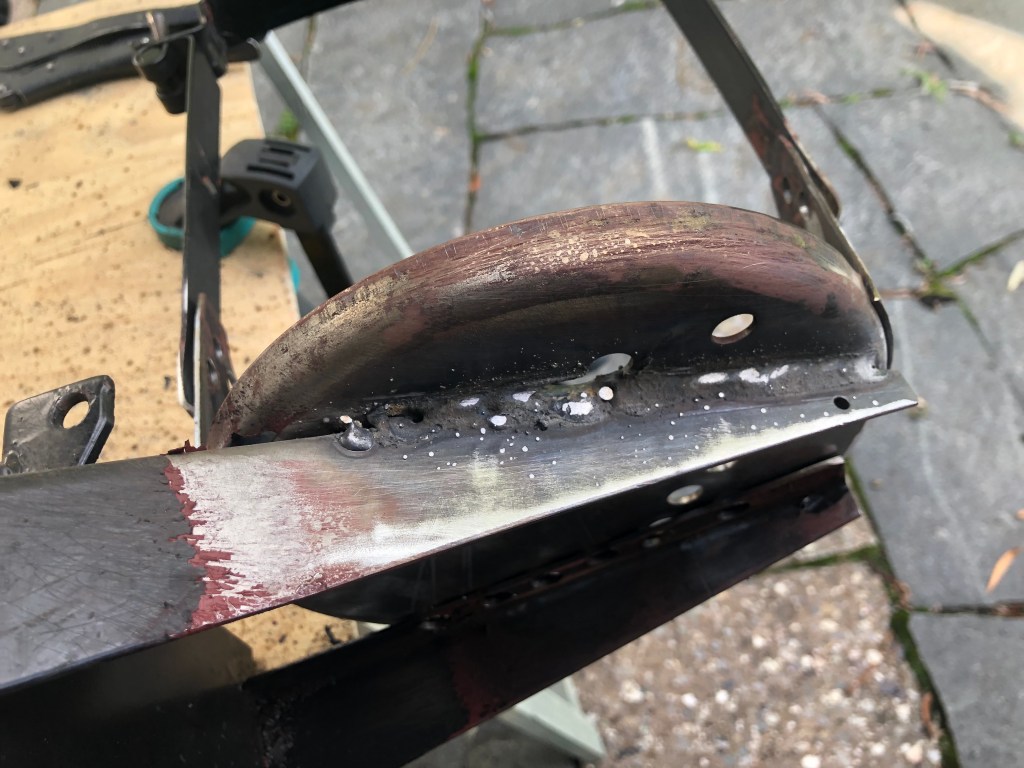
This was repeated on the other side of the strap, then all of the welds were ground back to smarten things up and the whole assembly given a few coats of gloss hammerite

A small sheet of fire retardant fabric was added to the base of the filter holder to finish things off.
Then the horn was refitted…
… and the whole thing installed under the bonnet along with the battery, oil bath air filter and carb hose hose.

Next job will be to fit the raised air intake parts on the outside of the vehicle and (very very carefully) cut a hole in the bonnet!