
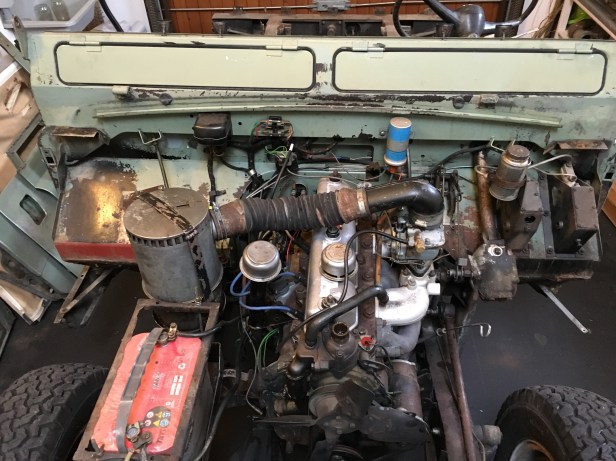
Its only until you have to remove the bulkhead that you realise there is quite of lots stuff bolted to it.
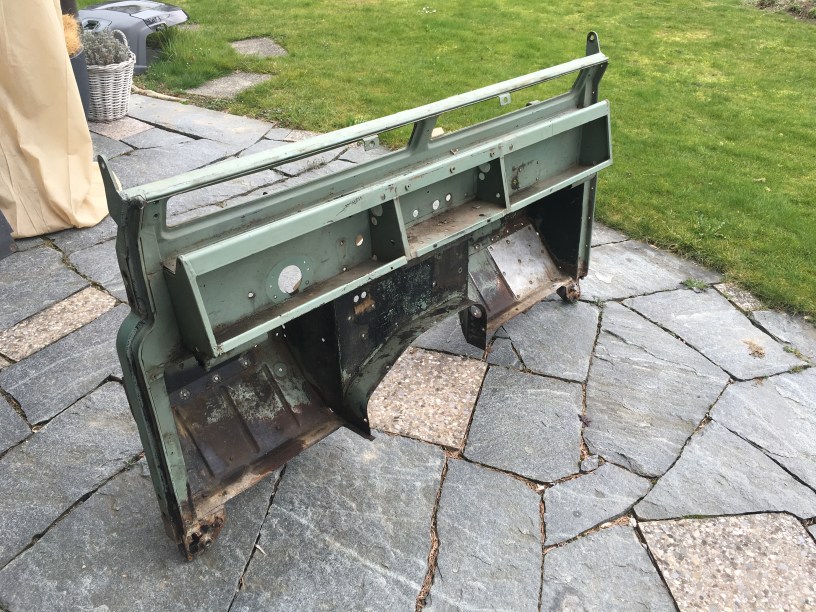
For its age, the bulkhead is in reasonable condition. Sure, it is has some patches but is structurally sound and more than salvageable. Being a key part of the vehicle, I’m happy to be able to reuse it and maintain some of the originality. However, I don’t really posses the necessary skills to make a decent job of welding in new door posted and footwells, so the work will be done by Ashtree Restoration International Ltd in the UK who are specialists in bulkhead rebuilds and galvanising. Local “specialists” wouldn’t touch it.
Below: Brake and clutch systems share the same fluid reservoir. A common conversion is to fit a later Series 3 brake tower with a servo (drawing a vacuum from the exhaust manifold) to provide improved braking. Whilst the benefit of servo assist brakes on the heavier 109 in undoubtedly a bonus, the 88 is light enough to live with the original set up. The disadvantage, is that the original set up is a “single line” brake system but with regular inspection I don’t see this being much of an issue…. plus it maintains some more originality (aargh, rivet counter alert ….)
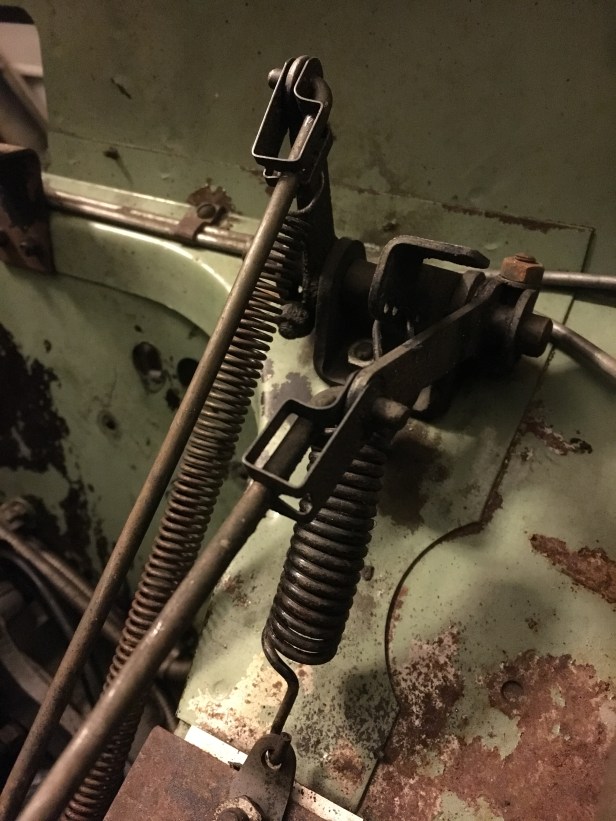
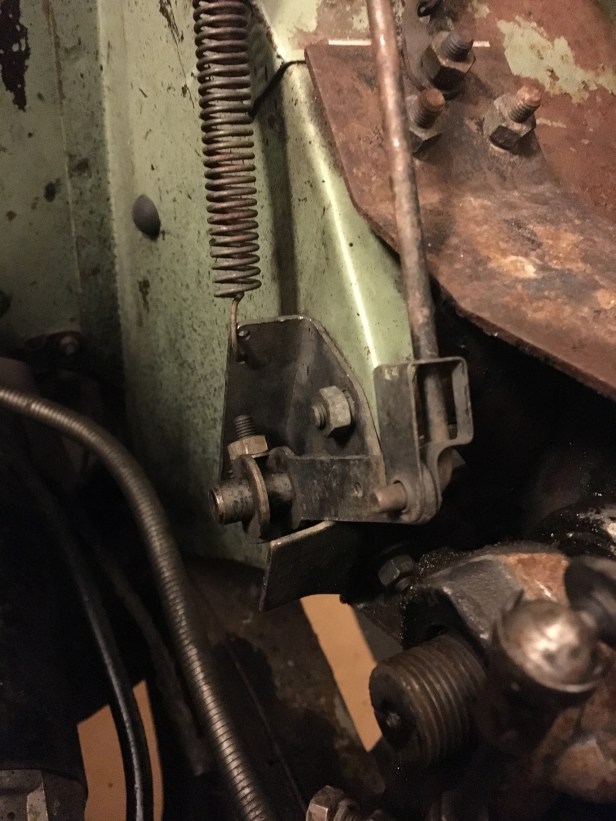
Below: This is the antithesis of the fly by wire throttle assembly in a modern vehicle … “A series of intricate levers and pulleys” transfers movement of the throttle pedal to the carburettor in quite an elegant manner, although I am not looking forward to stripping it down.
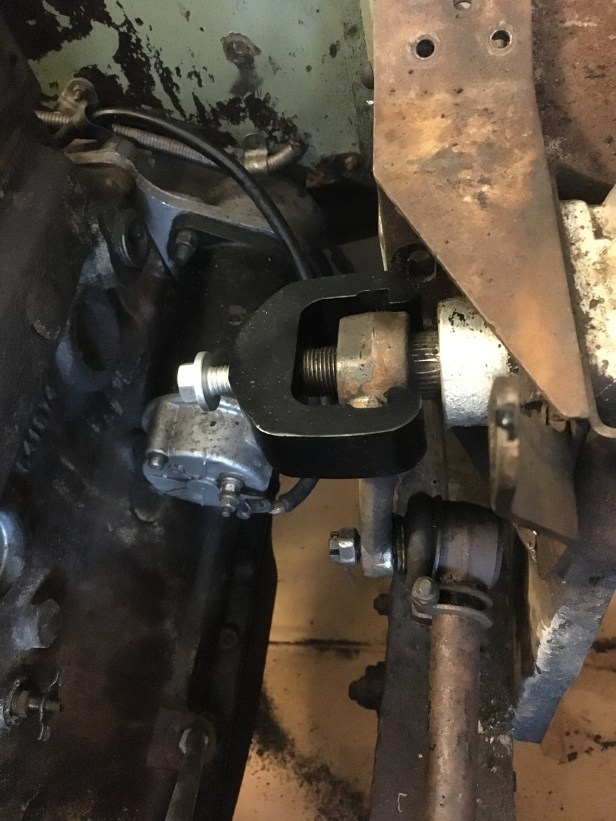
Below: To remove the steering box one must first remove the drop arm (or Pitman Arm as it’s sometime called) The drop arm is on a taper fit to the output shaft of the steering box and connects, by means of the longitudinal arm to the steering relay. It quickly became apparent the normal method of removing stubborn components…. (heating things up with a blow lamp and attempting to batter it off with a cold chisel and hammer) wasn’t going to work in this instance, so I bit the bullet and bought the correct tool from HNJ Engineering. If one performed a time in motion analysis on this tool, it will be the single most expensive part of the rebuild… less than 30 seconds and it was off… and thats its sole purpose. To give HNJ their due credit, they due produce very high quality workshop spec tools.
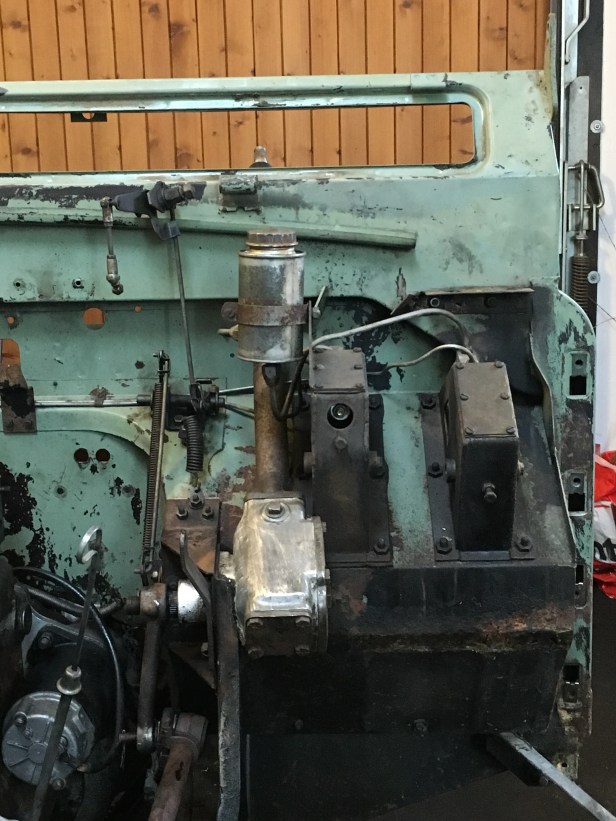
Below: Don’t be fooled. I’d already wire brushed a huge amount of clag off the steering box (see image at the top of the post), the rebuild of which will the subject of a separate post in the future. Wow, what a teaser…;-)
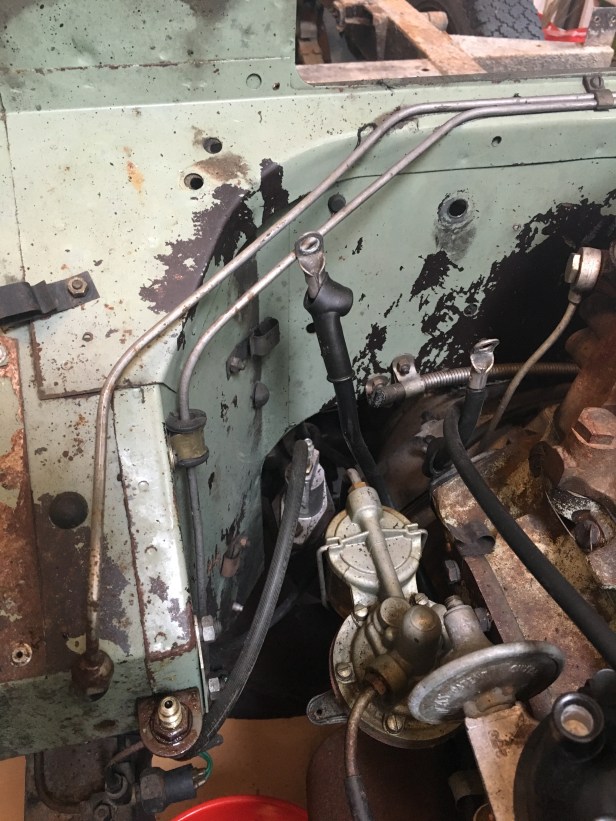
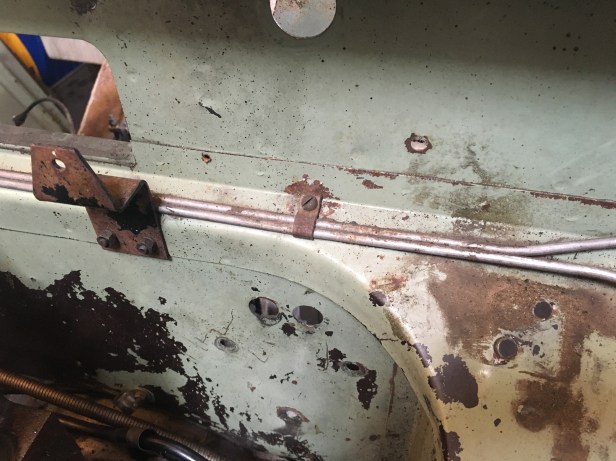
Below: Original brake and clutch lines are in good fettle and will be polished and reused. The pipe runs on the chassis will be replaced with new copper lines
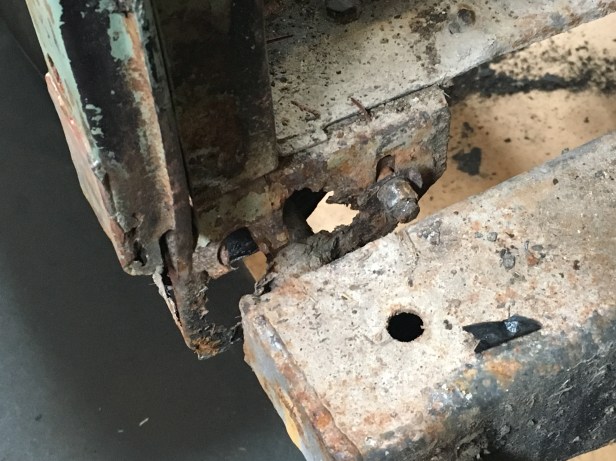
Below: It took 10 second with the angle grinder to buzz these bolts off. Far more satisfying than half an hour cursing at it with hammer and chisel in hand.

Below: Main bulkhead retaining bolt… BZZZZZZ…. Job done

Below: Bulkhead fully stripped and attending a photo shoot in the garden. Nice patch panel on the near side footwell but overall for a vehicle of this age, it’s in remarkably good condition. I have seen modern Land Rover bulkheads in the UK with far worse corrosion. I put it down to the fact that almost ever single car here in Switzerland is garaged overnight or at least under cover, having a chance to dry out. Plus the roads are not pummelled with salt all winter quite as much as in the UK. The bulkhead is now in storage in the bike shed awaiting for me to build a crate and send it to the UK

