Steering Box: The device used for controlling the direction of a vehicle such as a car or ship or airplane.
It’s an often overlooked component, missing regular oil changes, developing play and not been adjusted correctly. The internal of the steering box are fairly straight forward. Serviceable parts, consisting mostly of ball bearings and gaskets are readily available. The biggest issue is pitting of the bearing surfaces either end of the “worm” on the steering shaft due the incorrect preload being set. Fortunately, the pitting on this one wasn’t all that bad.

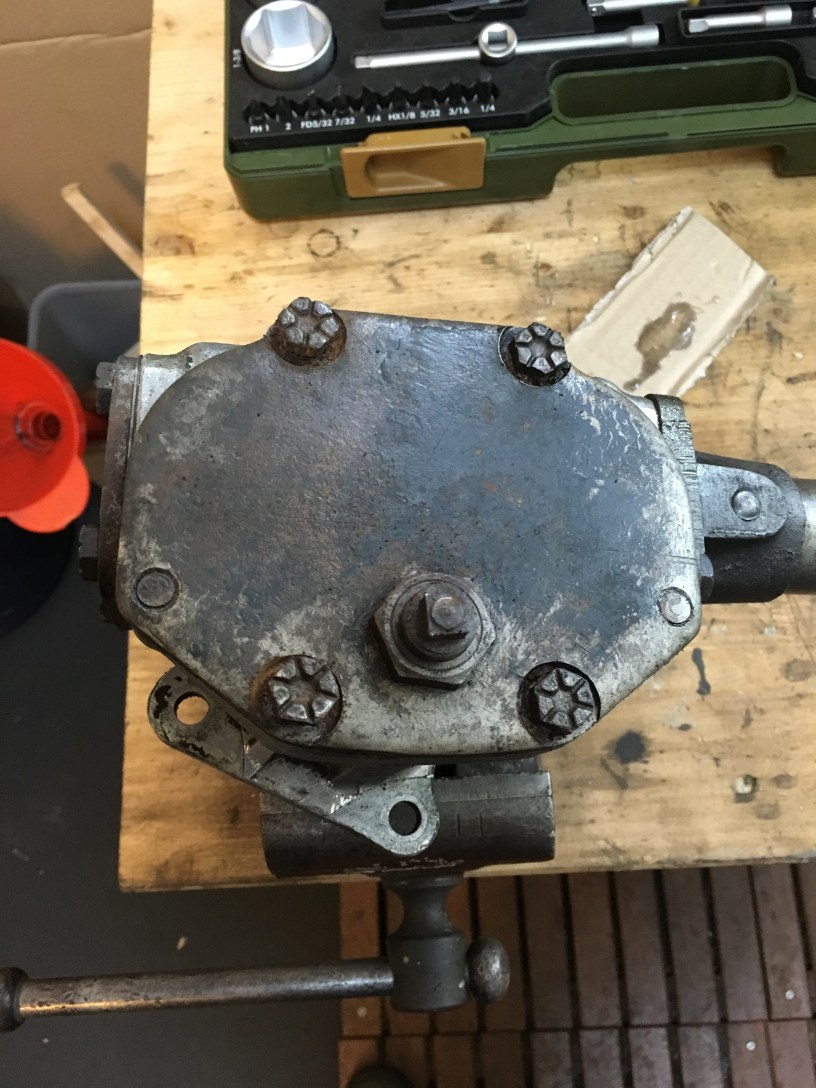
Below: This what the inside looks like. The “worm” is the spiral shaft running vertically. The “nut” is hiding behind the output shaft, the face of which you see with the number 35 cast into it. As the worm rotates, the nut travels vertically along its length forcing the output shaft to rotate.

Below: The steering column shroud fitted inside the vehicle bares this strange home made badge. 2. 182870. I can only assume the number 2 refers to the 2nd speedo and the 182870 was the Km reading when replaced. The current speedo reading is in the region of 120000 Km, so, that puts the life time kilometres and nearly 300k. (c 6k per year??) It would be a shame to loose this so I will remake the little sticker at a later date.

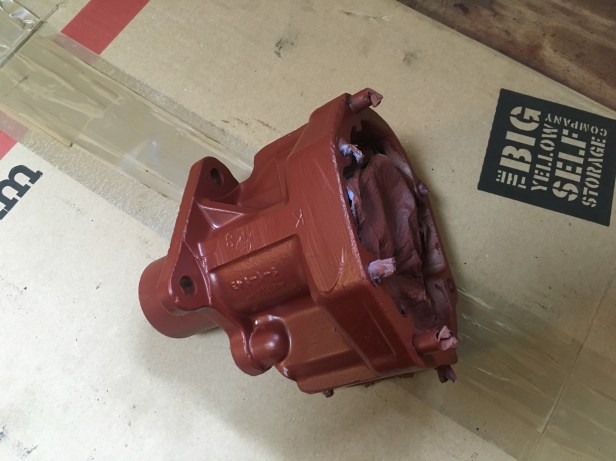
Below: With the steering column and internals removed it was time to crack on with the renovation of the steering box. After a good thrashing with the knot brush, a good degreasing and cycle though the dishwasher (shh don’t tell anyone) it was time for a couple of coats of primer.
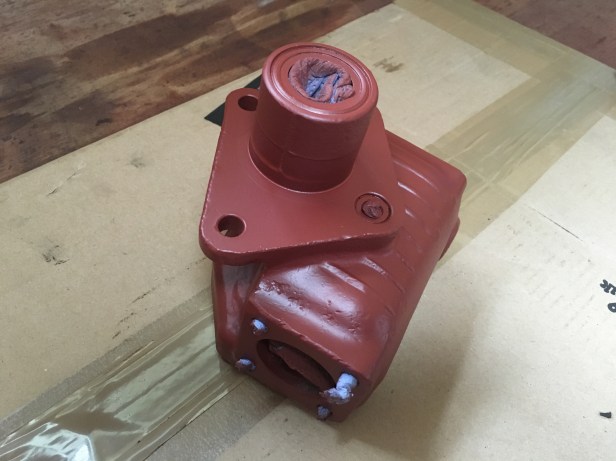

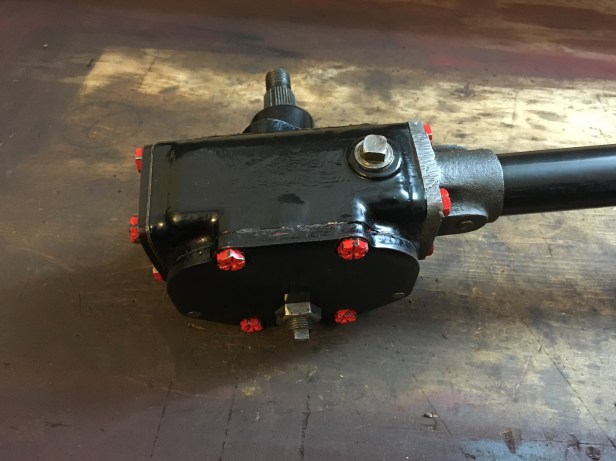
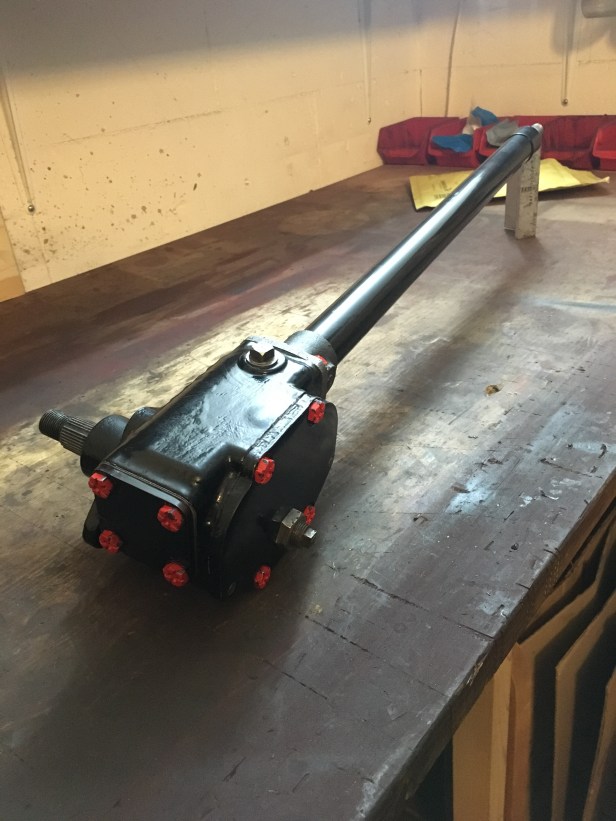
Below: The finished product. I had bought a set of new ball bearings, races and gaskets already and had assumed the rebuild would be relatively straight forwards. How hard can it be, I rebuilt hundreds of bikes with “loose” bearings….I was so wrong… Getting the top and bottom bearings to stay in place was tricky. It took a couple of evenings work (time is limited in the evening) to get them all it (and then clean all the grease off everything). Very glad I don’t have to do this again for a long time.