

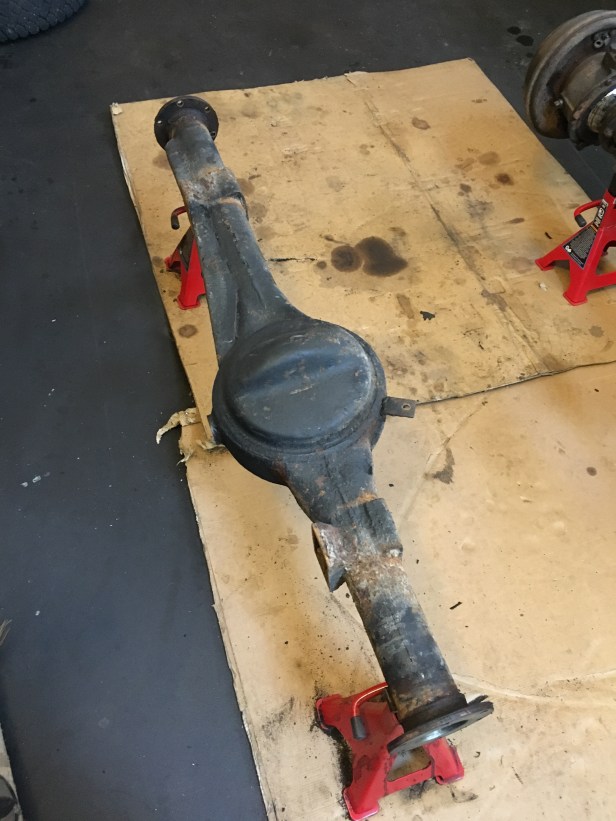
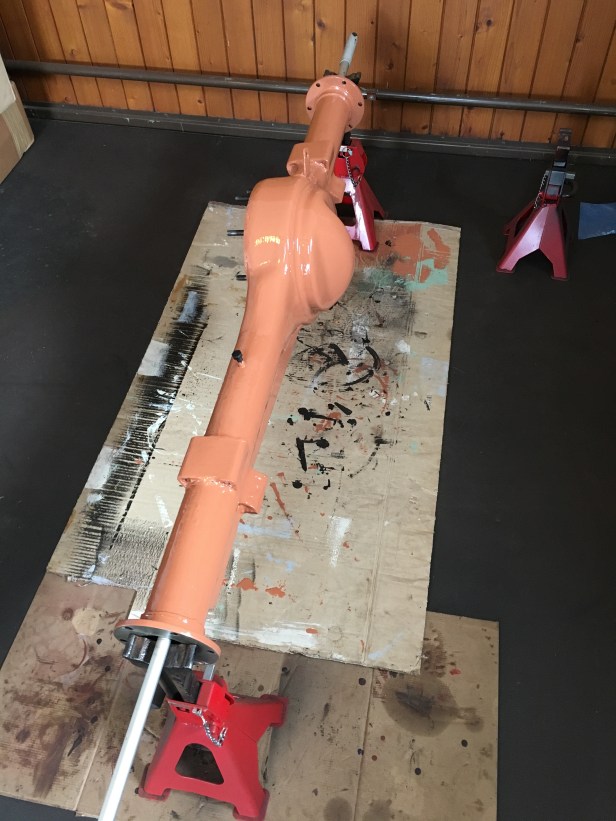
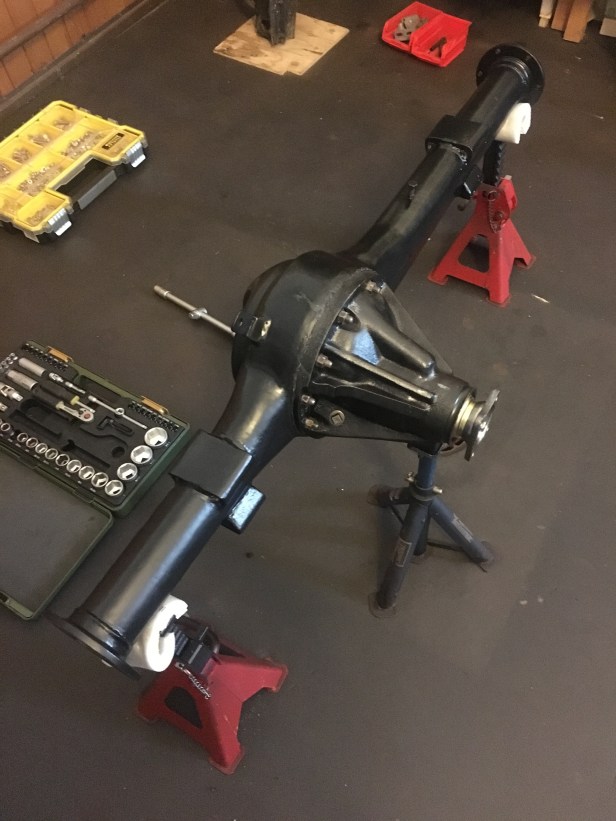
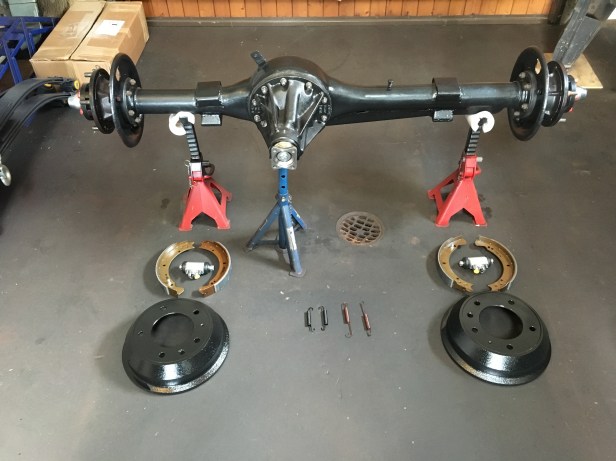
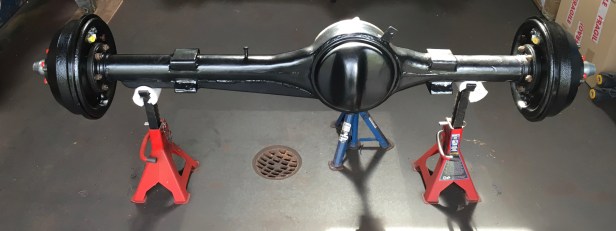
It was high time work started on reconditioning things. With a garage full of rusty and flaking components I had plenty of choice but the “plan” in my head said I had to do the axles first. Starting with the rear axle was a good first step.
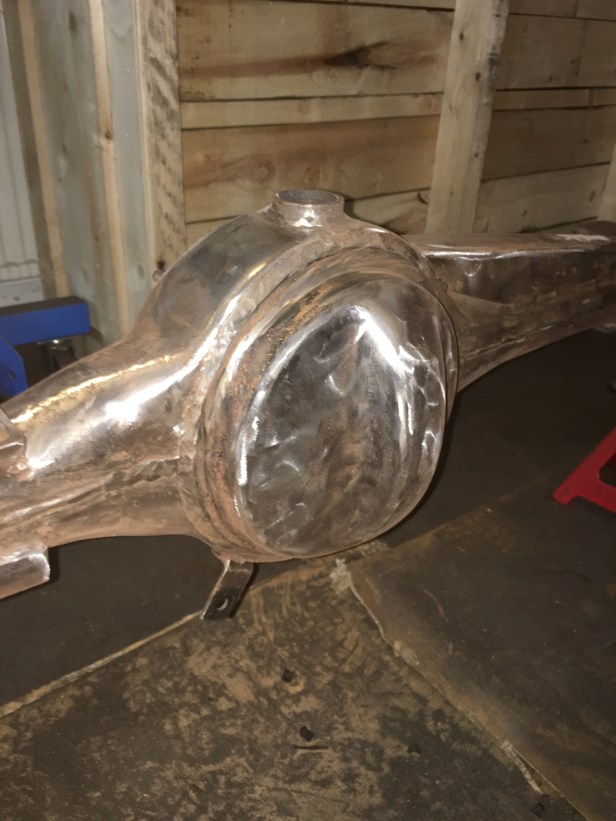
All components were removed, stripped, primed and painted matt black. I prefer the look of matt back to gloss black underneath the Land Rover. Don’t ask me why though.
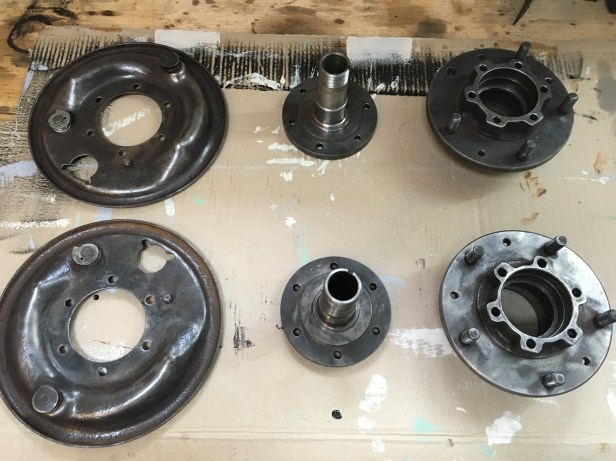
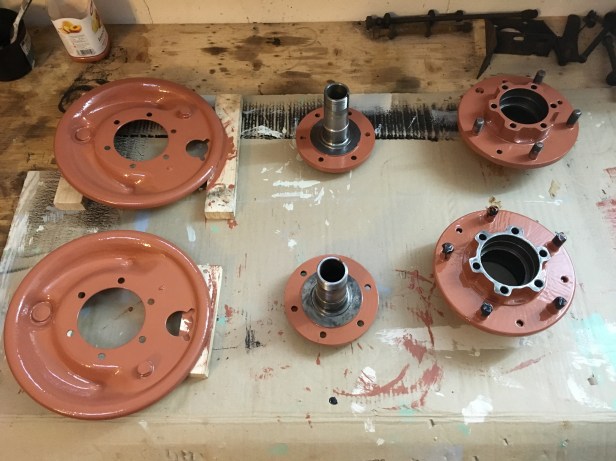
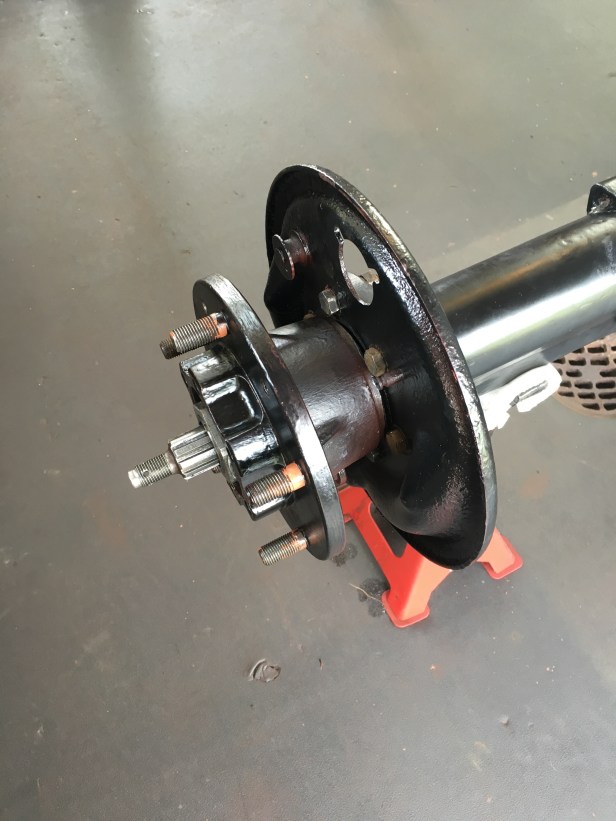
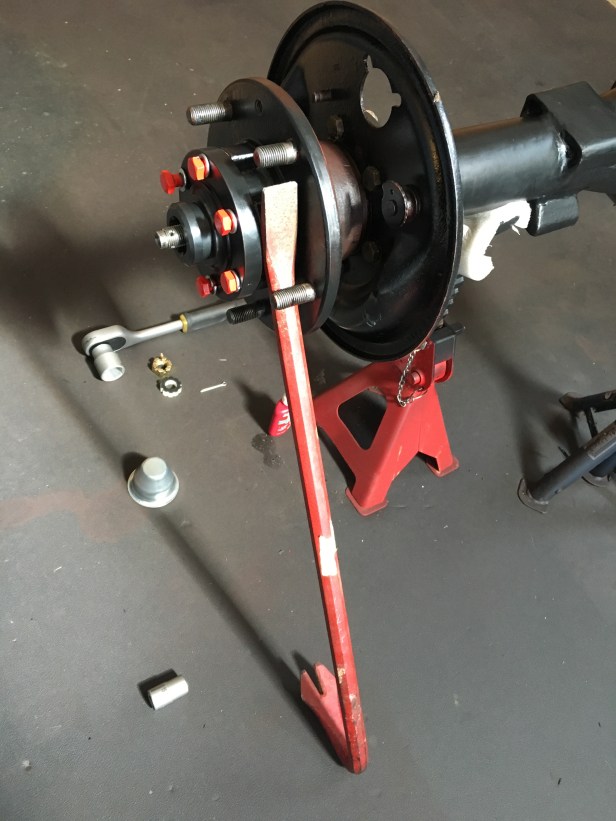
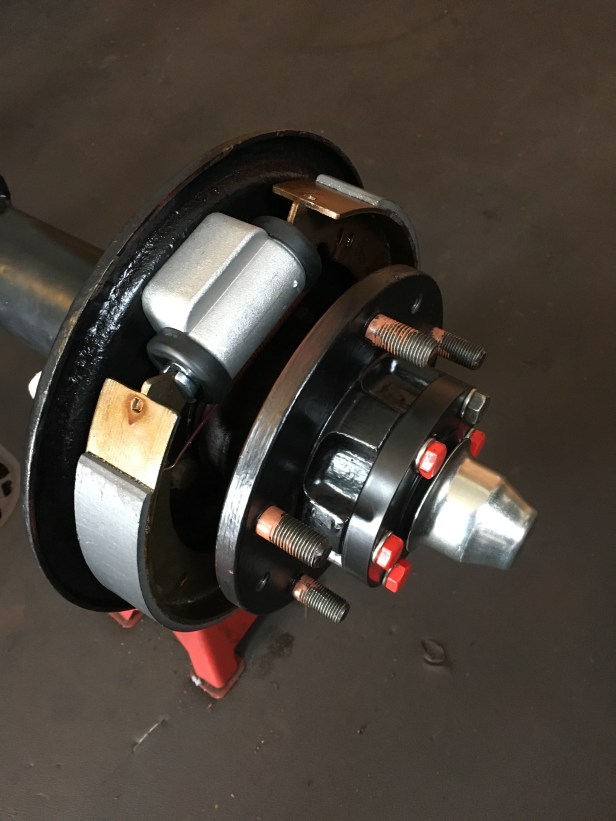
All bearings were replaced with quality Timken bearings and OEM seals and gaskets. All gaskets are backed up with some OEM gasket sealer. Maybe its belts and braces but oil leaks here are frowned upon from a great height. Heystee Automotive in the Netherlands make handy wheel bearing kits and complete swivel kits for the front axle.
New drive members were used along with new Genuine drive shafts. All other worn parts were replaced with Genuine or OEM replacements.
The differential was replaced as the original was noisy which isn’t a surprise after 300,000 km. Ashcroft Transmission supplied a replacement differential and were very helpful in getting it to me. I accidentally ordered the wrong type and only realised my mistake when I opened the box when it arrived. They put me in touch with Overland Technics in Dürnten, Switzerland who have an account with Ashcroft and was able to swap my “wrong” diff for the correct 4.7:1 ratio Series item. Big thanks to Anna and Ruedi for making this happen.
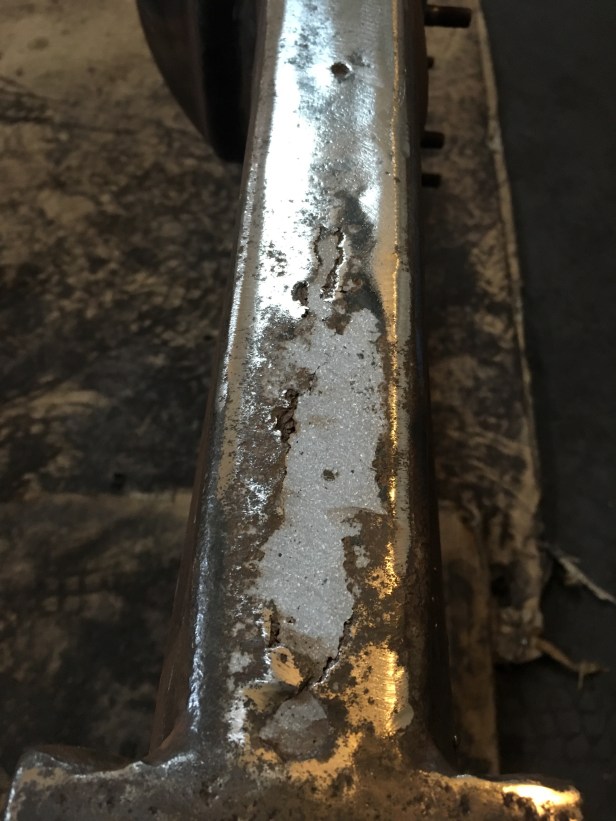
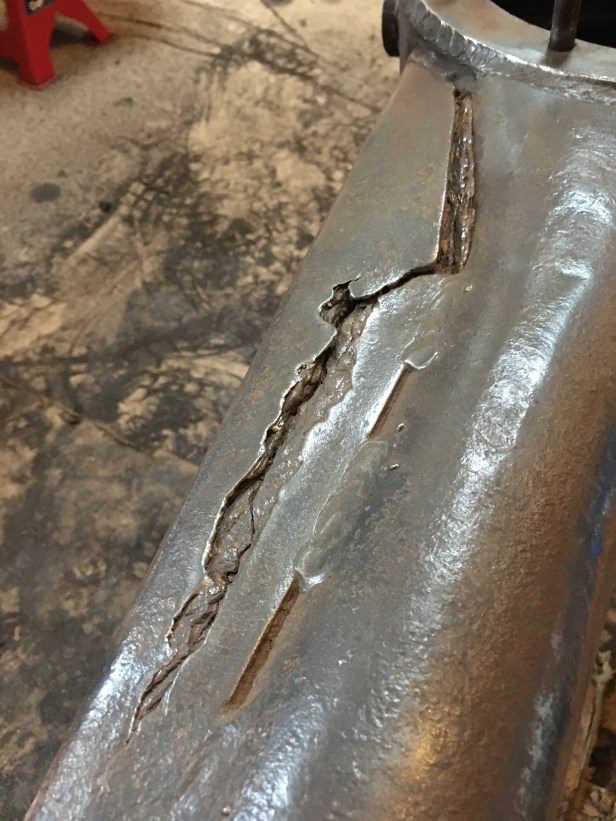
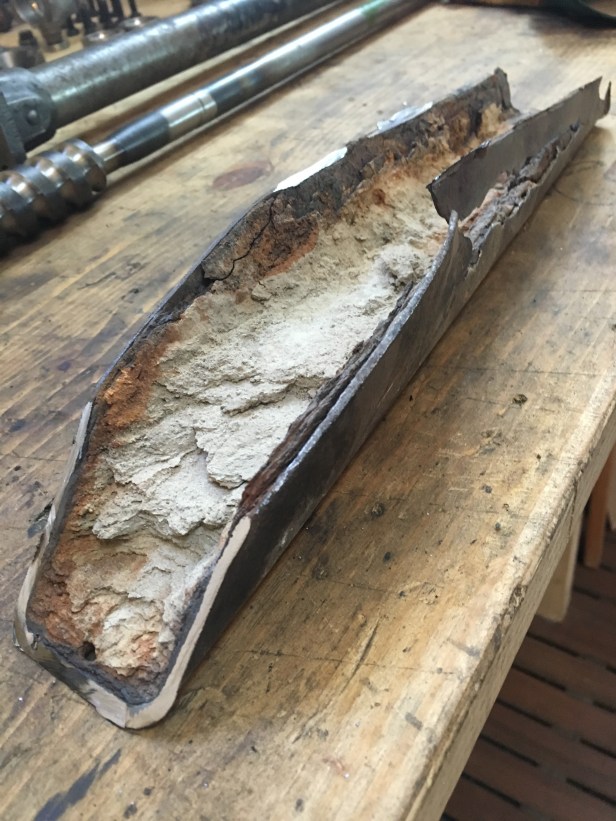
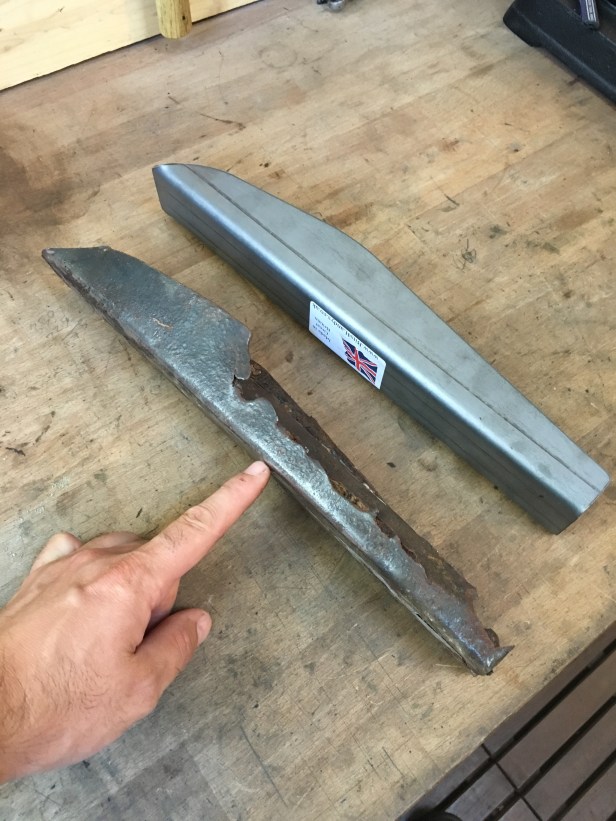
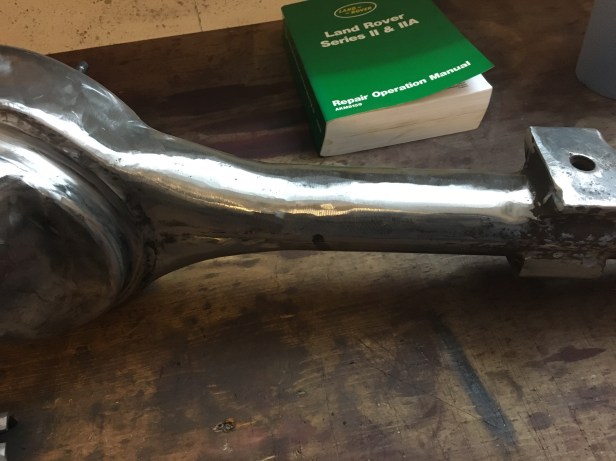
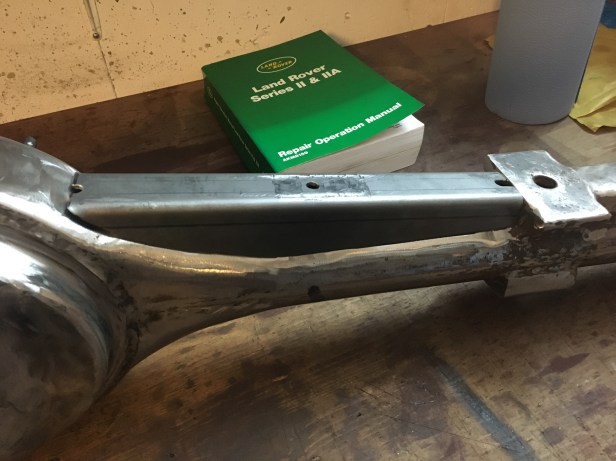
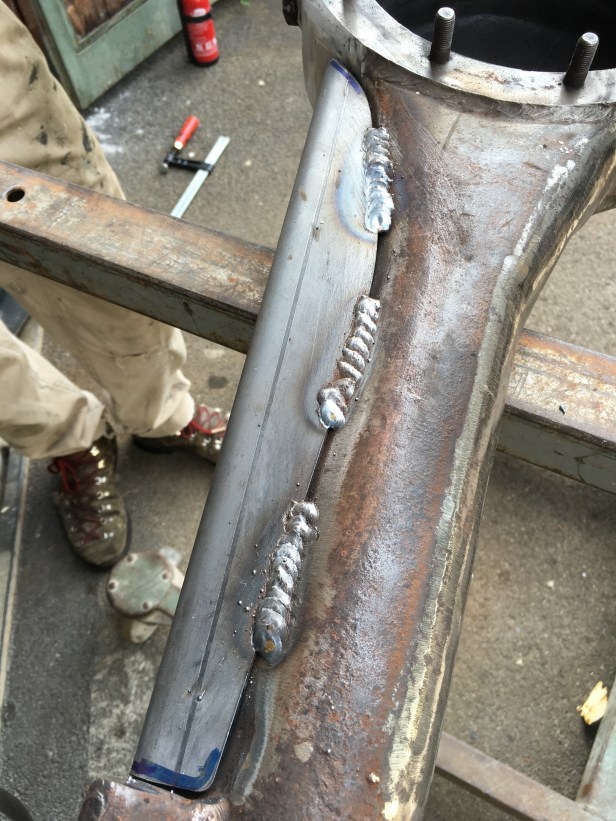
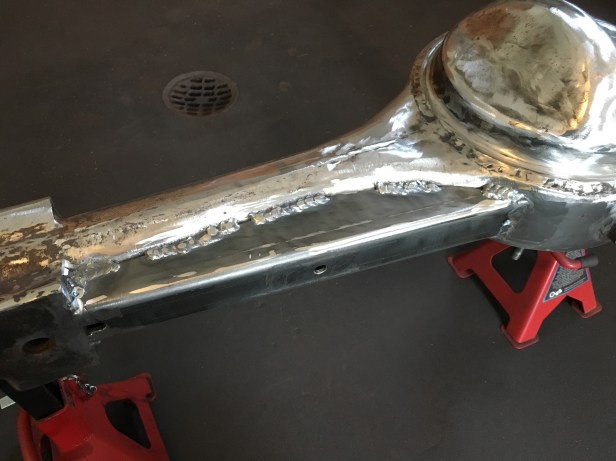
The axle strengthener was in a very sorry state and had rusted though on all sides and needed to be replaced. At some point in the past, corrosions had been cut out and filled with body filler for the purpose of the safety examination. This isn’t good practice in general, letting in new metal is always the best cure. Bits 4 Landys make a weld on strengthened replacement and for £15.00 it was a no brainer to order one of these rather than looking for a piece of suitable C section steel and making one myself. The only problem being…. I can’t weld… or couldn’t at the time.
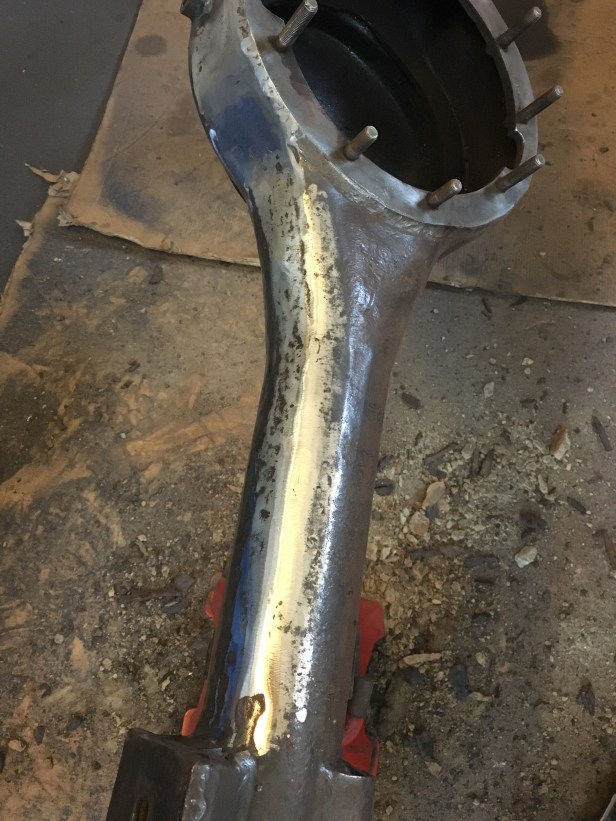
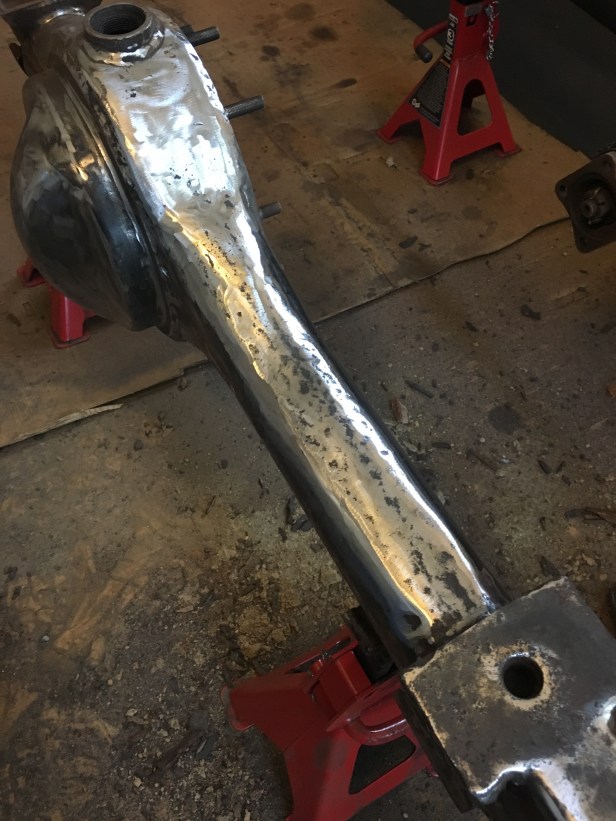
Fortunately a member of the Series 2 Club living in Interlaken offered to weld the pieces together for me. So on a sunny Saturday I paid him a visit and he gave me a crash course in TIG welding and in-fact, let me do most of the work. It’s great to learn new skills especially from someone who has the same interests.


Fantastic site this, I have found it invaluable in working on my early series 3! One question please, where did you source your genuine propshafts from? Thank you.
LikeLike
Hi James, sorry for not responding sooner. Glad you like the site. I got the propshaft from PA Blanchards in the UK. They are one of the few places left now with a decent surplus of NOS parts.
LikeLike