There’s a little bit more to the front axle than the rear as it incorporates the steering. I didn’t take any photos of the strip down as it was a filthy job and didn’t want to get oil all over my camera.
There wasn’t as much rust to get rid of as the front axle is naturally protected given it lives below the engine and will catch the odd drip of oil…. and over time, this acts a good protective measure to corrosion. It does mean however, dirt sticks to the components more readily and creates a nasty mess getting it all off.
The two half shafts both needed a lot of work, the journal assemblies had enough play to warrant replacement. The half shaft bearing seats were well worn and as new bearings would be living on them, they had to be changed. Both of the stub shafts were replaced as the ends were quite worn.
As per the rear, all seals, bearings and gaskets were replaced. Additionally, the thrust washers, nuts and lock tabs in the hubs were all swapped for new items along with new Timken bearings and seals.
The front diff was reused as it was in surprisingly good condition. It’s a common misconception that all Land Rovers have permanent 4 wheel drive. This isn’t the case. The first permanent 4 wheel drive Land Rover came with the Stage 1 V8. Aside from some very special models for the Dutch army (2 wheel drive only), Series Land Rovers up to 1979, had selectable 4 wheel drive. Day to day driving was done in rear wheel drive only.
4 wheel drive was selected by either pushing down on the yellow knob in the cab, giving 4 wheel drive in high range, or pulling back on the red knob, giving 4 wheel drive in low range…. to this end, the front differential has an easy life as most of the time the vehicle is in rear wheel drive. Although it rotates as the vehicle is in motion, there is no load transmitted through it, therefore it wares at a slower rate that the rear.
On inspection, all the teeth looked in good condition, there’s no more backlash in it than the one I’ve just fitted in the rear from Ashcrofts, so in my mind its fine. I do have to replace the output seal at some point though.
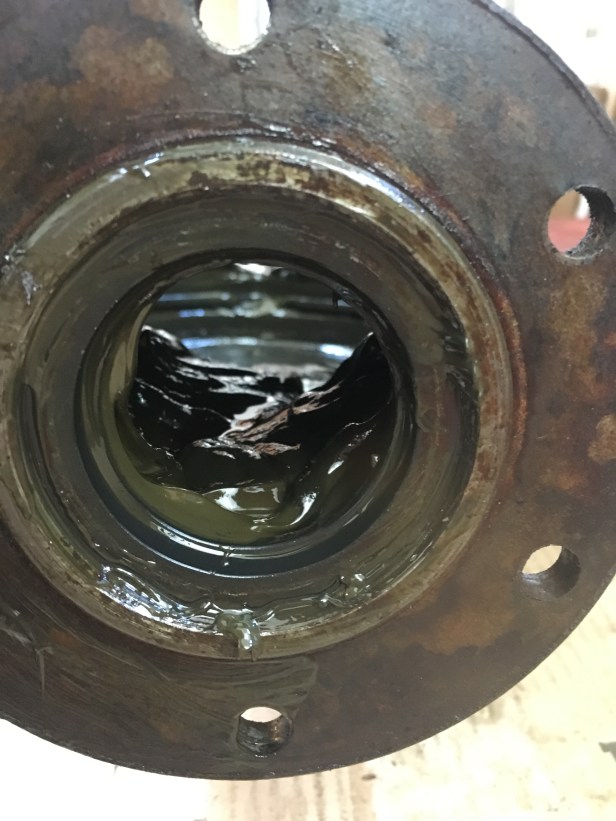
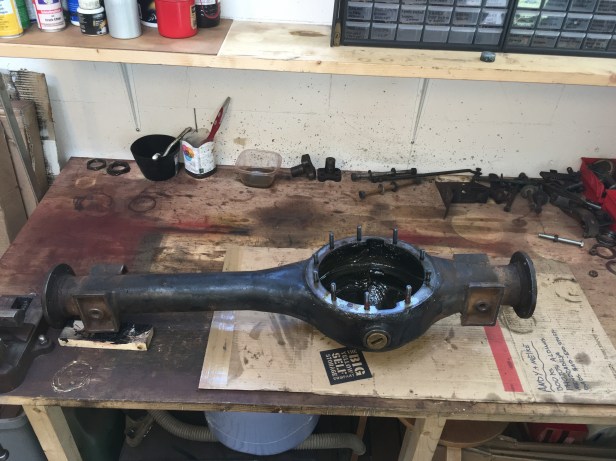
The amount of corrosion on the swivel balls and the fact the seals between the axle and swivel had failed, I think the decisions was taken at some point to gun the whole axle full of grease. The differential was full of it. It’s harder for grease to weep past failed seals than oil due to its higher viscosity….. but getting it all out was a nasty job. Yik.
The rebuild unfolds as follows:
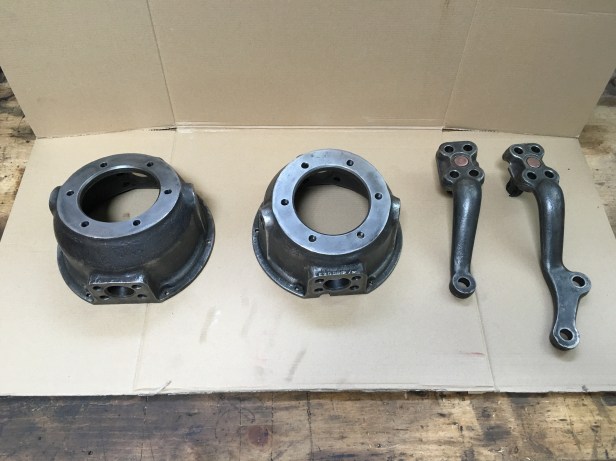
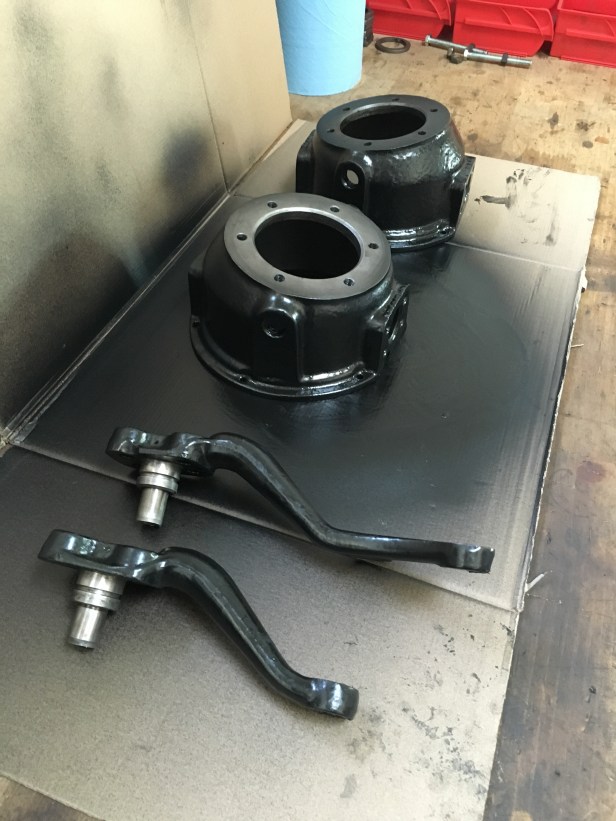
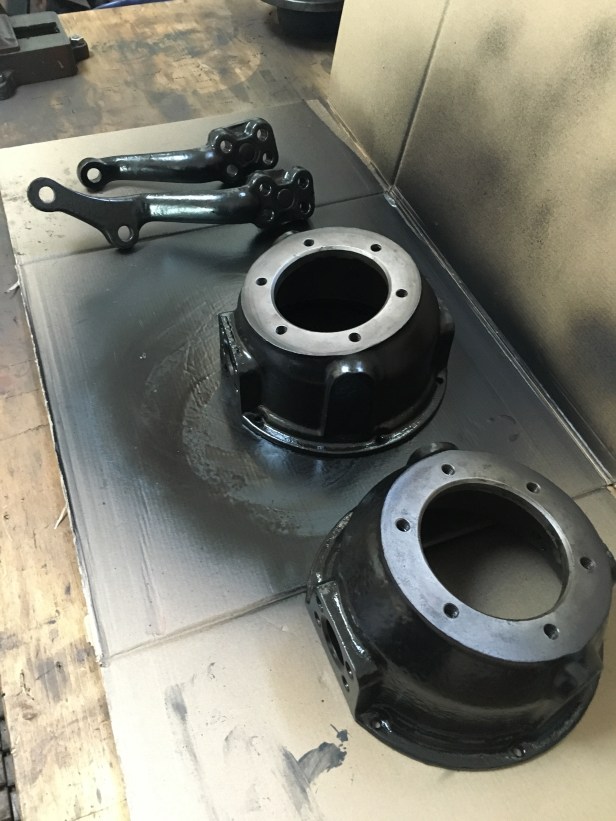
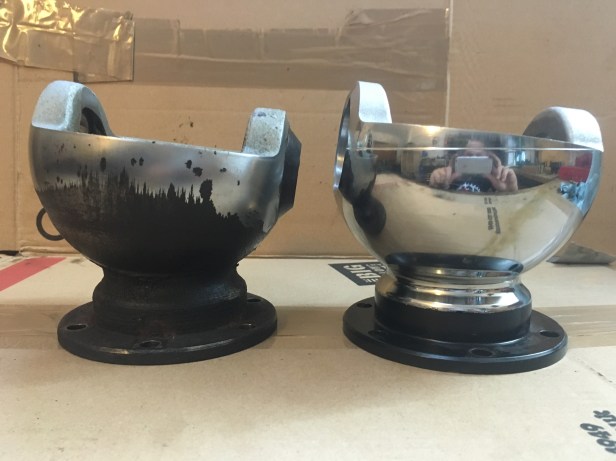
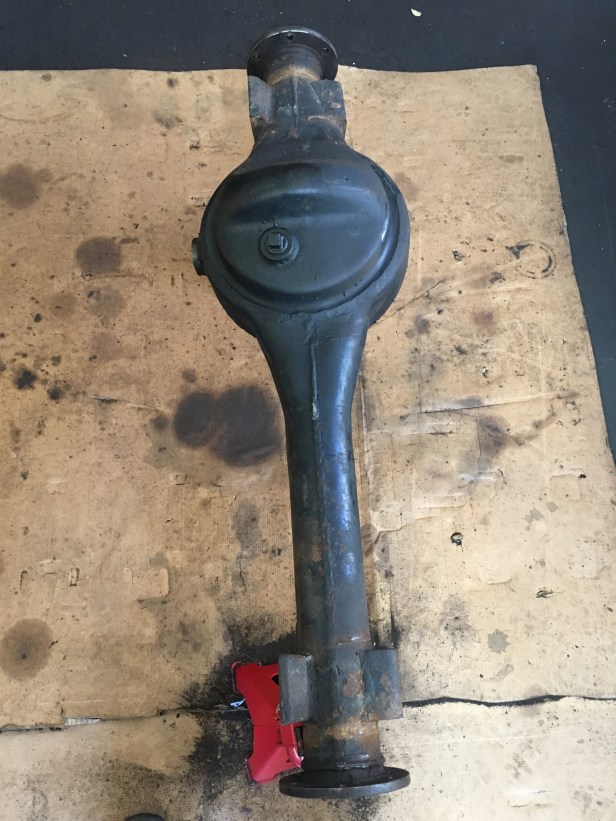
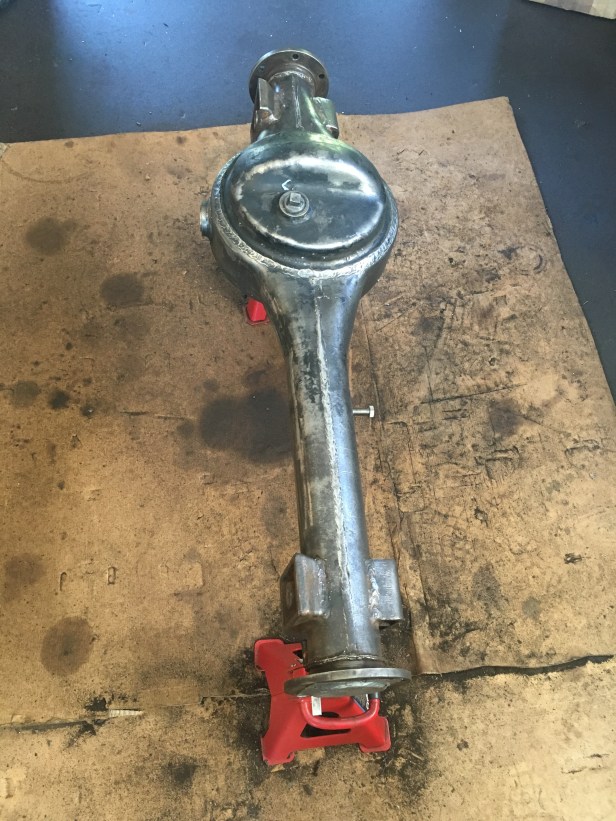
Stripped swivel housings and steering armsSwivel housingsMatt black Hammerite againA handy tip to clean threads (I refer to the 6 threaded holes in the face of the swivel housing) is to take an old bolt (of the same thread pitch) cut a slot all the way down its length and run it into the threaded hole. The slot in the bolt will clean the debris from the threaded hole. Its best to do this before and after painting.I took a different approach with painting the hubs on the front, using some high build metal primer from a spray canSpot the difference again. Not an uncommon sight. This is the swivel ball. The swivel housing (see above) sits over this with a large seal that engages around the circumference of the swivel ball. Dirt gets under the seal which wipes the dirt against the chrome until it rubs it all off , by which point the seal isn’t acting as as seal and more oil leaks out, attracting more dirt and the cycle continues…. and this is what you get after 5 decades
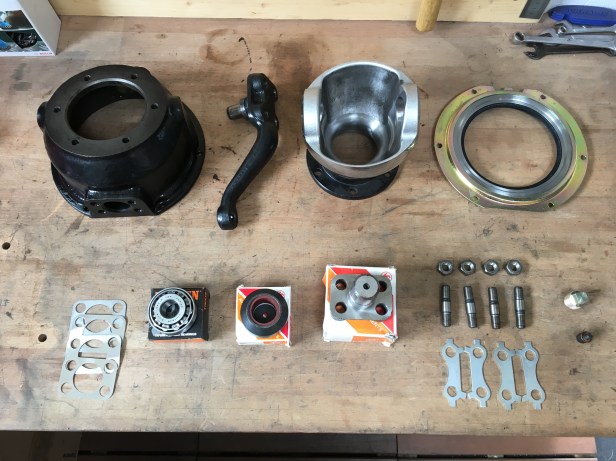
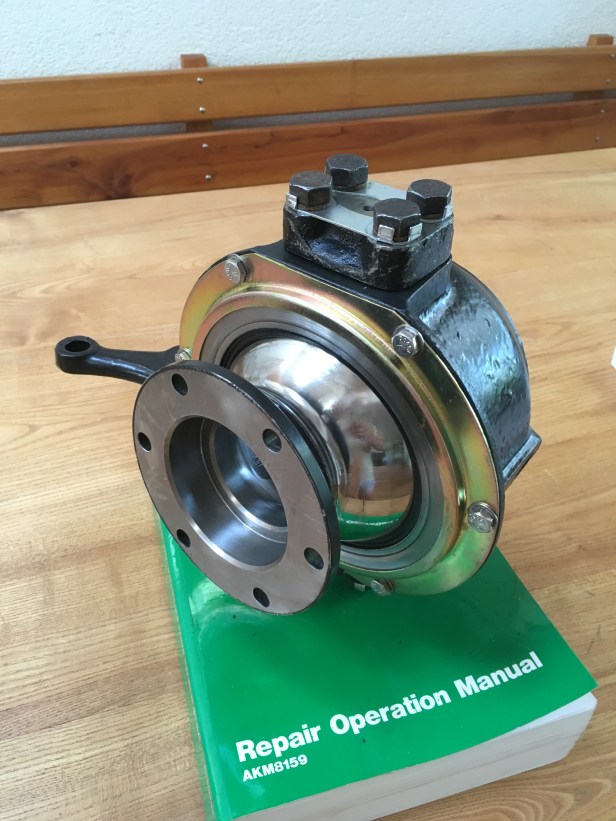
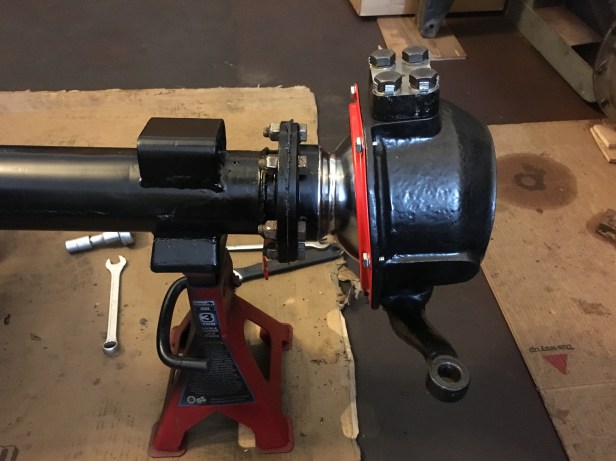
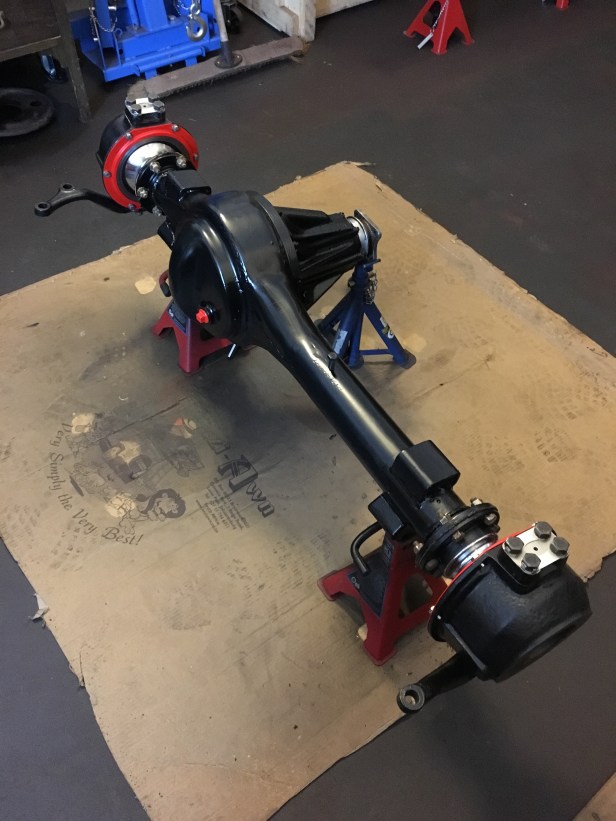
This is what you need to mate the swivel ball and the swivel housing together…. plus a spring balance a generous helping of grease and some hand cleanerOne swivel rebuild complete and the “friction” set, perhaps a little high but I didn’t have any more shims. Can be looked at at a later date. I decided to use some imperial stainless fixings for the seal retainer rather than the old rusty onesThe hub and brakes etc fix to the 6 bolts on this sideNow we get to the axle case. There are no strengtheners on the front axles although some military variants have this and as mine was never destined to be dropped out of an airplane its not that important. Also, because the distance between the flanges is shorted than the rear axle, it is inherently stronger.
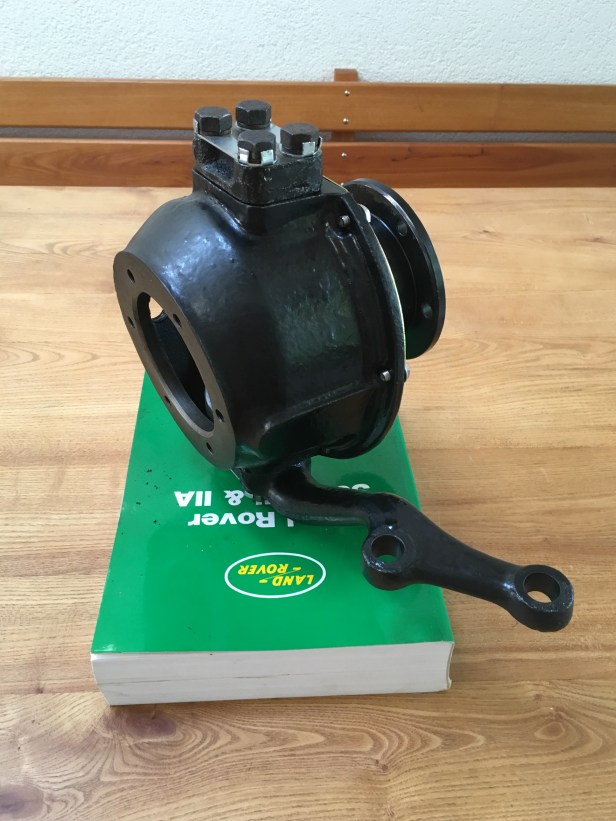
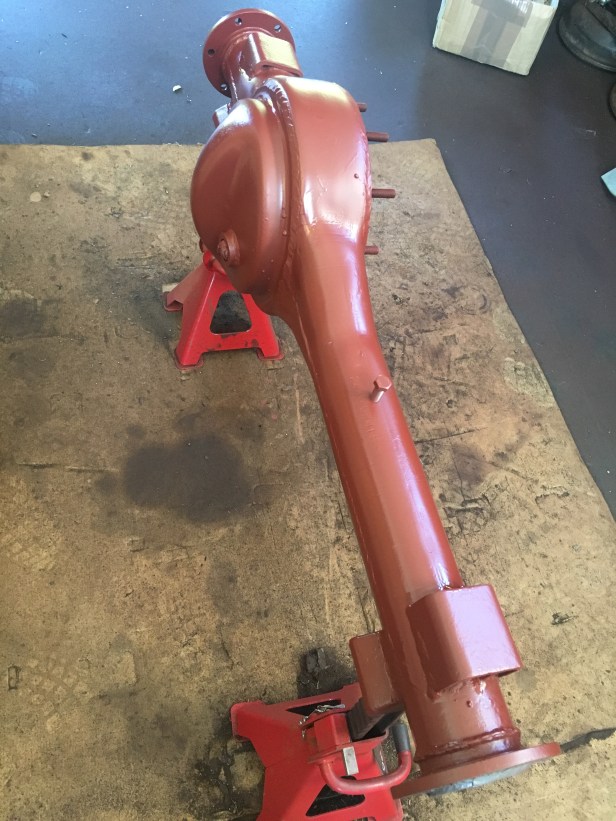
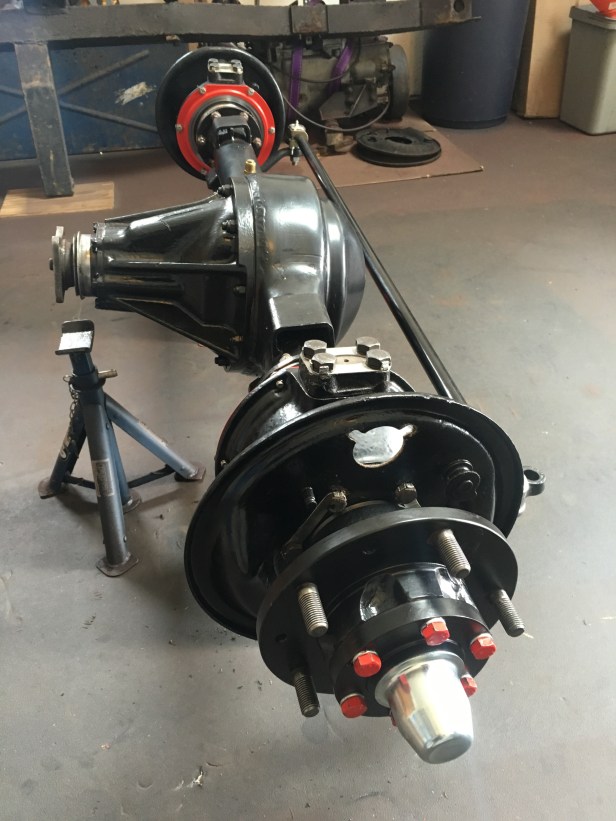
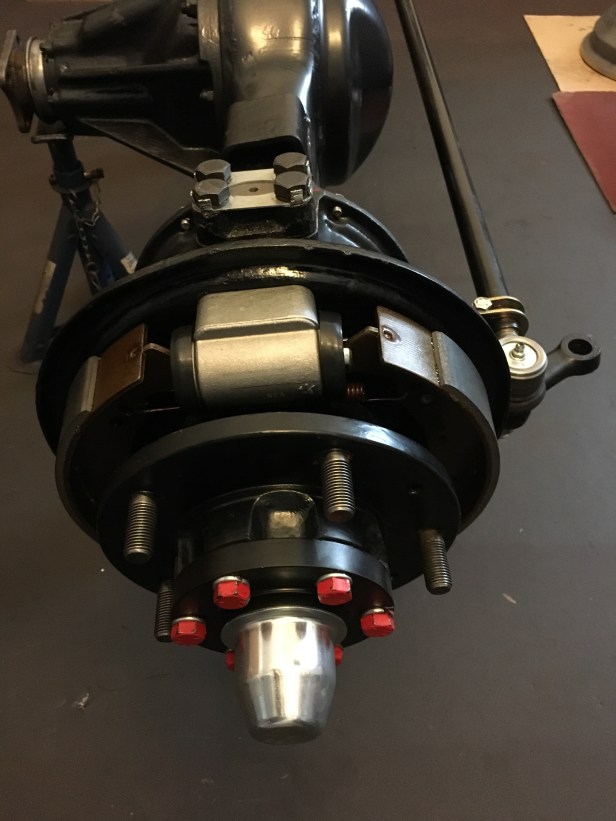
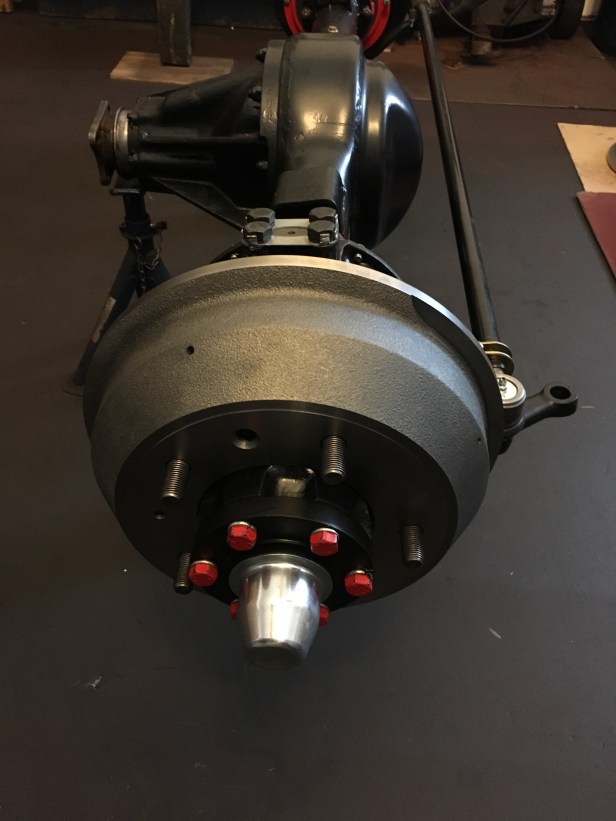
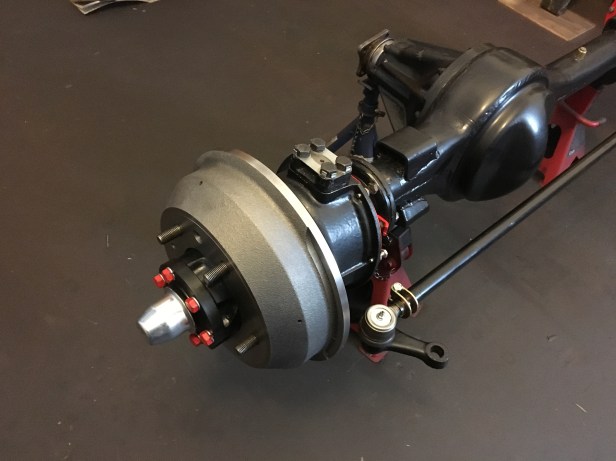
Time to fill the garage full of dirt againThe bolt sticking out of the axle is where the little brass axle breather lives. It’s just there temporarily to keep the threads clean during paintingTwo coats of primer with a rub down with wet and dry in betweenTop coat of matt black HammeriteNew seals were fitted into the end of the axle, followed by the swivel housing and main carrier bearingDiff is back in and ready for the half shafts and steering rodSteering rod with new ball joint and clampBrake back plates, locking tabs and hub fittedBrake cylinders and pads in placeBrake drum, degreased and offered up. It has since been painted to match things. Note the machined election on the drum (1 o’clock) Not seen this before but its to balance the drum so it doesn’t cause vibration at speed. (funny to use the word speed in connection with a Series Land Rover)A different perspective….The finished item. Next step is to fit the suspension (and refit the old road wheels as this will make it easier to move about)