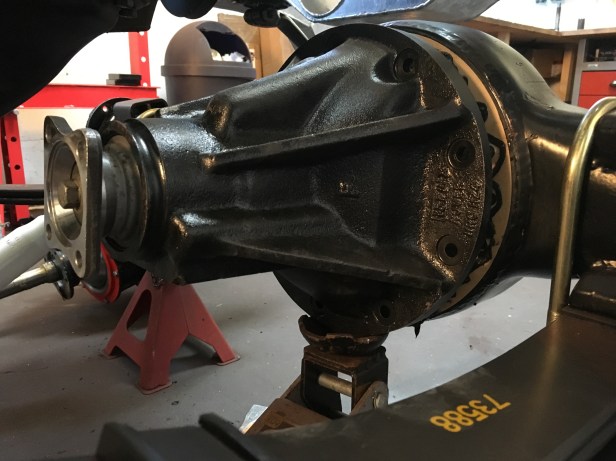
Originally I had intended to reuse the original front differential as it was in reasonable condition… it still is…. but it has defeated me.
The output flange has been leaking oil… and there is no oil in it… well, just some dregs. To change the seal required a large nut to be removed, the output flange pulled clear and the original leather seal replaced. The removal of the large nut has not been possible.
After a number of attempts using larger and more brutal forms of “undoing” I decided, before I break myself of something else, to order a new 4.7:1 diff from Ashcroft… This will at least match the one in the rear axle.
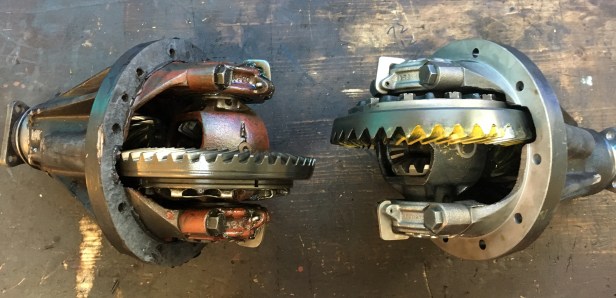
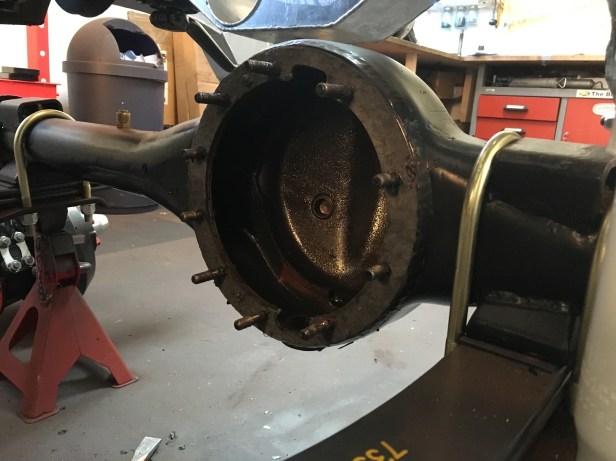
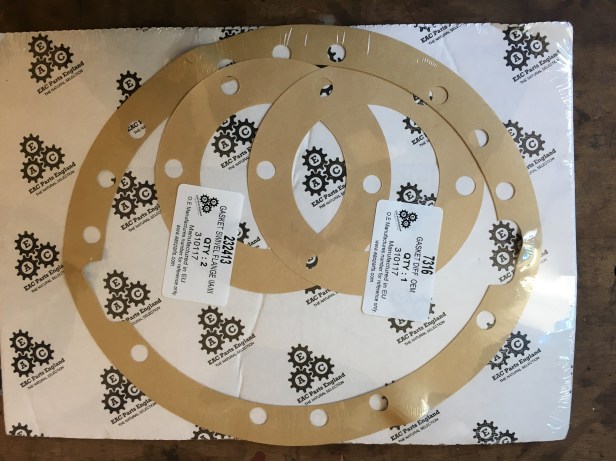
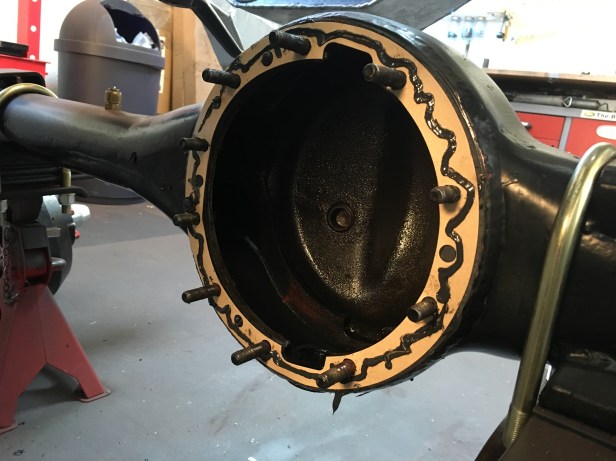
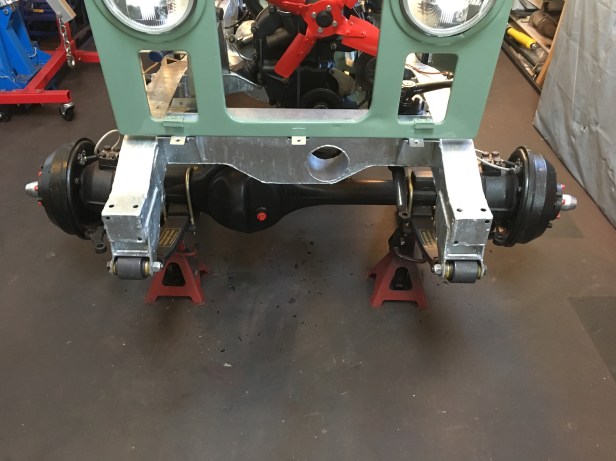
Going in position. The pinion nut just would not shift, so the diff needs to be replacedRightly or wrongly, I decided to take off the whole hub assembly rather than remove the hub flanges. I didn’t want to trash the smart red paint on the bolts!To remove the differential, the 2 half shafts need to be removed from the differential centre…. otherwise it aint gonna come out.Out with the old (left) and in with the new. The yellow material on the ring gear of the new differential is Engineers Blue…. OK, its yellow but its the same stuff. Its used to ensure surfaces than mate together do so in the most parallel way possible. Good video of an Ashcroft diff rebuild and use of Engineers Blue can be found HEREOld differential removedThese didn’t come in a Blue Bag, so I’m confident they, a) won’t tear when they are pushed over the threads of the studs… and b) won’t leakDiff gasket in place with fresh Loctite sealantA differential is quite a weight to lift into position by hand. Mr Trolley Jack leant a hand.All bolted up with new stainless washers and nutsBoth hub assemblies back in placeWith the front diff in place, the propshaft can be fitted (finally) along with the other two gear levers and I was able to verify that 4WD and High / Low selector actually works… which was something of a relief.