The refurbished carburettor arrived last week from Carb Exchange in the UK. The transformation is quite outstanding.
There are a number of companies in the UK specialising the refurbishment of the Solex carb, some of which I corresponded with and provided reassuringly expensive quotes. Through research on the Series 2 Club Forum, I came across Carb Exchanges and they were hailed as the “go to” people for such work. They were also by far the cheapest with the shortest turn around.
It took a little longer than planned but there was no rush. The carb gets engine tested before shipping, so, aside from setting the tick-over, there won’t be too much faffing to get the engine to run smoothly.
Before…

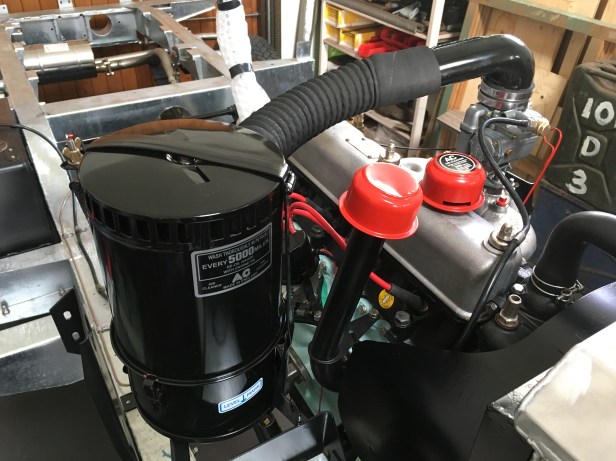
After…

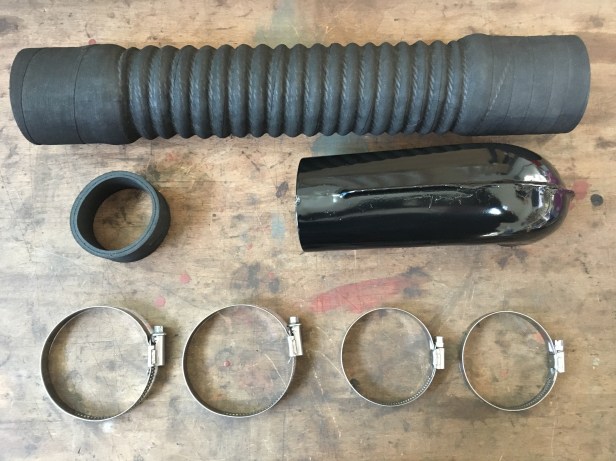
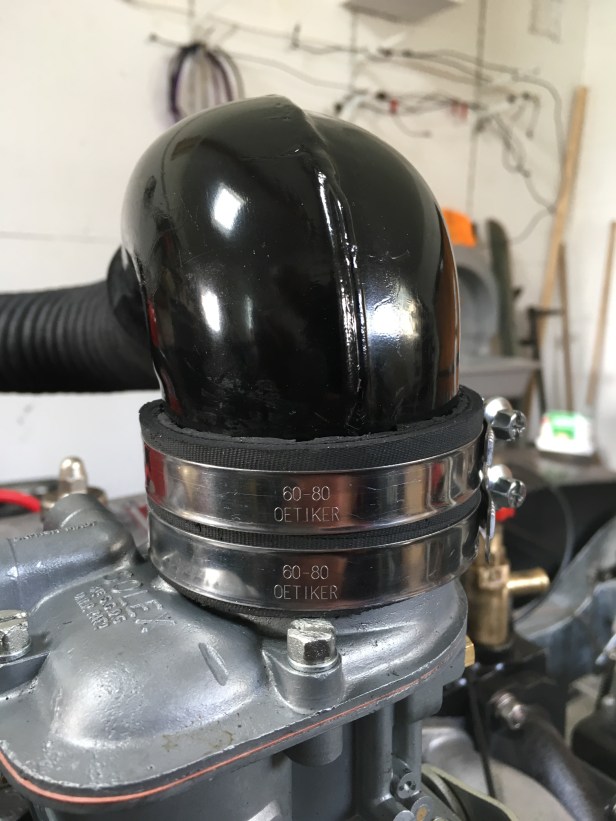
Fitment…
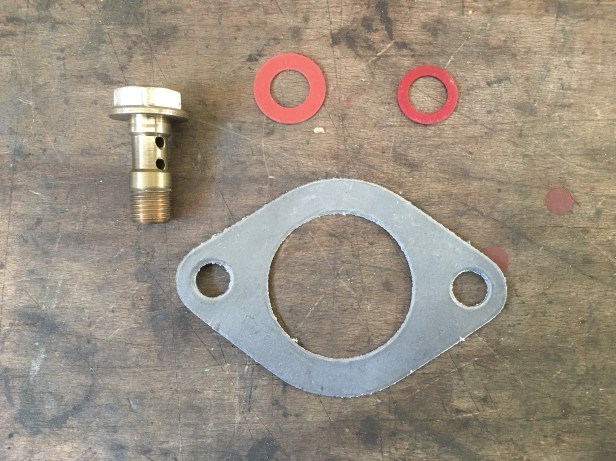
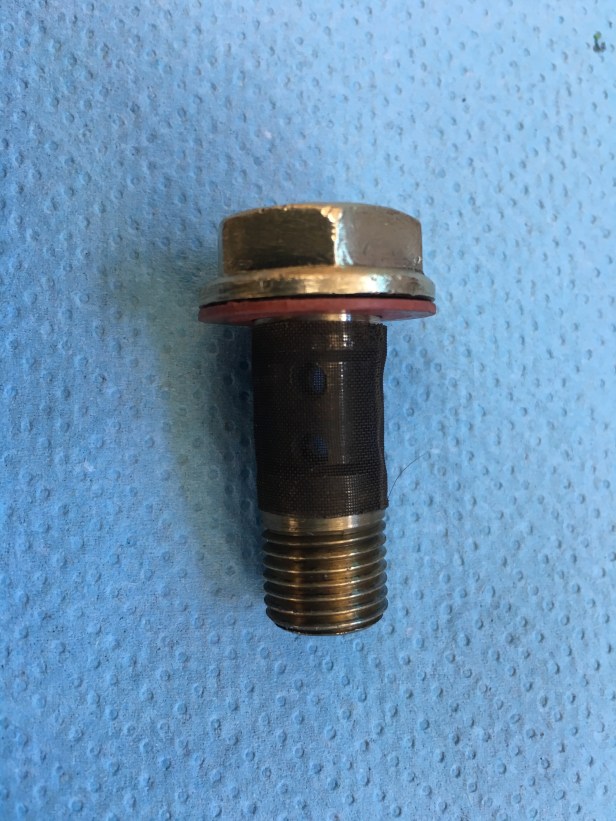


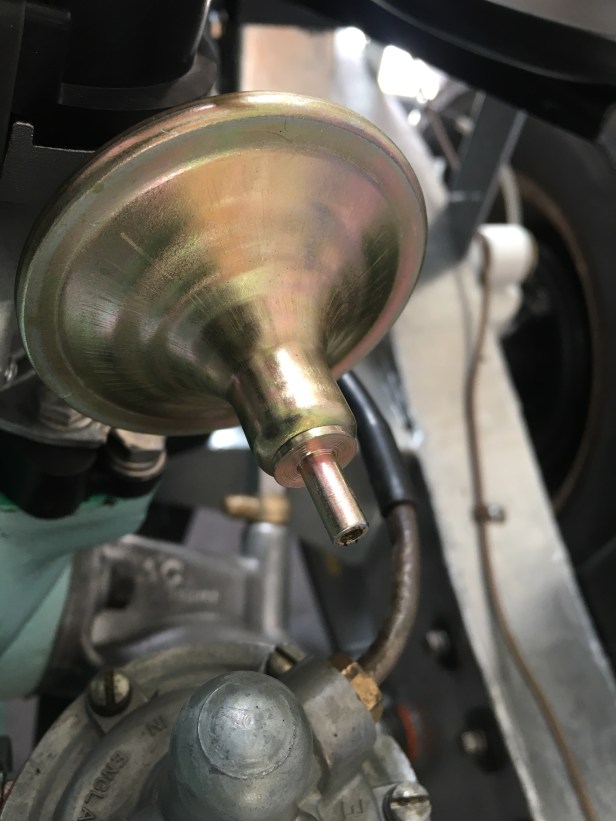
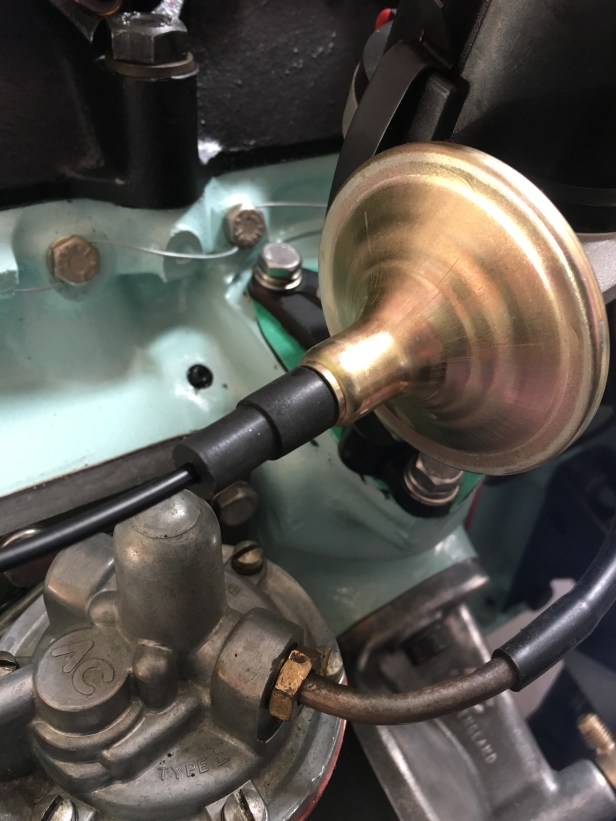
Vacuum Pipe…
The distributor has a vacuum advance unit on it. The distributor sends the current that causes the spark in the cyclinder. This spark occurs at a specific point as the piston is on the compression stroke (air, fuel mixer being compressed, ready for detonation) The point at which this happens is measured in degrees Below Top Dead Centre (BTDC).
As engine speeds increase, the detonation needs to happen marginally earlier. A certain amount of time is required to burn the fuel / air mixture but the faster the piston is travelling up the cylinder, the shorter this time gap becomes…. Hence, we “advance” how many degrees BTDC the spark is created, thus detonating the fuel / air mixture earlier in the compression stroke.
The vacuum effect is taken from the carb via a capillary tube to the distributor. The original copper capillary pipe would not fit the new distributor as the advance unit had a push on fitting, where as the original had a threaded interface.
A “modern” replacement for an MG BGT has been used and with a minor modification, should work perfectly fine.