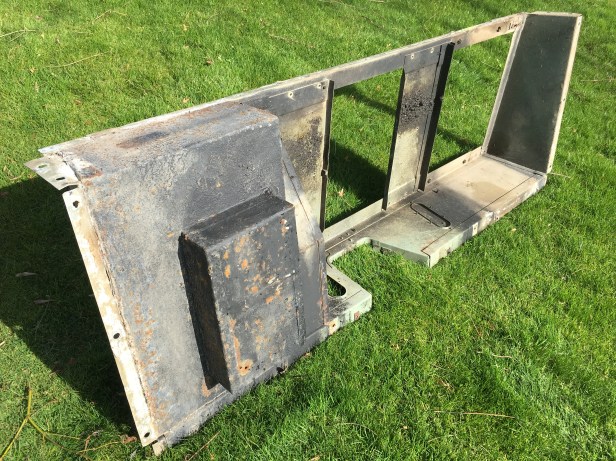
The seat box, is, as the name suggests is where the seats fix . It also has two removable covers to access the top of the gearbox and the “battery box” with a third fixed cover over the top of the fuel tank.
The battery box beneath the drivers seat, offers the option to install a second battery (the main starter battery being housed under the bonnet). I don’t need to install a second battery so the space will be used to store the ubiquitous ammo box full of tools, engine & gear oil, coolant, hi viz jacket, first aid kit and hazard warning triangle. (the latter three items being a legal requirement in Switzerland)
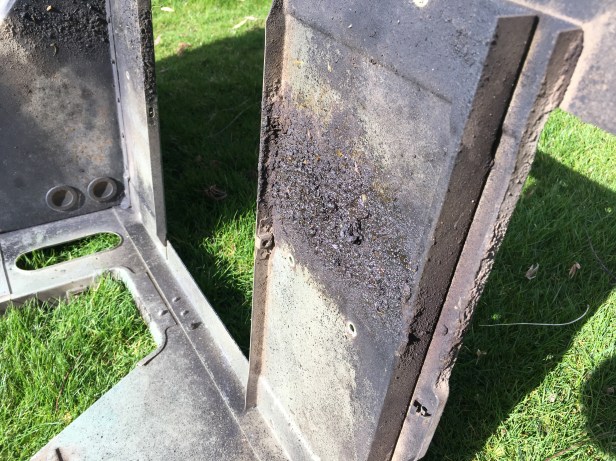
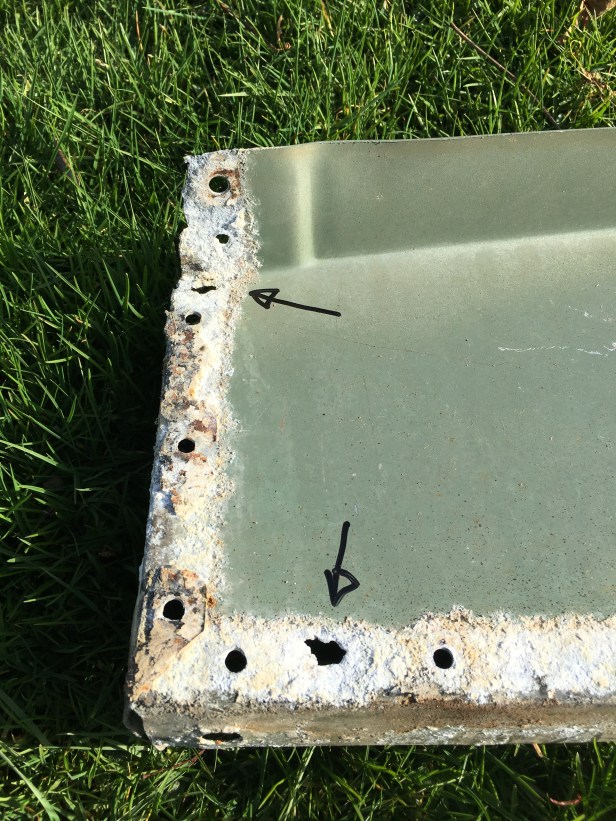
But theres a bit of work to do…. The battery box is made from steel and being sighted below the car, suffers from corrosion. Furthermore given it is fixed to the aluminium seat box, a great deal of bi metallic corrosion also takes place.
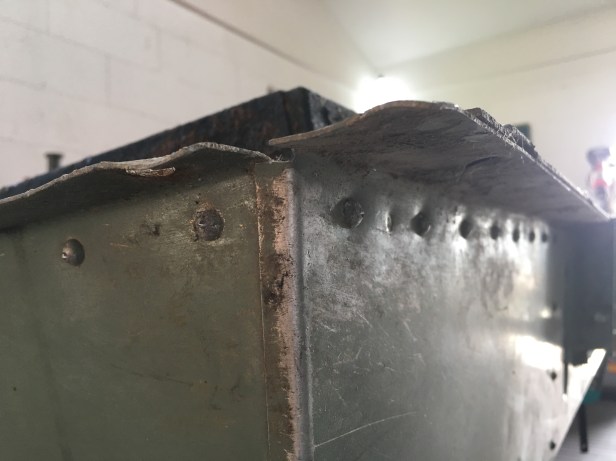
LGL has not escaped either of these fates. The battery box was in poor condition and although not rusted through I do recall when I bought the vehicle finding the battery well full of water and needing to drill a couple of holes to let the water drain out. Far worse is the electronic corrosion as you will see.
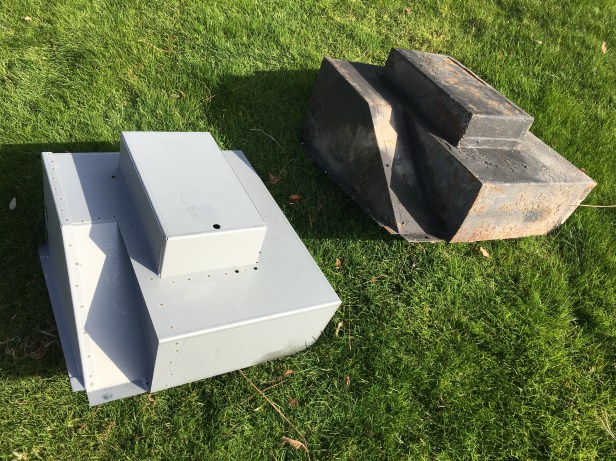
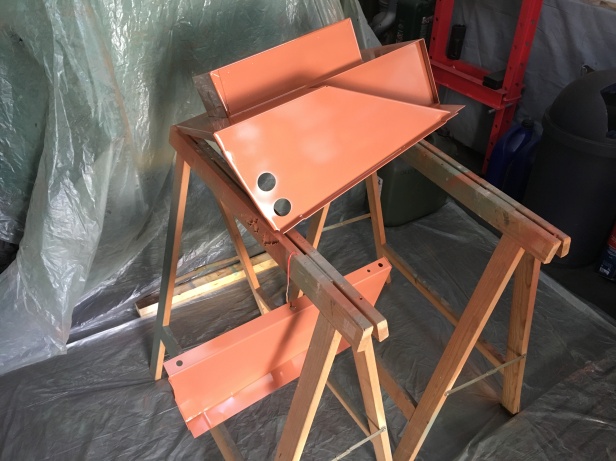
To this end, I have purchased from Bit 4 Landys a complete new battery box and seat box end. These are as close to original as you’re going to find and the quality is very good.
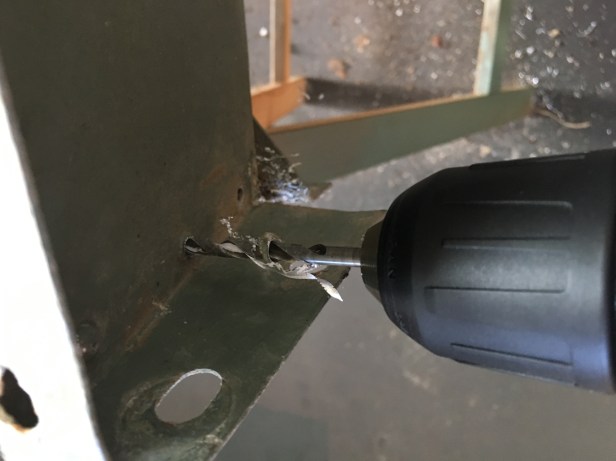
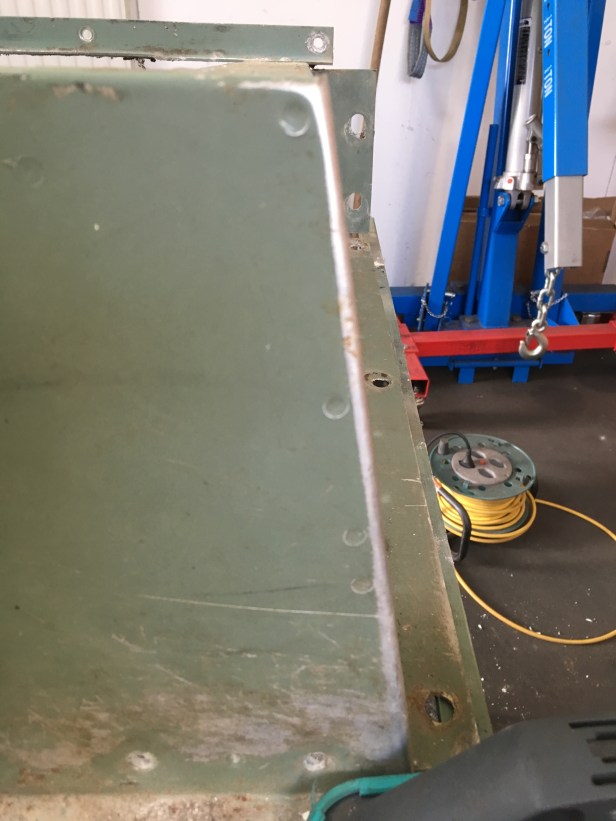
To replace the battery box, the original needs to be removed. To do so, one must drill out all of the dome head rivets and 4 spot welds… This is not a bolt in affair. Refitting is the reverse of this process. I will have to deviate a little from the original design as I don’t have facilities to spot weld aluminium…. Dome head rivets will be used instead so the look and feel will remain the same.