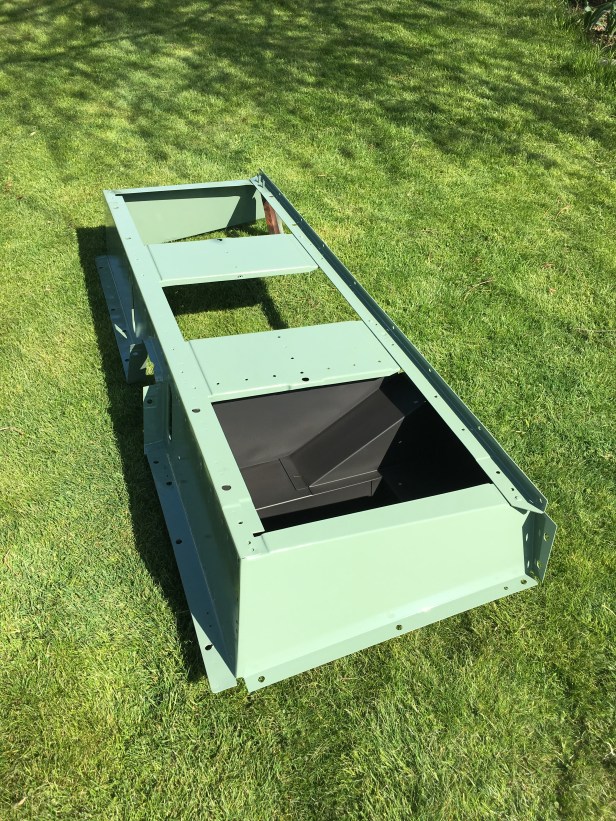
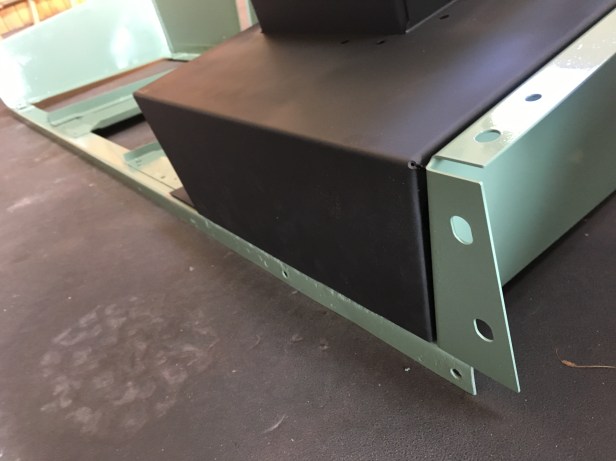
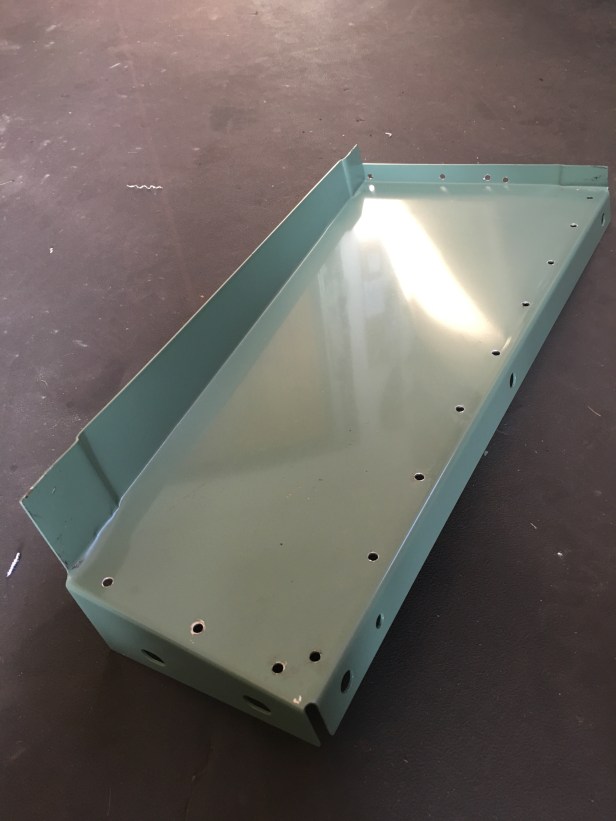
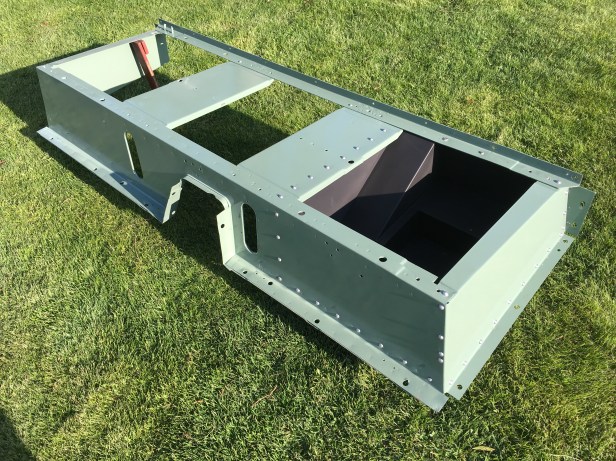
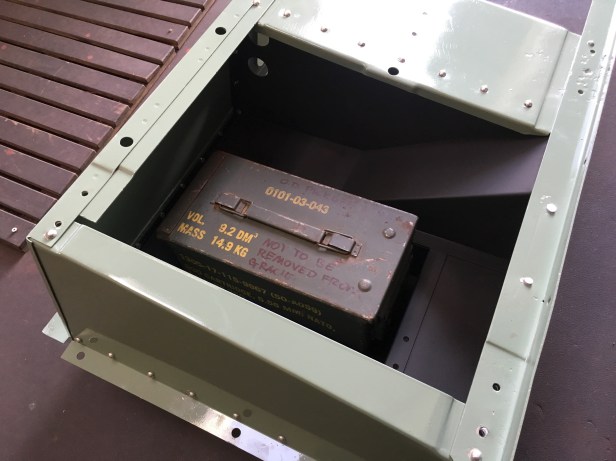
Over the course of the week I’d been mulling over in the back of my mind how I would actual refit the battery box using the correct dome head rivets. The official instructions on how to “close” a dome head rivet didn’t offer much encouragement as I am bereft of six arms.

Some sort of air hammer would be useful but any online order would take two weeks to get here. So, thoughts of how I fit all of this back together were returned to the back of my mind where it fought for space with all the other stuff in there….

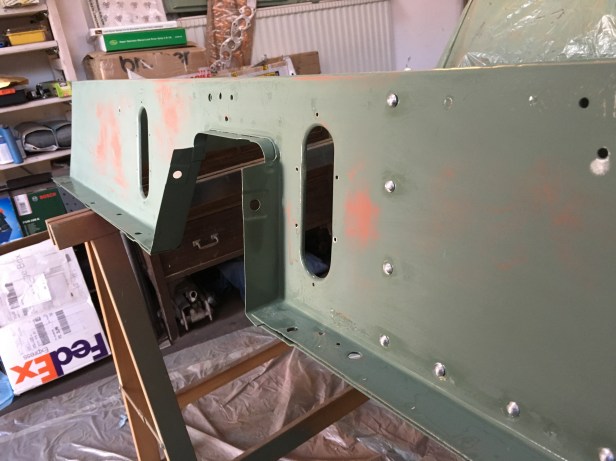
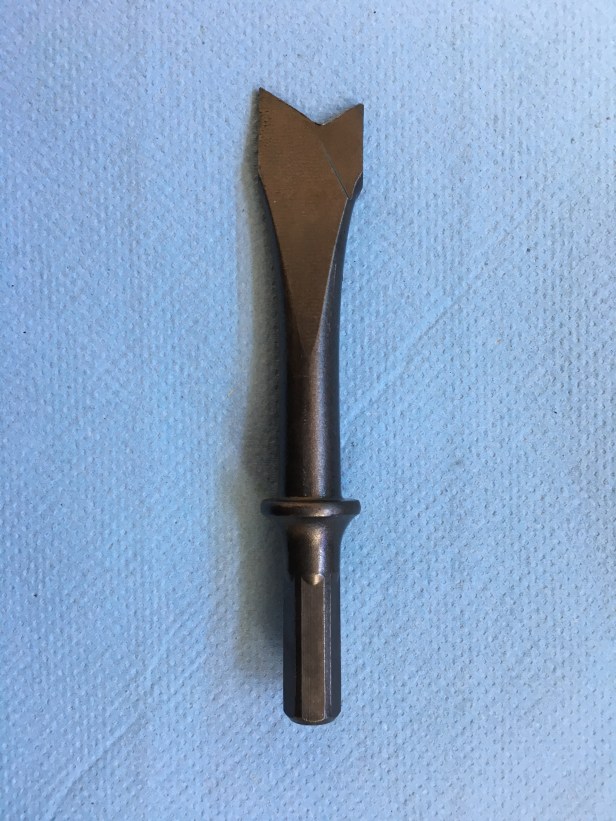
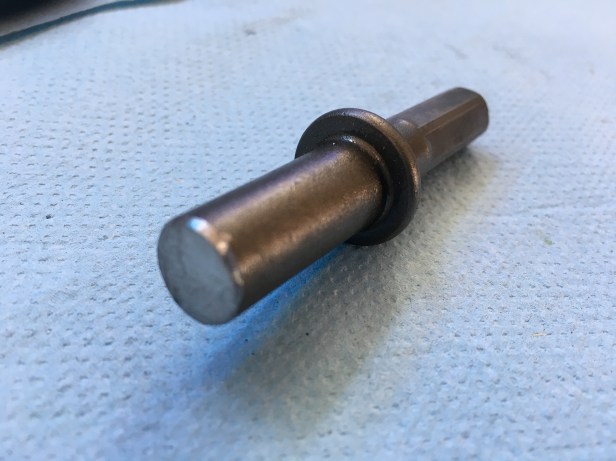
A fruitless visit this morning to the local hardware store to find some countersunk pop rivets (a fairly innocuous fixings) did yield an air hammer!!!! The kit of parts came with a number of chisels for doing everything except hammering with a parallel face…. I’d have to make one. On on….

IMG_3404
Air hammer and a selection of remorseless cutting instruments.
IMG_3406
We’ll use this one to make the parallel drift. It’s original purpose was to cut through sheet steel (or some such) and as I’ve never had to cut through sheet steel, I don’t feel bad about improving its design
IMG_3407
The hacksaw didn’t make much of a dent in it. Must be high carbon steel…. The angle grinder made light work of it.
IMG_3408
New parallel drift 🙂

Apparently I can upload videos too. Yay….

IMG_3402
Meanwhile… back in the garden, the component parts get themselves lined up (I hope you note the grass has been cut)
IMG_3403
Dry fit of the battery box and end piece
IMG_3414
Marking out the 4 spot weld holes
IMG_3415
Everything looks aligned at the rear
IMG_3418
New end panel with new holes corresponding with those on the old end panel
IMG_3419
Here we go…. first rivet replacing the old spot weld
IMG_3420
Air hammer ready to go
IMG_3421
Thats what we’re looking for. There’s some damage to the paint but the inside of the battery box will be lined with Dynamat, so its no problem.
IMG_3427
All 4 spot welds replaced
IMG_3428
Next is the bottom of the end panel to battery box. First the holes need to be drilled out.
IMG_3430
There was (about) a 3mm gap between the inside face of the seat and the new battery box. This gap needs to be closed for the rivets to work properly, so a few judiciously placed M4 bolt were temporarily installed  in every other hole.
IMG_3433
Job done
IMG_3437
Battery box and end panel installed
IMG_3440
Seat box offered up to the chassis….. The subframe is missing but you get the idea
fullsizeoutput_287
… and most importantly of all… a bullet box fits in the battery well. The tools have to live somewhere.
IMG_3452
Seat box rubbed back for the final time ready for the last coat of paint
IMG_3453
Finished product. The paint has orange peeled a little due to the temperature but I can live with that