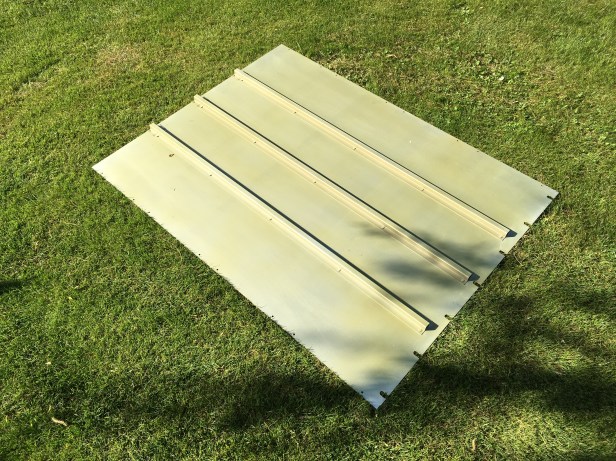
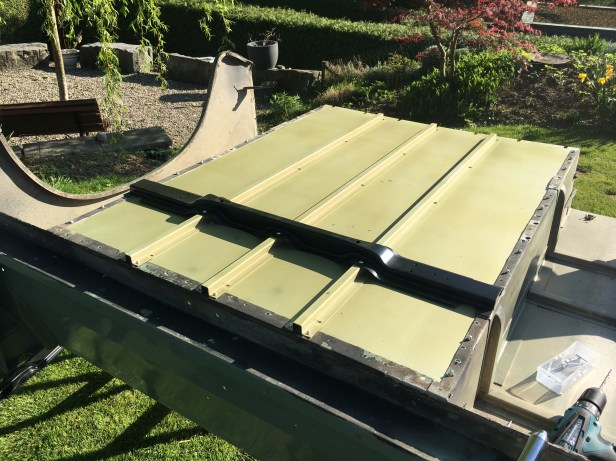
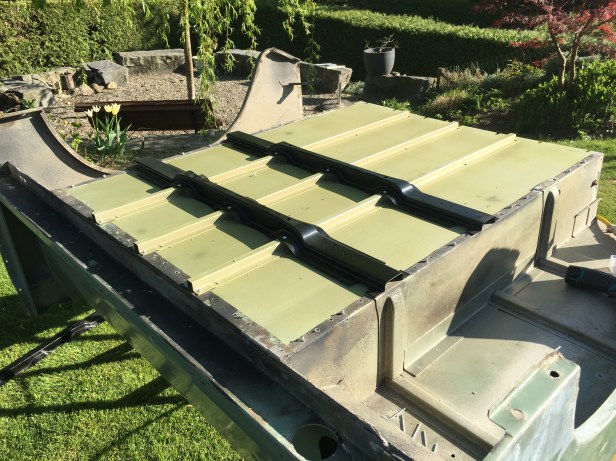
After much procrastination this week, it was time to fit the new floor panel from (yep, you’ve guessed it)…  Bits 4 Landys.

IMG_3580
First task was to clean up the surface it will sit on. This was done with the aid of an angel grinder fitted with a knot wheel. Anyone using one of these tools not wearing thick leather gloves and eye protection is an idiot…. See next.
IMG_3578
It’s not unusual to find bits of wire from the knot wheel embedded in the front of my overalls. But this time I’ve caught one with my head. This is why wearing goggles is essential when using fast rotating hand tools. It came out OK but had it been in an eye… it would have been a different story…. Sermon over… On on.
IMG_3581
With the wire removed from my head, it was time to fit the new floor… (in the garden today)
IMG_3584
New floor with the correct top hat sections fixed in place
IMG_3586
There’s a slight swage in the end of the top hat where it engages with the inner most lip of the tub…. It’s a tight fit though.
IMG_3587
By opening up the ends of the top had section, it slotted together much easier
IMG_3588
Floor ready to be tapped home
IMG_3589
Top hat sections were peened back into position with a parallel punch 
IMG_3592
Then the correct 3/16″ blind rivets were used to hold them in place. In fact the original and the new lined up perfectly
IMG_3594
Floor in and riveted all round… with the exception of the dome head rivets holding down the reinforcing braces
IMG_3596
Flip it over and we’re ready to fix the 3 ribs. Each one is fixed using 6 blind pop rivets and 4 dome head rivets….. ONE
IMG_3597
TWO
IMG_3598
THREE
IMG_3599
Done head rivets were used to securely fit the ends of the ribs