

Yesterday I managed to apply the final top coat of pastel green paint… This was preceded by 2 hours of wet and dry! There’s a couple of runs in the paint but we’ll see what they look like in the cold light of day.
This is only a temporary fit of the rear tub as I have to fit the wiring loom along the inside of the right hand chassis leg. I spent some time this afternoon, using various techniques, to get the cables down the leg…. to no avail.
There were also things to do to get the rear tub correctly lined up. The two brackets on the outriggers aren’t where they should be… this isn’t unheard of and it must be very hard to accommodate all of the factory variations when making a new chassis. Its not a huge surprise and (fortunately) easy to rectify.


BUT….

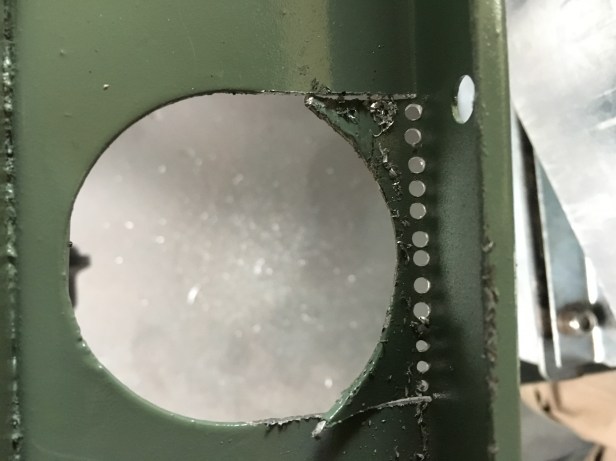
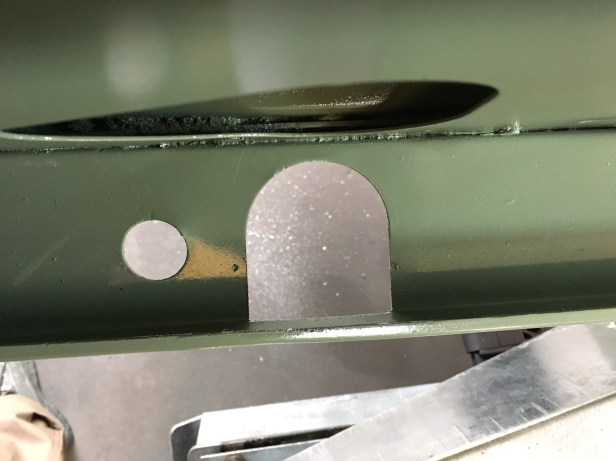
I assume the two tank outriggers are not quite in the correct place because the filler pipe for the tank (which passes through the front of the rear tub at an angle) fouls the rear tub and won’t let the rear end (above) butt with the chassis….


The above worked to a certain extent but not enough…. some surgery would be needed.


Next up is to install the rear section of the wiring loom. How this will be achieved has alluding me so far. Once that’s done, I can bolt down the rear rub and fit the galvanised cappings and lights.
The restored (and galvanised) bulkhead is on its way back from the UK as are the new doors. The replacement safari roof skin has also arrived along with the Rocky Mountain door tops, so that’s most of the major body parts accounted for.
