
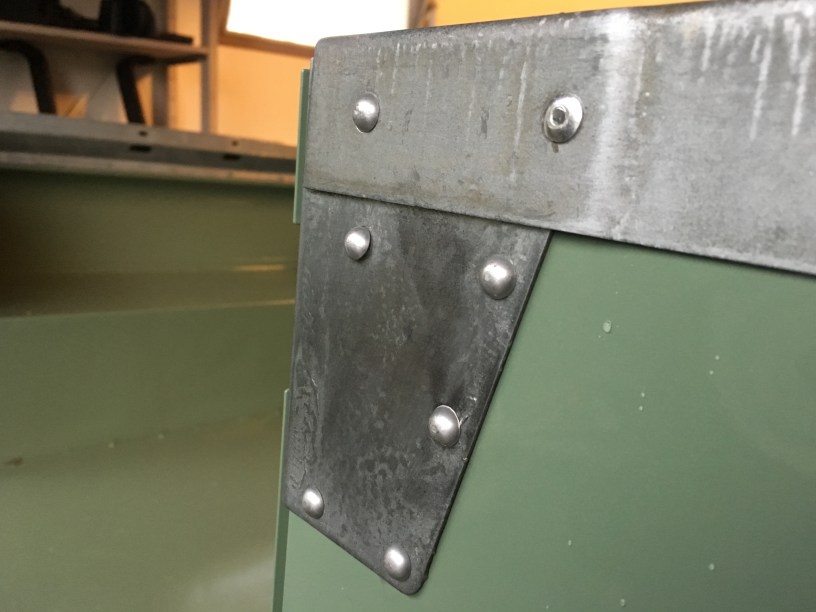
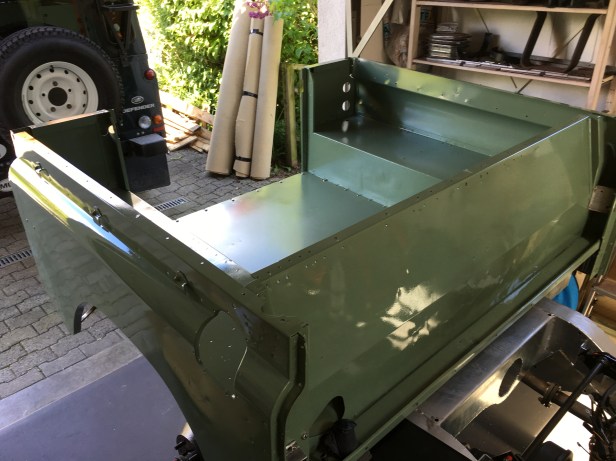
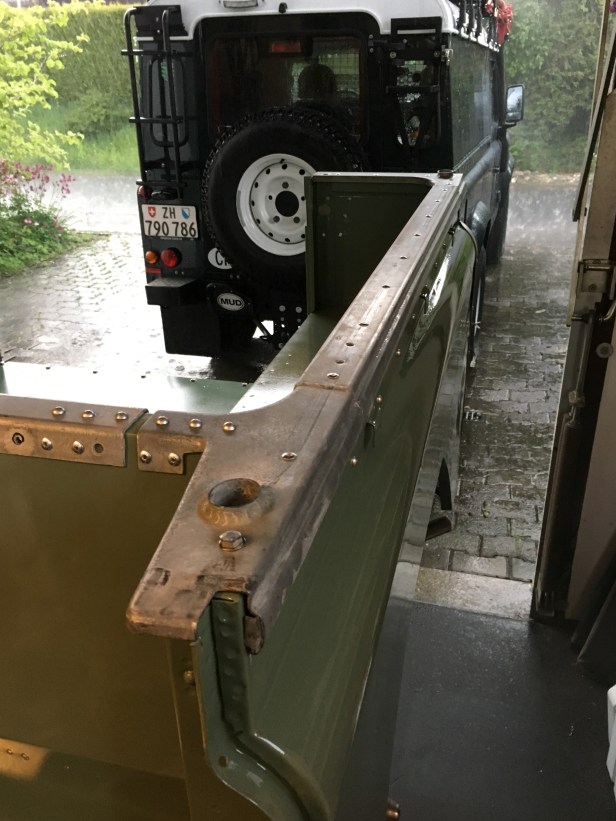
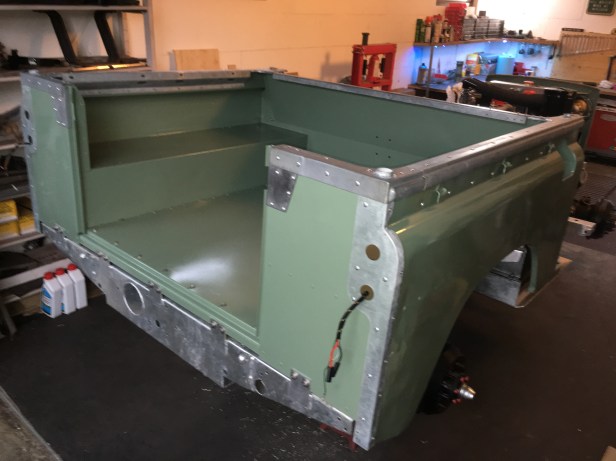
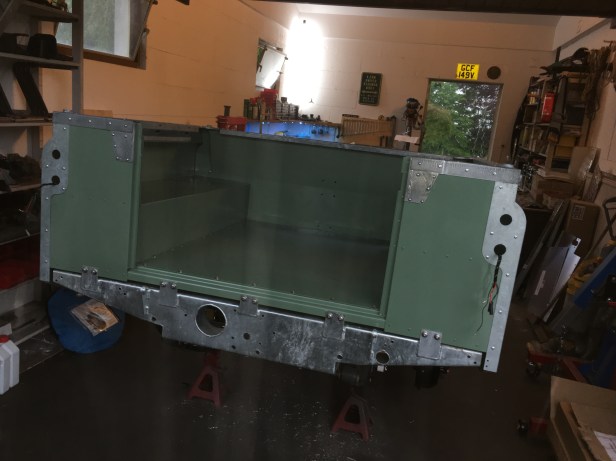
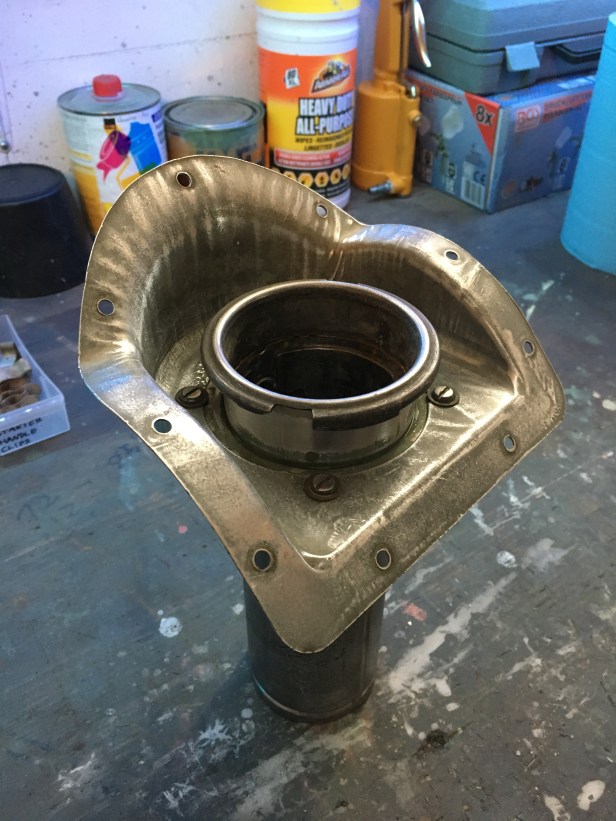
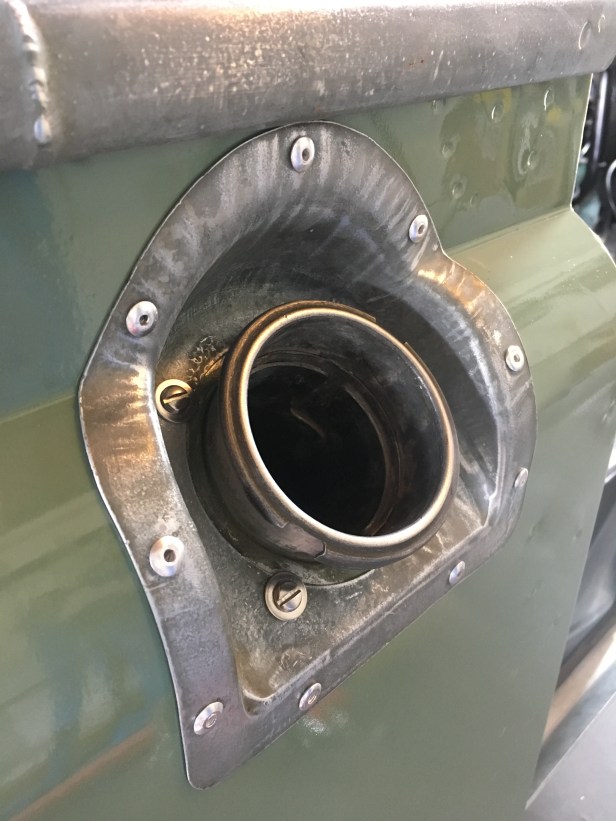
Possibly the most exciting part of installing the tub is refitting the galvanised body capping. The original items have been used with the exception of the rear quarter brackets.
A quick wash in hot soapy water and good rub down with wet and dry and they were reasonably shiny (but not too much) and ready to fit.
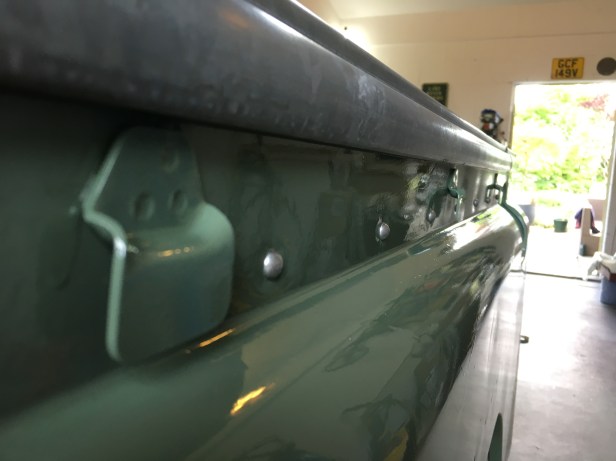
Fortunately, I took a lot of reference pictures to identify which type of rivet goes where…. But not all rivets can go in the correct places….
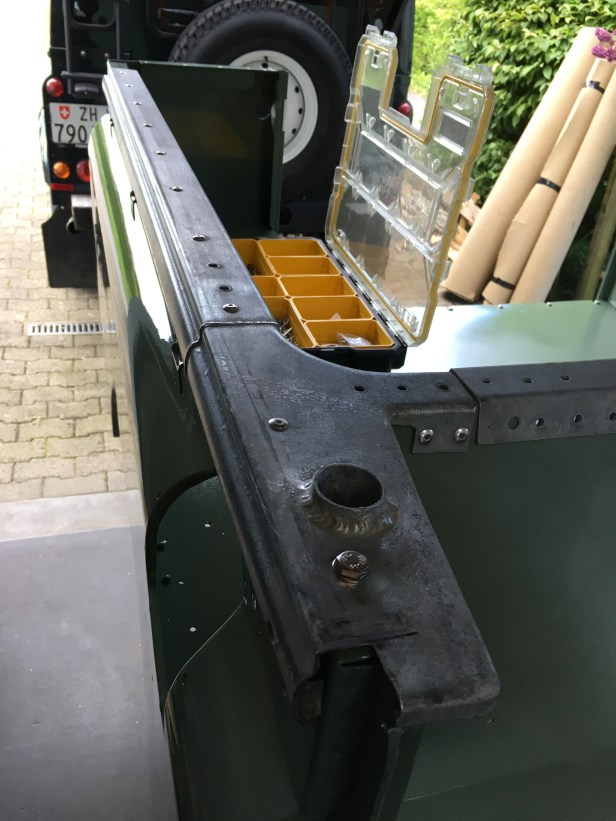
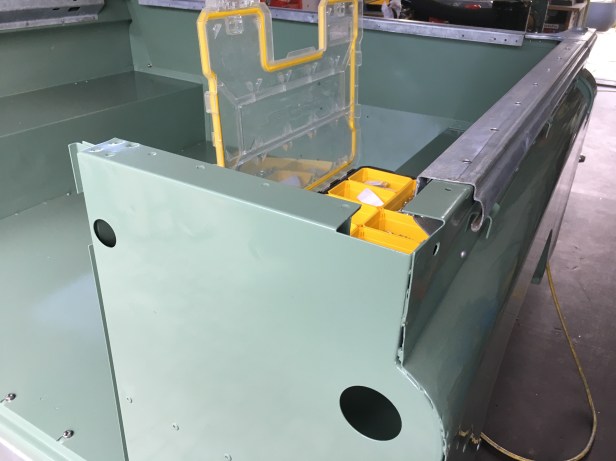
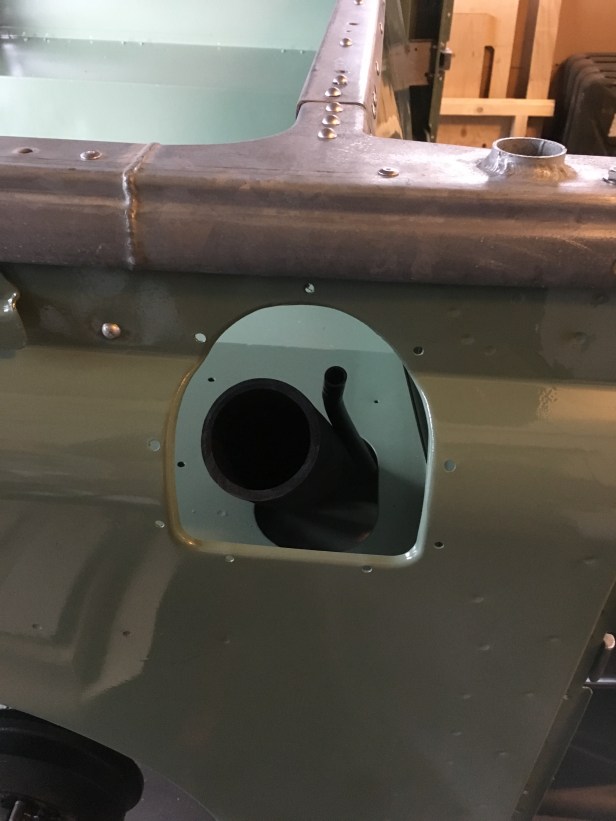
The new rear panels are different to the originals in that they have a reinforcing box-section along up inside upper edge. The top capping should be held in place with dome head rivets but the new box section won’t allow access to the stem of the rivet…. Pop rivets had to be used in this location but thats the only deviation to the original design.

This is amazing did you get these callings re galvanised or just sanded them down ? They look perfect
LikeLike
Hi Ian, thanks for the message. I have all the capping a good scrub in hot soapy water and then rubbed them down with wet and dry. The problem with re-galvanizing is that the “spangle” (the pattern in the galvanizing) just doesn’t look the same. The galvanized rear corners are new replacements from Bits for Landys. Cheers. Andy.
LikeLike
Thanks that’s brilliant I understand what you mean about the galvanising mine has came off in a lot of places so unfortunately i may not have a choice but going to try and save it , thanks for the advice love the Landy it’s amazing, such a good job
LikeLike
hello, brilliant job! it’s inspiring me in my series II full restoration
Question about the soild rivet: n the manuals I found the pages where the types of rivets are indicated, but I do not understand where to use the various types of rivet and in what quantity, let me explain: “body cappings and sockets 88” page, here are shown the various types of rivet to be used on the rear tub but it does not say in which place to use and in what quantity the type of rivet.
now I am restoring the hood (Deluxe type like yours) in the relative manual page the solid rivets are not even indicated …
can you help me?
LikeLike
Hi Filippo, firstly, please accept my apologies for taking so long to reply. I honestly missed the notification.
For the rear tub cappings, the photos on the webpage are a good guide. All rivets are placed correctly. I recall, most of the “hammer rivets” are 3/16 dia x 7/16 long with a few exceptions to the cappings on the 2nd bulkhead (behind the drivers and passenger seats) where longer 1/2 long ones were needed. The remaining blind pop rivets are 3/16 dia (i think) x 7/16 long.
For the bonnet (hood), most of the rivets are “hammer rivets” with the exception of the front edge of the steel frame and 2nr at the rear on each corner. These a blind pop rivets. I must admin, I didn’t do an inventory of which length “hammer rivets” went where on the bonnet but I’m pretty sure 3/16 dia x 7/16 long are the correct ones.
I bought a selection from “Bits4Landys” in the UK and the correct sized mandrel… But I sure you can get good quality ones locally.
If you have a look at https://littlegreenlandy.com/2017/11/14/bonnet-2-frame-fitment/ there’s a photo of the topside and underside of the finished bonnet where you can see the location of the pop rivets. Everything else is a “hammer rivet”.
If you get stuck, you can also use the contact formula if you need anything else. I can then email some photos…. I may have more photos in the archive of which style of rivet goes where on the rear tub.
Again, apologies for the delay.
LikeLike
Hi LGL
Now it’s me who has to apologize for the delay!
Thank you for what you have indicated: in the meantime I will buy the rivets and the mandrel to make some test (I have never used hammer rivets, only pop rivets)
I will keep you updated!
Thanks again
LikeLike
Thank you for ssharing
LikeLike
Hi, I’m about to start cleaning up my galvanised capping and wondered what grit of wet and dry sandpaper you used.
thanks, Alfie
LikeLike
Hi Alfie,
Thanks for leaving a message.
I honestly don’t remember but I would suggest starting with 800 grit and see how it goes.
1200 / 1400 grit will be too light.
What you want to avoid is creating heavy scratches so go lightly on a small section.
It’s worth the effort when they come up a bit shinier.
Best.
Andy
LikeLike
Hi Andy,
thank you for getting back to me! I shall give that a try and see how it goes.
thanks, Alfie
LikeLike