

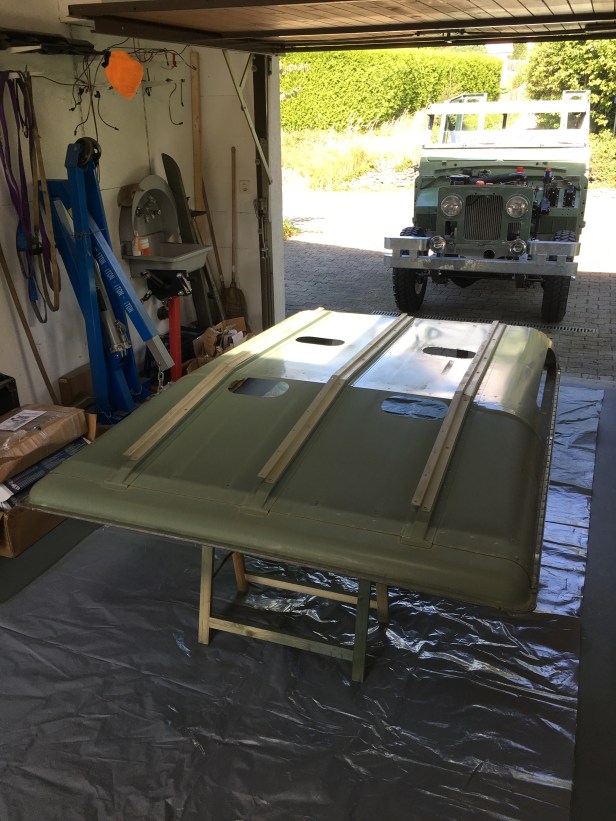
The weather was such that I could push the Land Rover onto the driveway, leaving the garage free to lay down some fresh paint on the the roof panel.
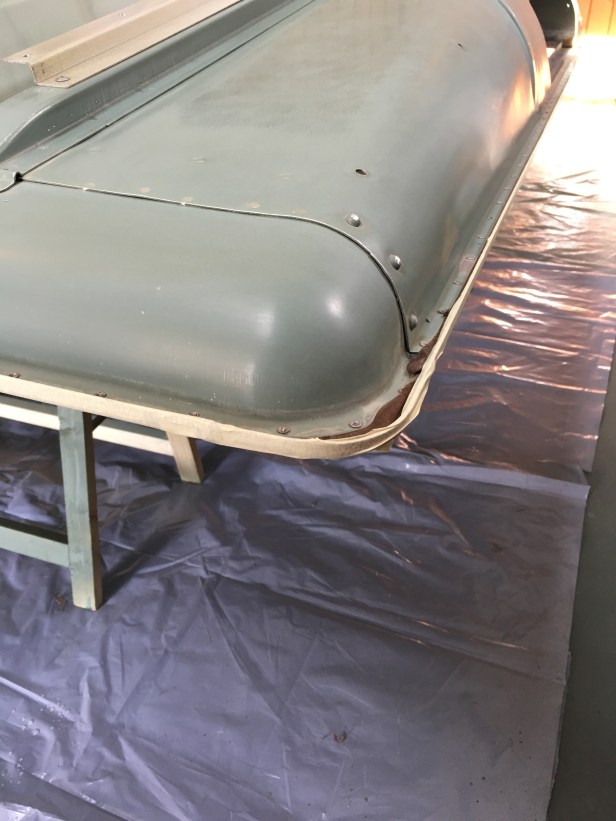
This was a fairly straightforward job with generally flat and undamaged panels. Prep consists of giving the whole of the roof a good rub back with wet and dry. This was essential to remove the 50 years of ingrained dirt that couldn’t be shifted with a brush and soapy water. It also provides a decent key for the paint.
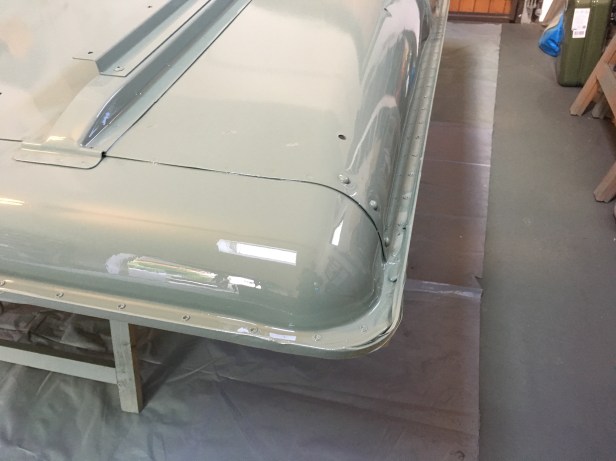
I’ve just about got the trick of thinning down the paint to a workable viscosity. No runs or drips today 🙂


That is a great finish. Did you use a clear lacquer? If so, did you key it back?
Managed a good finish with the Limestone Gloss but want to add a coat of lacquer for protection.
On a test area it seems to lift the top coat but sets hard after that.
LikeLike
Hi Charlie,
My approach to the painting was pretty basic. My only experience of spraying anything before this was bike frames… where I used a lacquer, which started to orange peal and flake off very quickly.
I enquired on a couple of forums on what to use, how to do it etc. but the complexity of the answers was mind boggling. Plus, the products people were suggesting are only really available to commercial users here in Switzerland.
So, I used no lacquer. I bought all the paint from Paddocks in the UK and thinned it down with white spirit. I spent a lot of time prepping the base material, then two coats (where necessary) of primer, (rubbed down between coats) and one or two top coats. There are a few runs in the paint, which I can live with.
All the best
Andy.
LikeLike
wich color is this ? 😉
LikeLike
Hi Raf, the Land Rover name for this colour is Pastel Green and the RAL paint code is: 6019
LikeLike
Thanks !
LikeLike