Not the warmest of days to be working outside but while I wait for a new diaphragm for the carb, I can’t finish timing the engine as planned. The potential outcome of petrol being dumped onto the (hot) exhaust manifold from the carb pump when the throttle is opened isn’t worth thinking about.
Since the roof was painted it’s been propped up against the end of the garage waiting for the next step…. Sound insulation and re-fittment of the safari roof lights.
The insulation was straight forward, the glazing… less so…
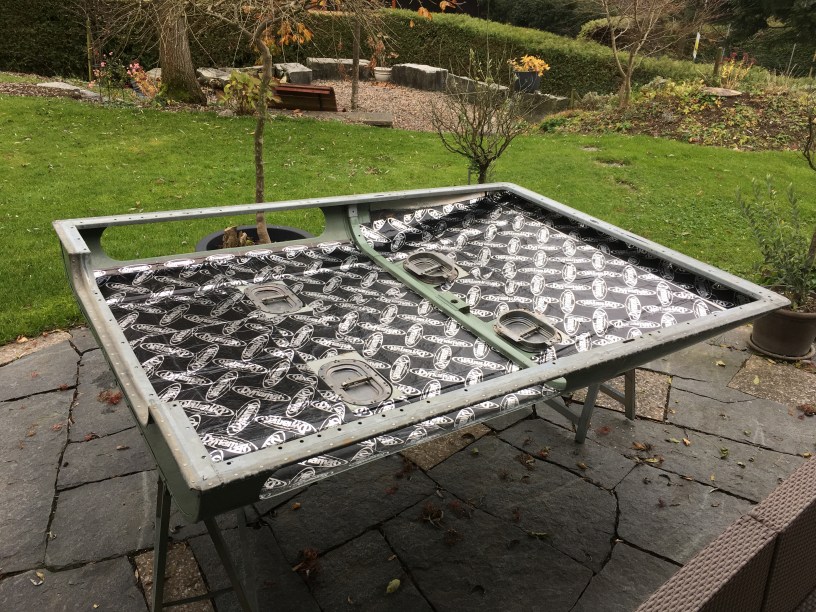
The original insulation (some sort of sack cloth) was stuck on using something akin to bitumen, it seemed to work as an adhesive but almost impossible to remove… so, I’ll leave it where it is.
The most satisfying 45 minutes of the day 🙂 Dynamat is incredibly sticky but as it’s 1 degree outside and the substrate still has some of some residue of sack cloth on it, I had to heat each sheet through with a blow lamp to make things a little more tacky before I rolled it all on.
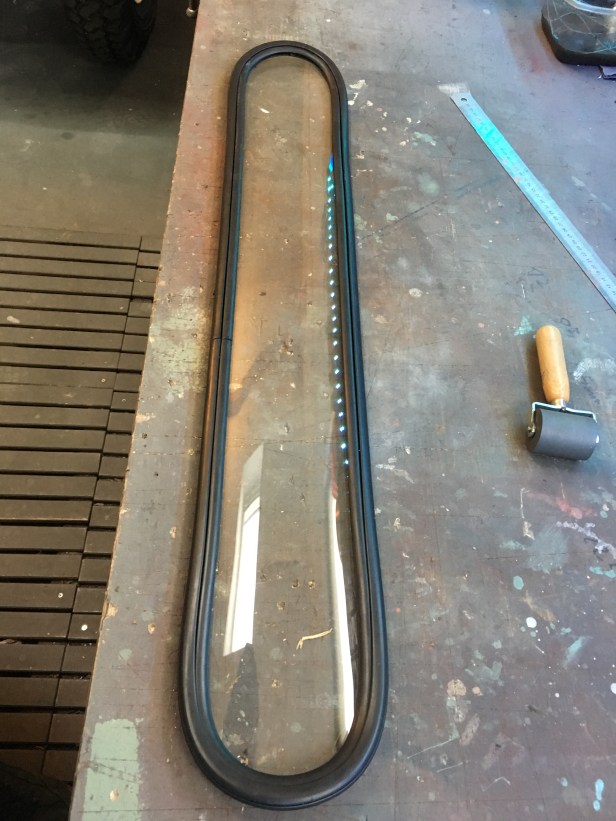
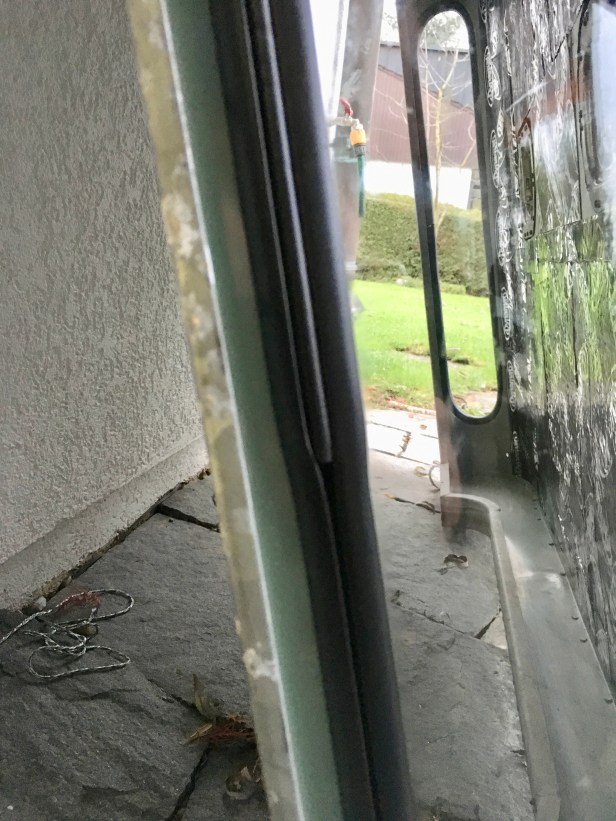
Original roof light glazing, new seals and infill strips (smaller diameter)
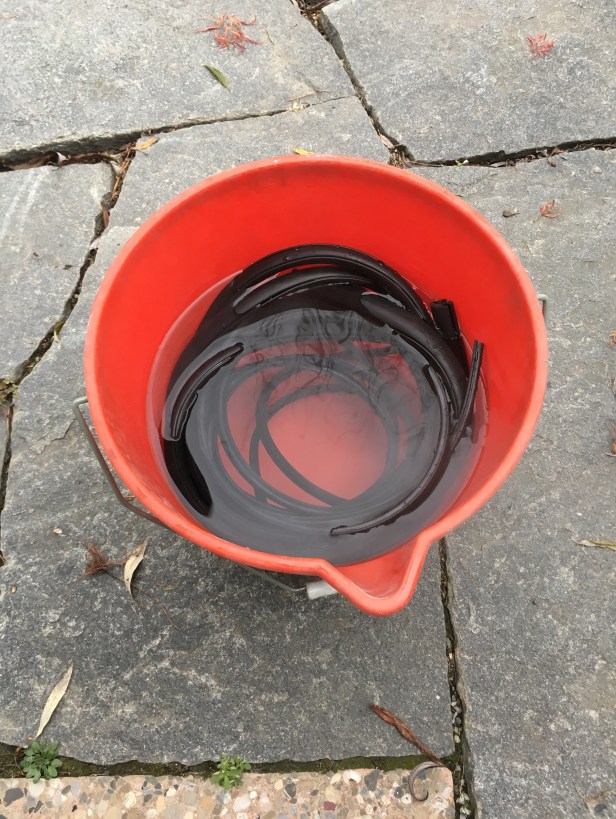
To have any chance to work with the seals in this temperature, I left them in a bucker of hot water and had a cup of tea
The seals are overly long and need to be trimmed to the correct length. I fitted one to the curved glass and cut it to suit. MISTAKE….. I should have fitted the seal to the roof and measured there. When I fitted them to the aperture in the roof, the gap between the seal ends was about 25mm. A small infill piece cut to size and fitted in the gap. Not super neat but mostly out of site… unless you’re 6 feet tall
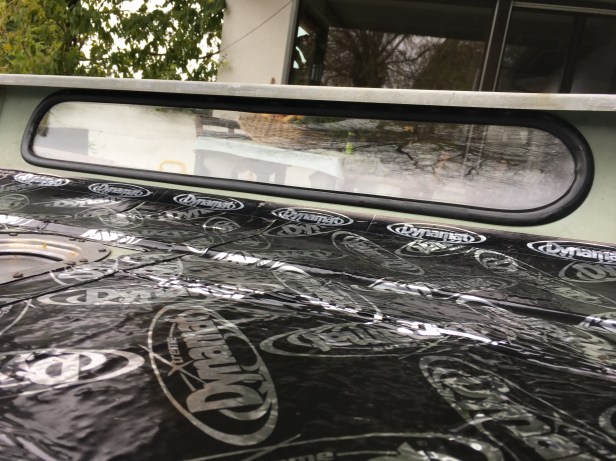
One side fitted… sort of. With the aid of some silicon spray in the grooves, the glass went in OK. There’s a small diameter filler strip that “expands” the seal and holds everything in place. It’s fitted in the groove on the outside of the seal. With it being a) very cold and b) not having the correct tool, I gave up on this. A special tool will have to be orderedInfill piece… started at least. My screwdriver technique wasn’t working and my fingers were freezing so I gave up. Not like me, I know but there’s a tool for every job
One option may be to fit the roof light glazing once the roof is installed on the vehicle, this way the roof it fixed to something and not rocking about on a couple of trestles. The down side is I won’t be able to reach everything, inside and outside. The glass and seals have a tendency of pop off as pressure is applied to fit the infill strip.
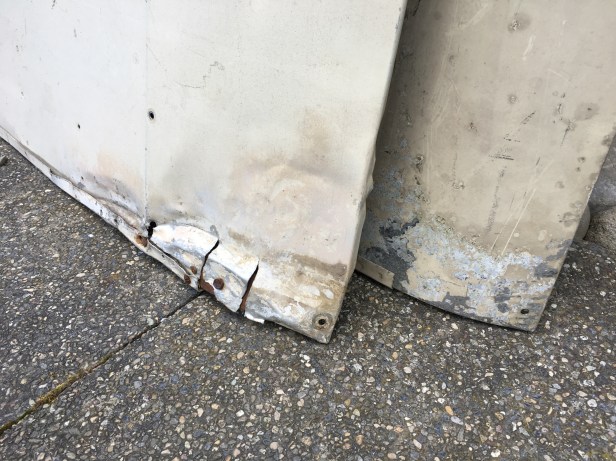
Whilst I decide what to do, the next step for the roof will be to start work on the safari sun sheet. This need quite a bit of work to transfer the “domes” from the heavily damaged civilian roof sheet I have with the new old stock military spec one (without the domes) Some precision cutting will be required.
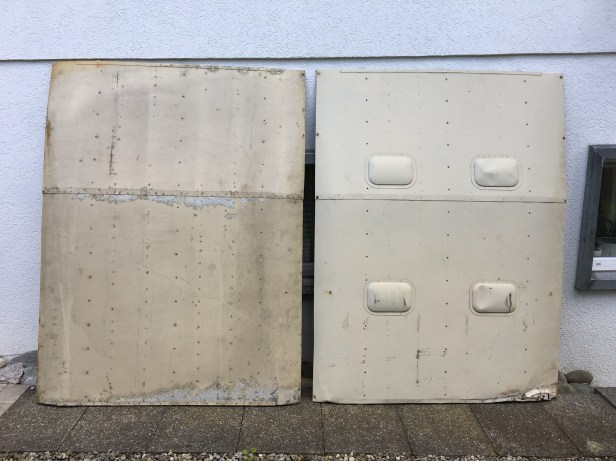
Orignal (foreground) Vs new (if you can believe that) old stock
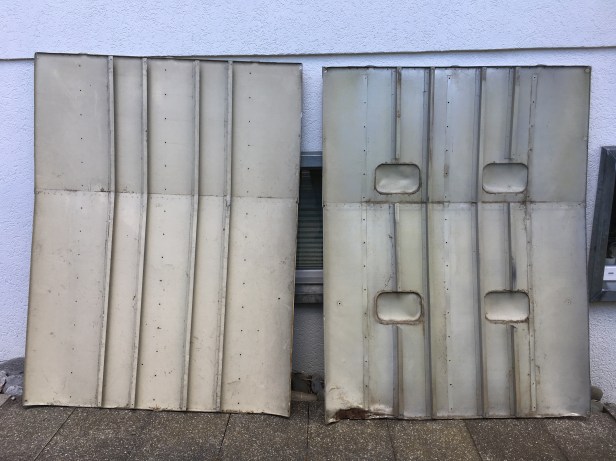
The “domes” that allow the roof vents to open will need to be drilled out and let into the new sun sheet (left)
and the reinforcing channels on the left hand roof cut out to suit