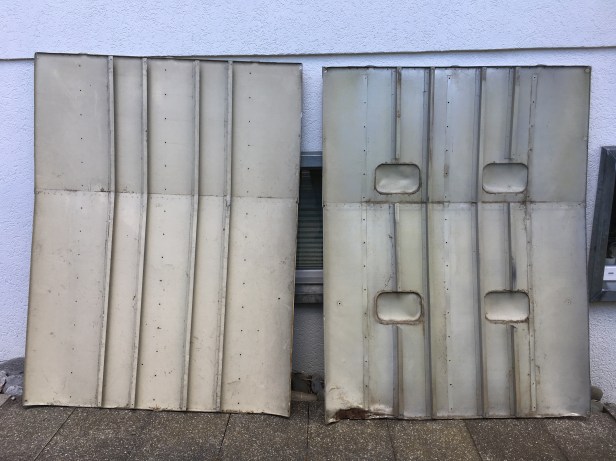
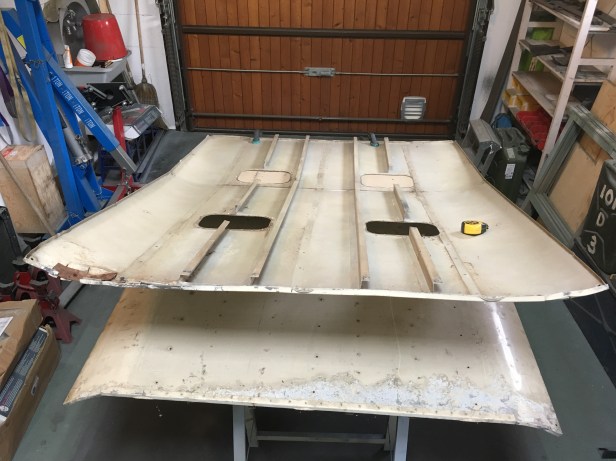
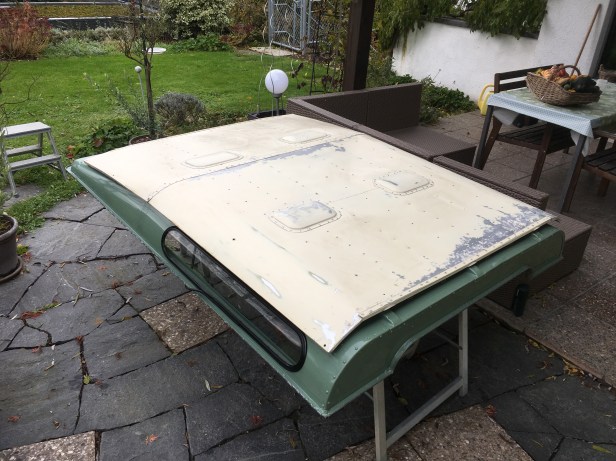
A new lease of life is bought to the new old stock safari sun sheet from PA Blanchards in the UK 🙂
As mentioned in other posts, the replacement sun sheet is an ex-military item for use on a “hard top” vehicle so the 4 domes (that allow the roof vents in the main roof to open) had to be removed from the battered original sun sheet and let into the new one.
Some drilling, grinding and cutting ensued. Cutting such thin aluminium is easy enough but it’s plenty noisy. As the weather was clement enough for the LGL to sit on the drive for the day, I also managed to spray it with a coat of primer
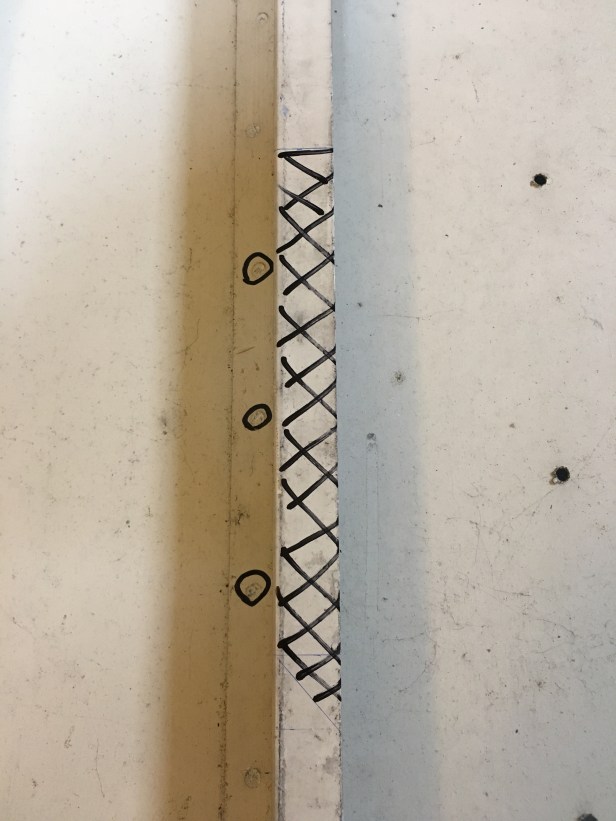
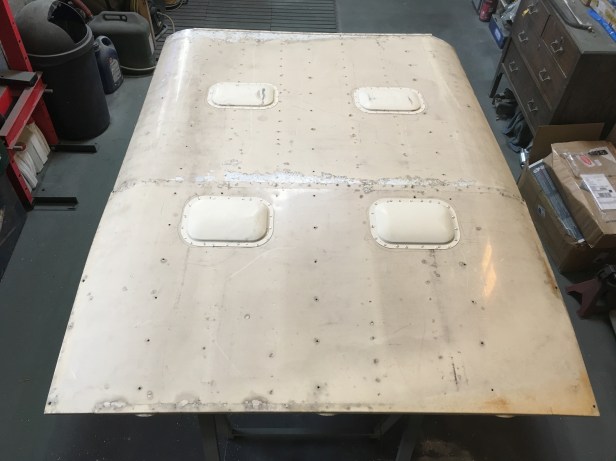
Need to make the left hand sheet, look like the right hand sheet
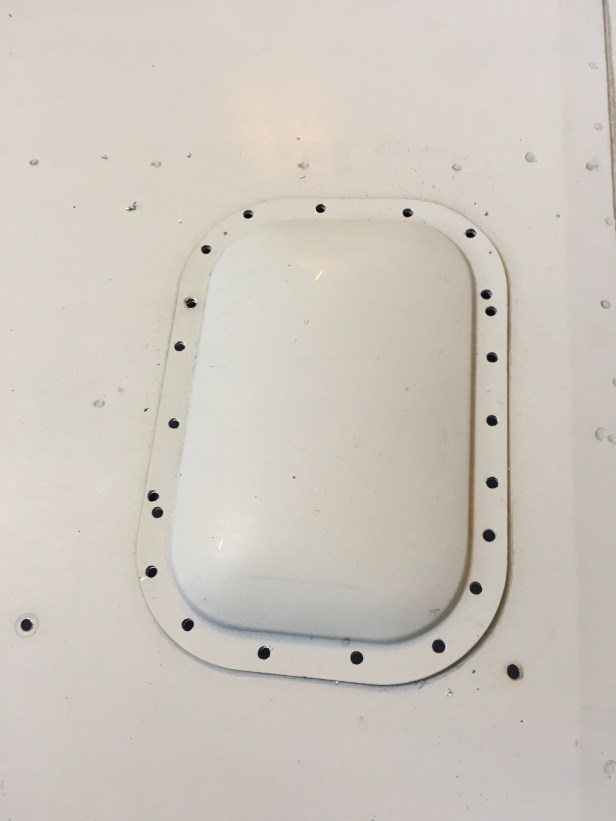
Original sun sheet ready to have all the spot welds drilled out around the “domes”. Using a 6mm drill but, the 80 (or so) spot welds came out easily
Spot welds drilled out on one of the domes
… and repeat on the remaining 3 domes
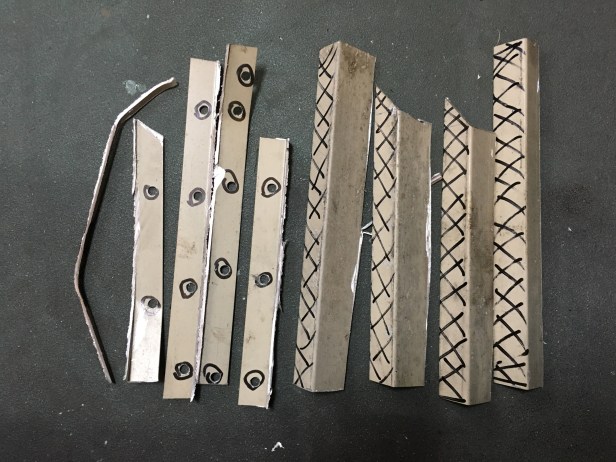
All done. The only thing I need this part for now is measuring the locations of the holes and where to trim the reinforcing struts
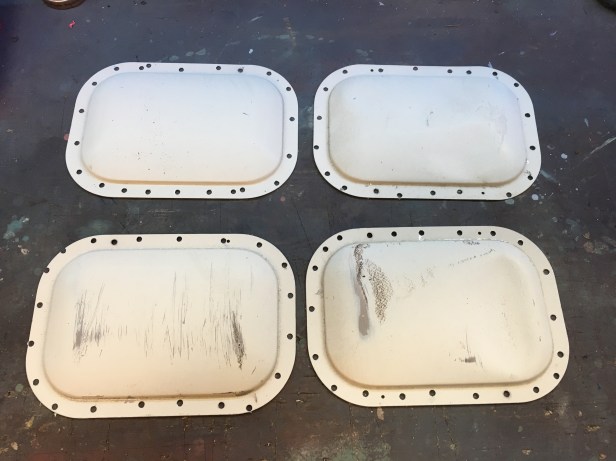
The 2 right hand domes had a few big dents in but these were easily tapped out with a hammer before refitting
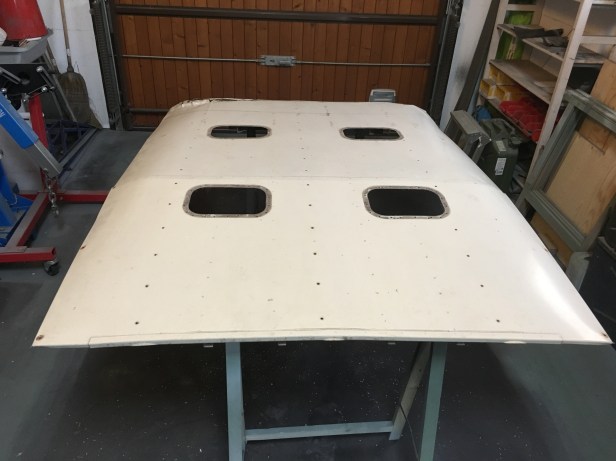
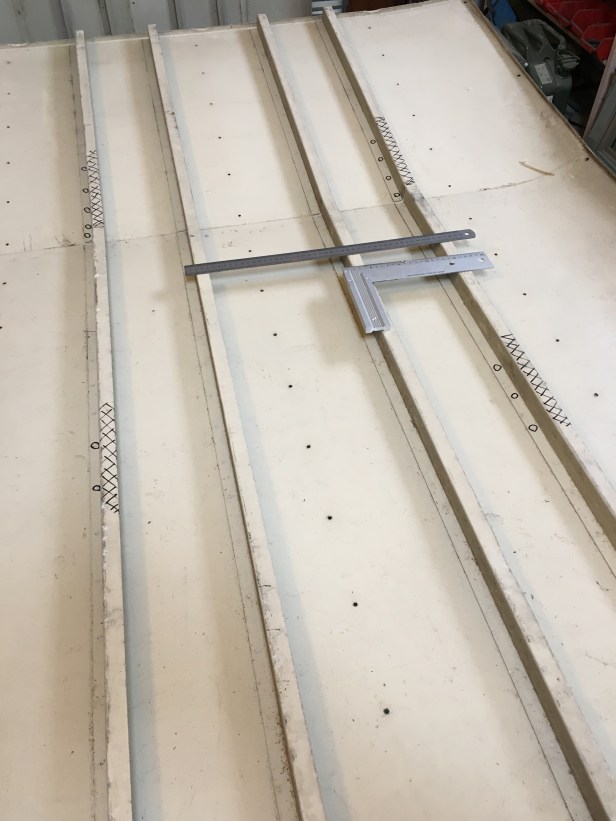
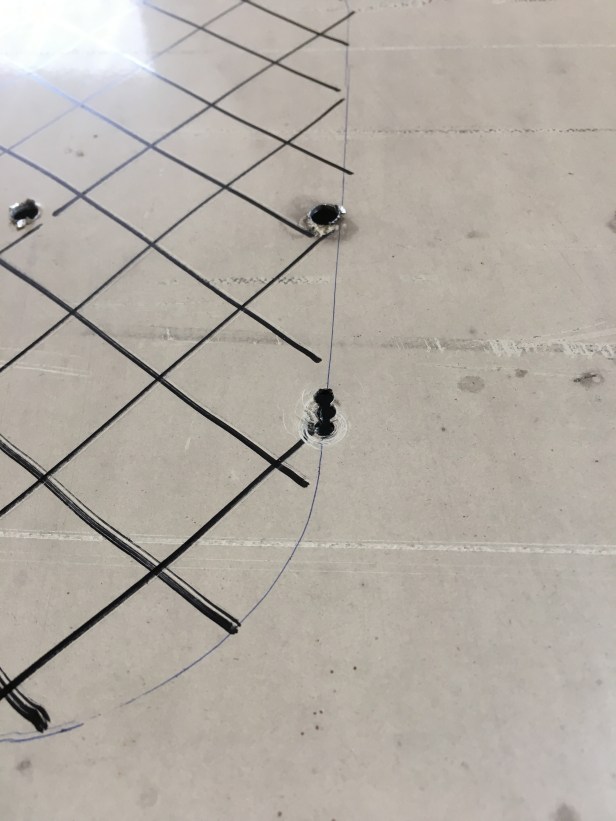
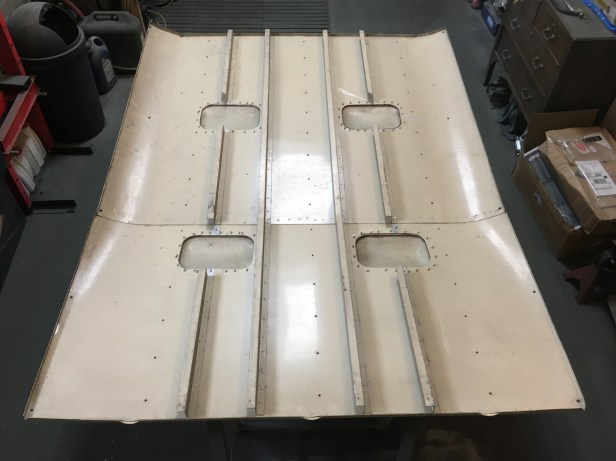
Taking careful measurements of the struts from the original sheet the new panel was marked up
Measurements were double checked and with the help of an angle grinder were cut out. Once the cutting was done, a few spot welds had to be drilled out.
All done 🙂
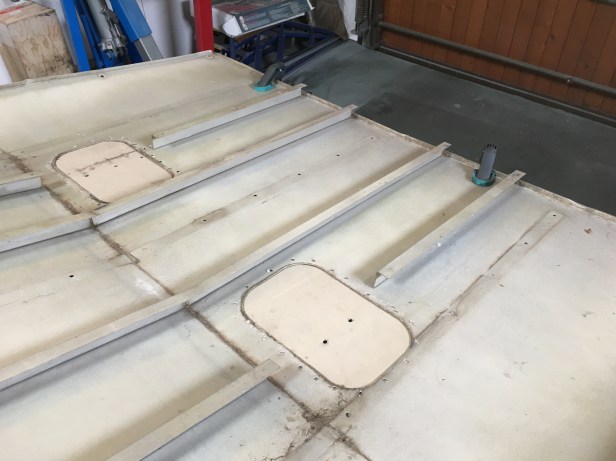
New sun sheet with the correct gaps in the struts
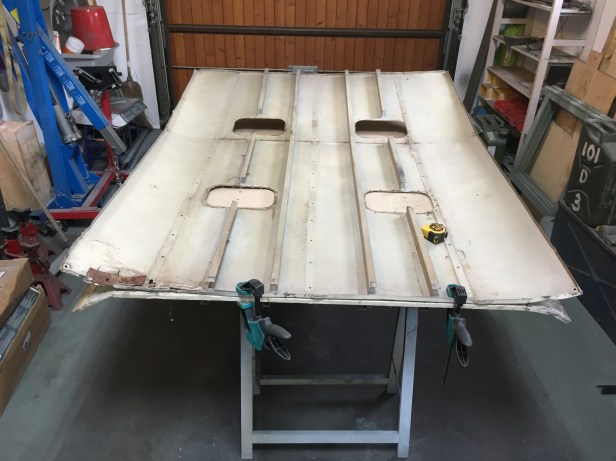
To mark up where to cut the new openings, I sat the original roof on the new one and simply drew a line on the inside of each aperture.
Then repeat for the front end
Thus….
All marked up… Cutting can begin
I stitch drilled a small slot, big enough to get the jigsaw blade in
A deafening 10 minutes later and the new holes are complete
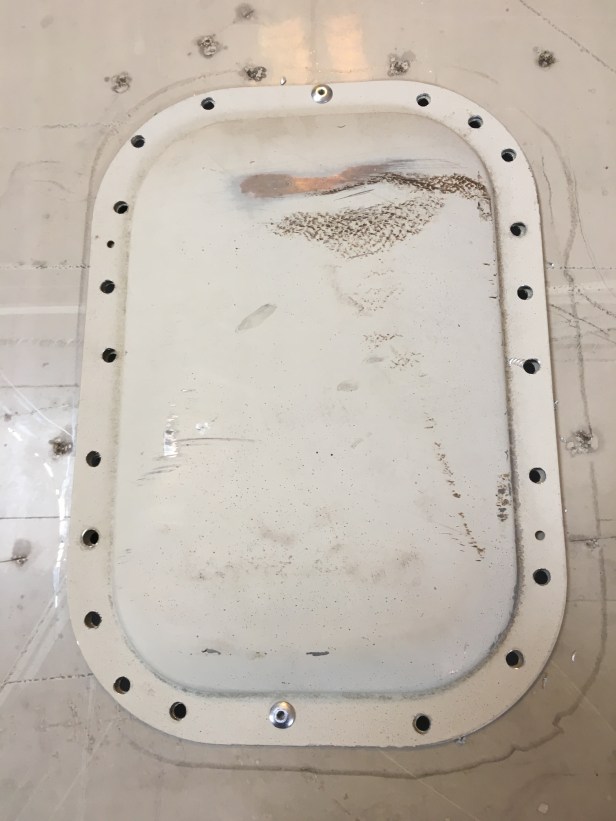
Domes ready to fitting. (each dome is in the same location as fitted in the original roof)
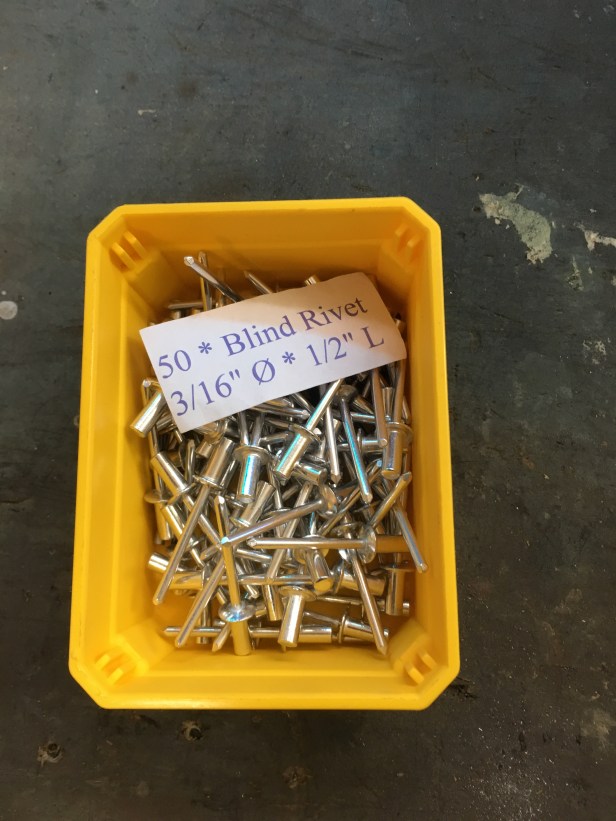
We’ll be needing a lot of these
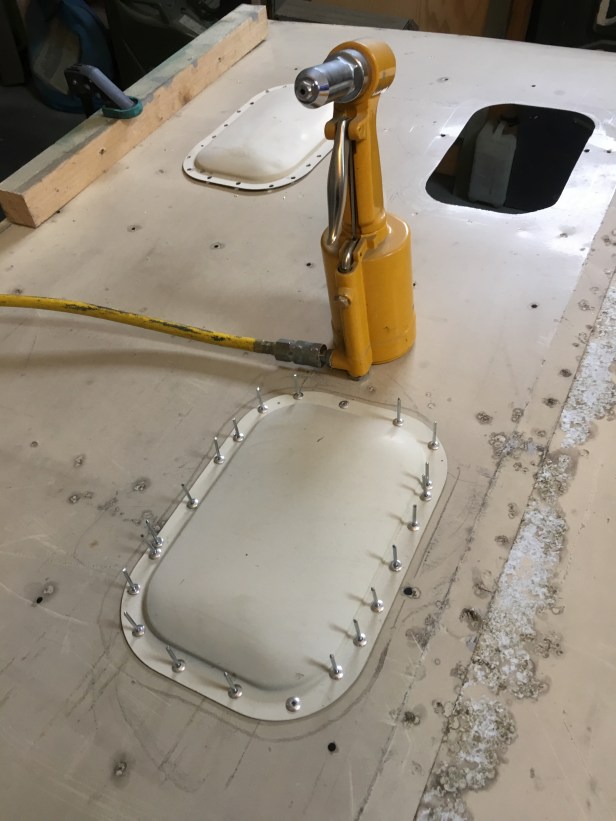
First of all, drill and fit one rivet. Make sure everything is “square”, fit a second to hold it securely and, using the holes drilled earlier in the dome, use these as a template
So glad I have an air riveter. Pop pop pop 🙂
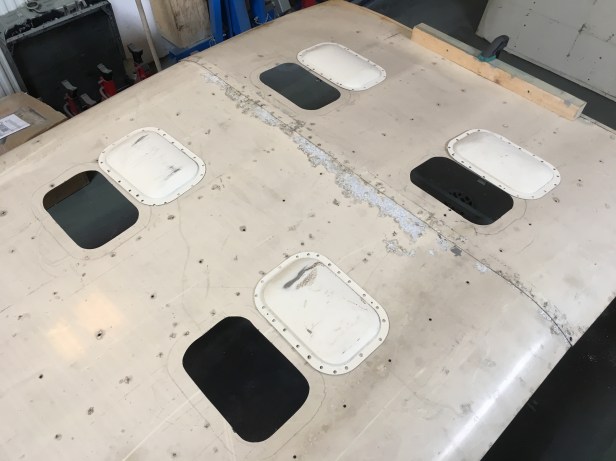
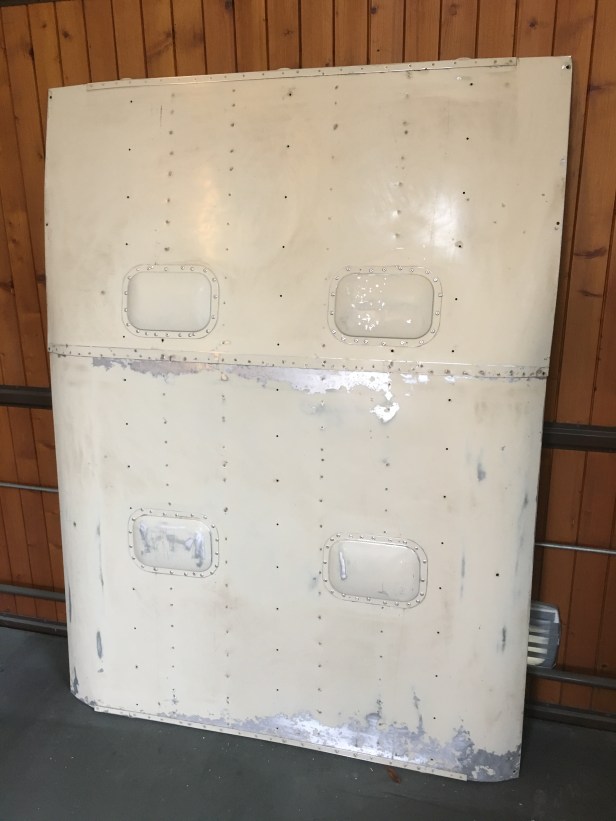
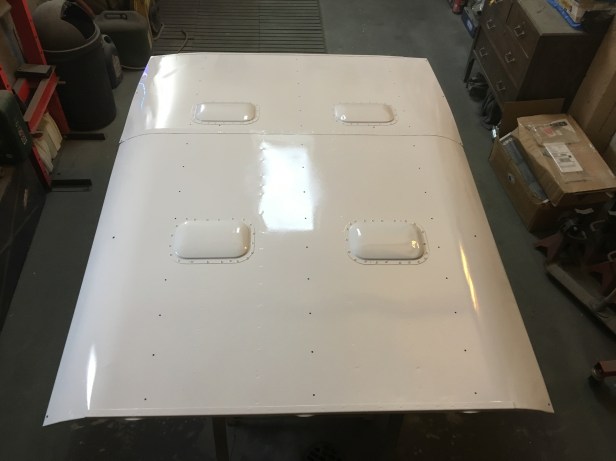
4 domes let into the new roof
Flip it over and it all looks pretty good
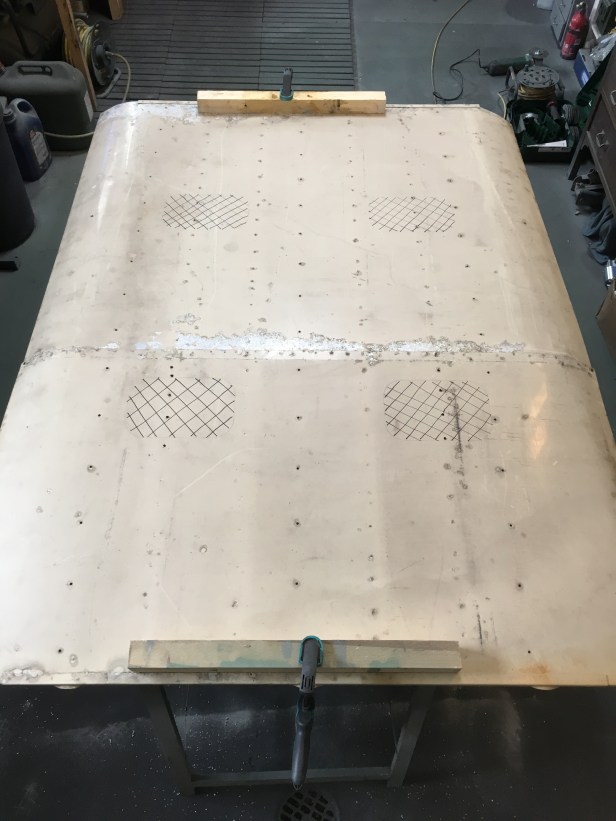
Once the riveting was done, an hour and half was spent with some wet and dry to rub down the rough corroded surface… and remove the 50 years of dirt accumulated whilst in storage
Ready for primer / undercoat… but first…
I quickly sat it on the main roof panel to double check everything lines up. I’m please to say if does 🙂
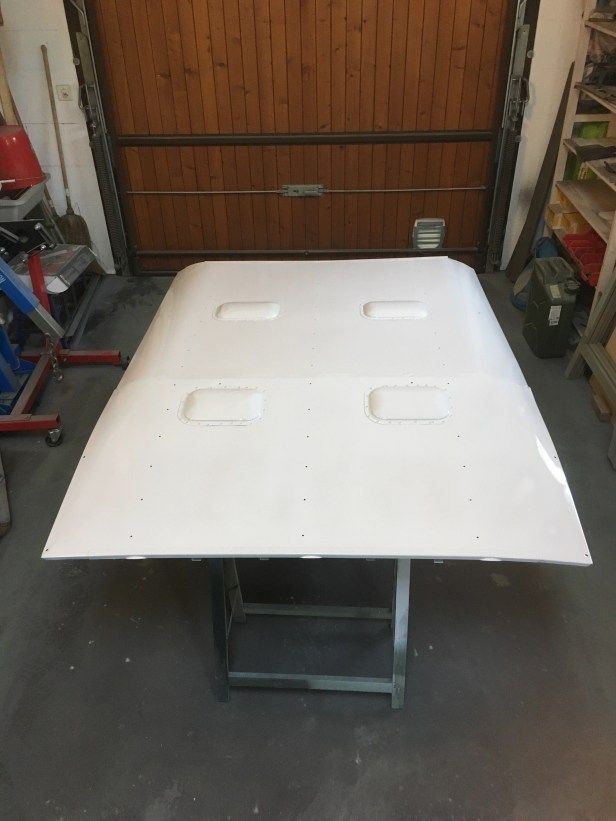
A good coat of synthetic primer sprayed on… taken from the rear
From the front. With the fan heater on this should be dry in a few hours
Busy schedule tomorrow, but hopefully I find time to spray the Limestone top coat… Watch this space for part 5 of the roof build.