With the paint set, time to fix everything back together again… Let the riveting begin 🙂
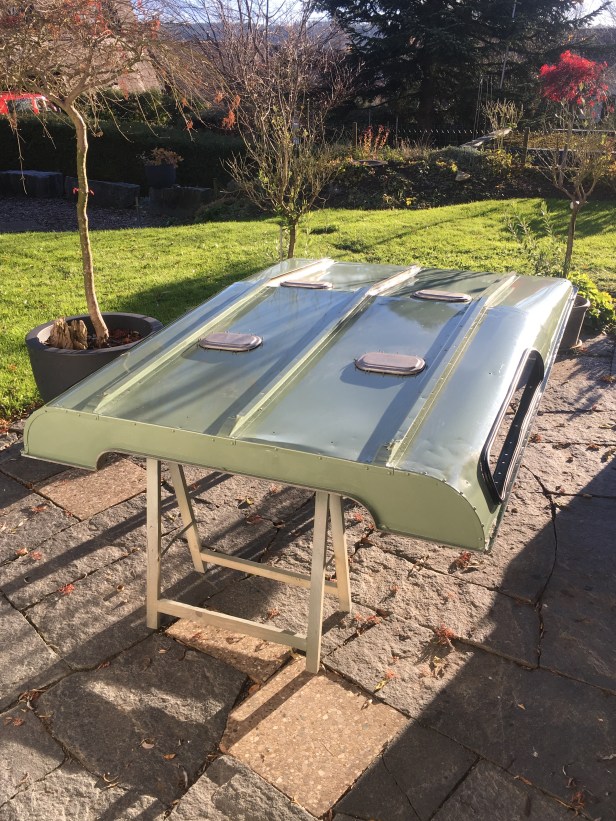
Main roof up on the trestles. Nice afternoon
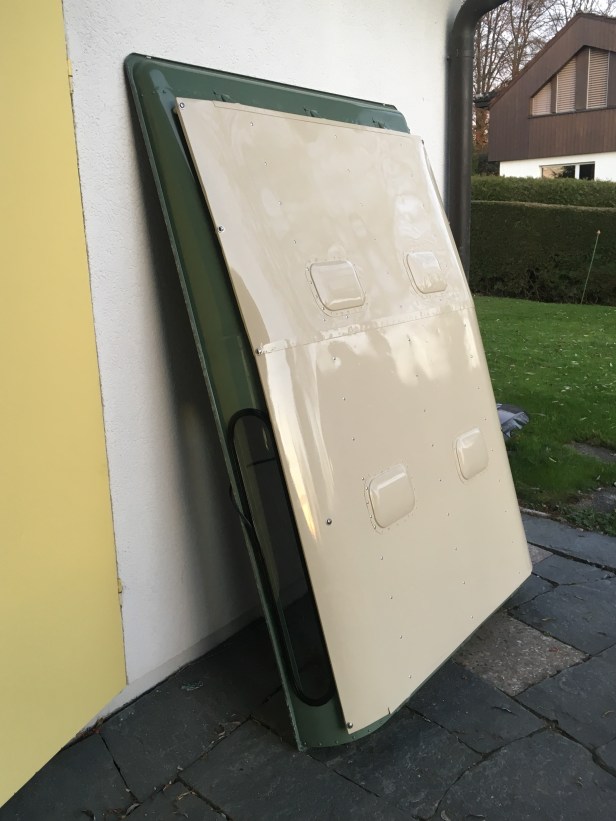
Sun sheet ready to be fitted
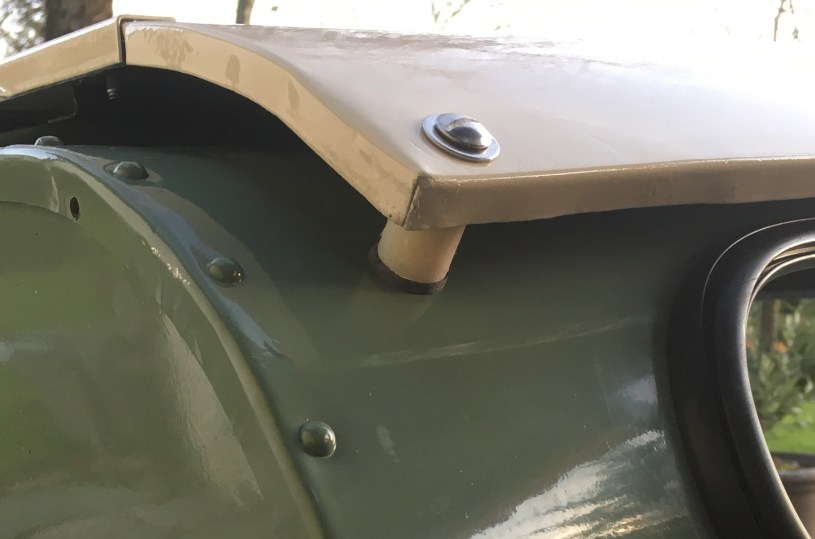
(From top left, clockwise). There are 5 threaded fixings along each side that penetrate the main roof. I’ve reused the original spacer bobbins… for some reason replacements are hideously expensive. Then, new rubbers, new correct style stainless fixings, battery screwdriver and more 3/16″ blind rivets. Not pictured is the air riveter, which did much of the work with the gear in the yellow box
The fixings on the 2 long edges were fixed first to make sure everything lined up… but nothing tightened up yet.
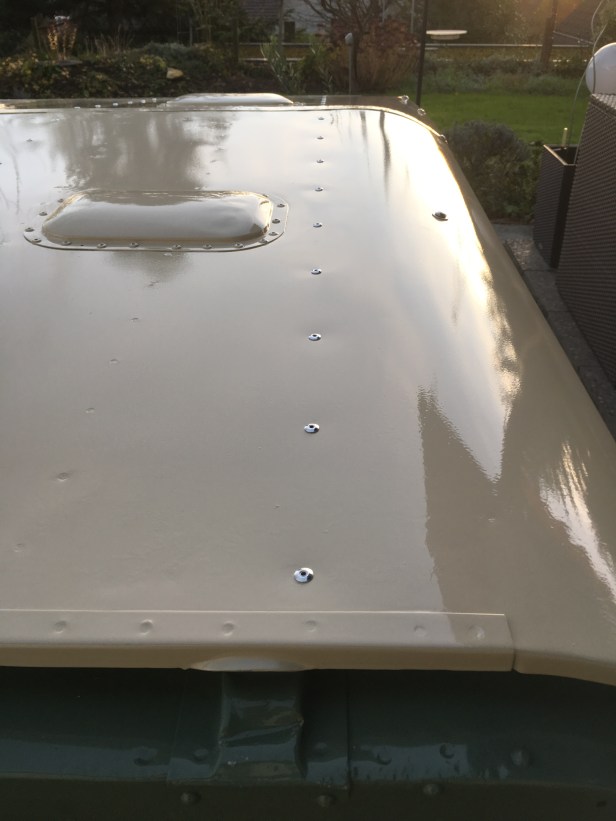
Then all of the pop rivets were added. Amazingly the holes in the sun sheet matched perfectly with the holes in the Z section on the roof. The jig the factory used was certainly consistent across the years. Now time to tighten the screws down.. and make sure the slots in the heads point in the same direction 🙂All done. Nice sunset. Good day
The roof it now quite a heavy beast. I’m going to need another person to help get it on the Landy