Right then… no pictures of the paint prep of the rear door. Primer and top coat were laid down in a hurry with left over batches mixed up when spraying other bits and pieces in the last few weeks.
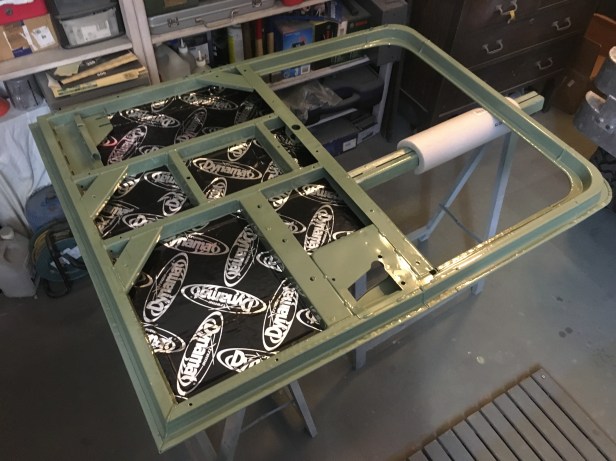
The rear door (along with the 2 front doors) comes from Ashtree Land Rover Inernational and has a fully galvanised frame, so no issues with it rusting out. It is also braced to accept a spare wheel carrier. The frame is sleeved to accommodate the 3rd hinge required to support the additional weight of the spare wheel.
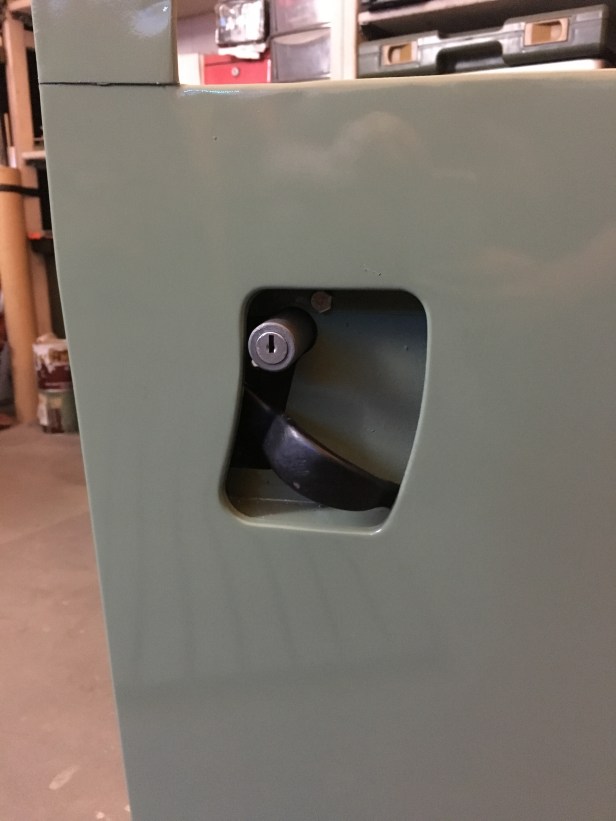
As with the front doors, Dynamat was applied to the inner skin and the lock case fitted. The captive nuts used to secure the lock to the door have some how vanished during the project so some judicious fiddling with my trusty cranked pin nose pliers was required to set the new “loose” bolts in place.
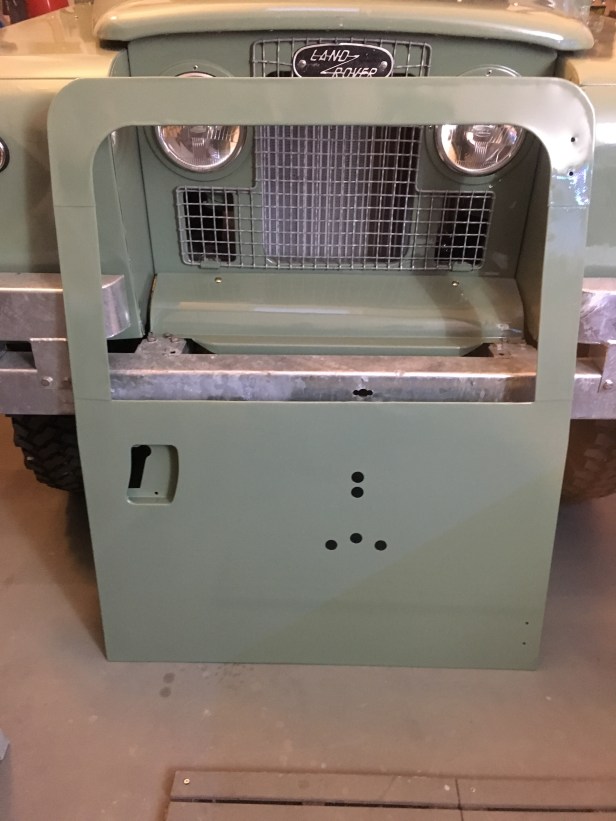

Flip it over….