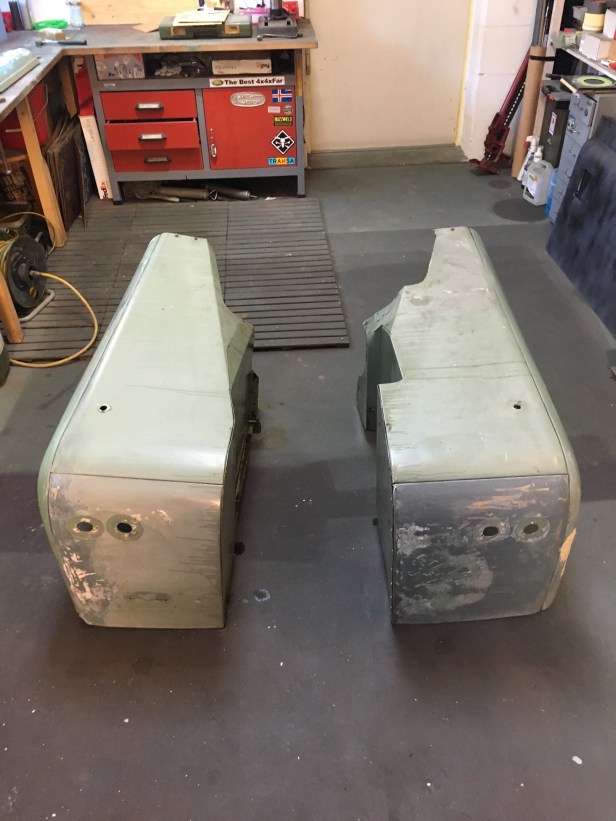
I’ve been putting this off for a while but as the engine bay is pretty much complete, the wings can go on. There’s quite a lot of work to do before they’re fitted. First of all, the prep work.
All the external surfaces were sanded back with the air sander to give a good key for the filler (where its needed)
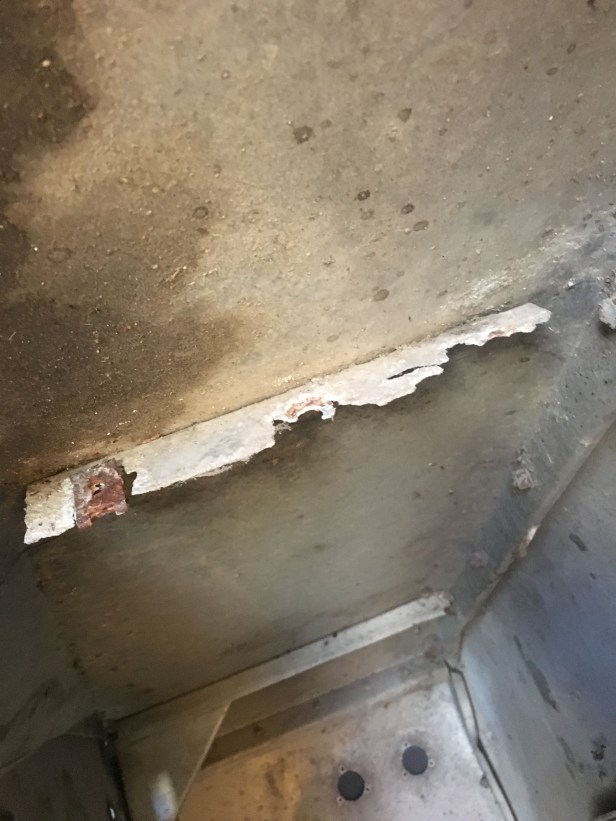
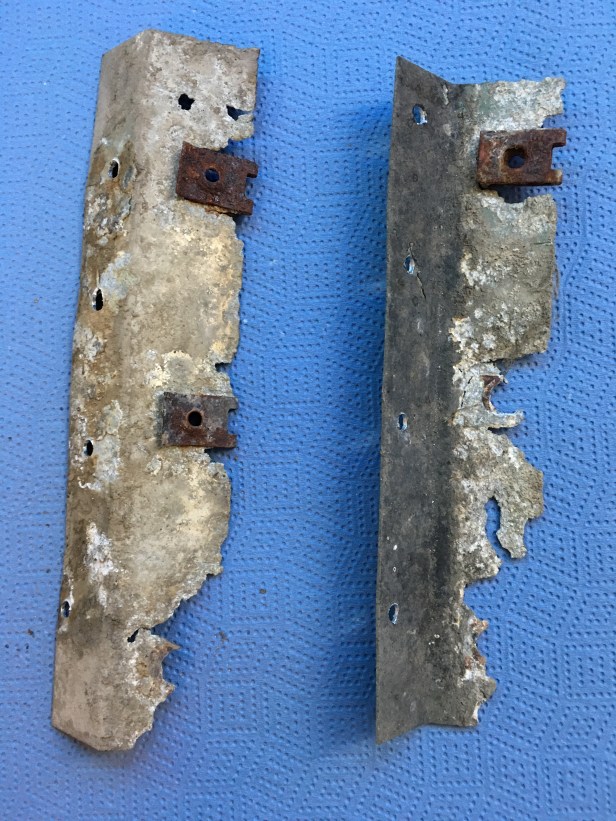
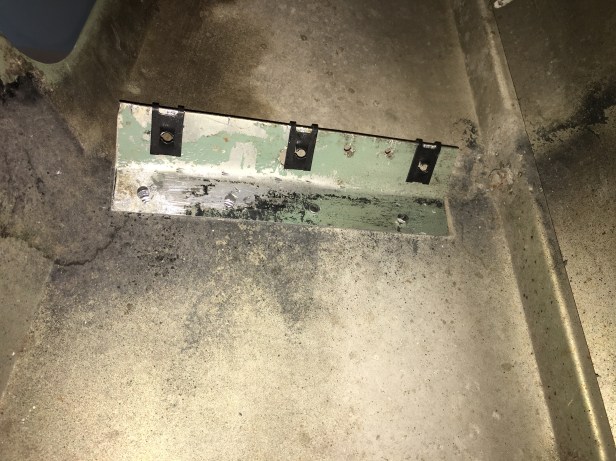
More importantly, the angle brackets which hold the top edge of the mud shields were totally rotten and needed to be replaced. They’re spot welded to the underside of the wing tops and will need to be drilled out, remanufactured and “fixed” back in place.
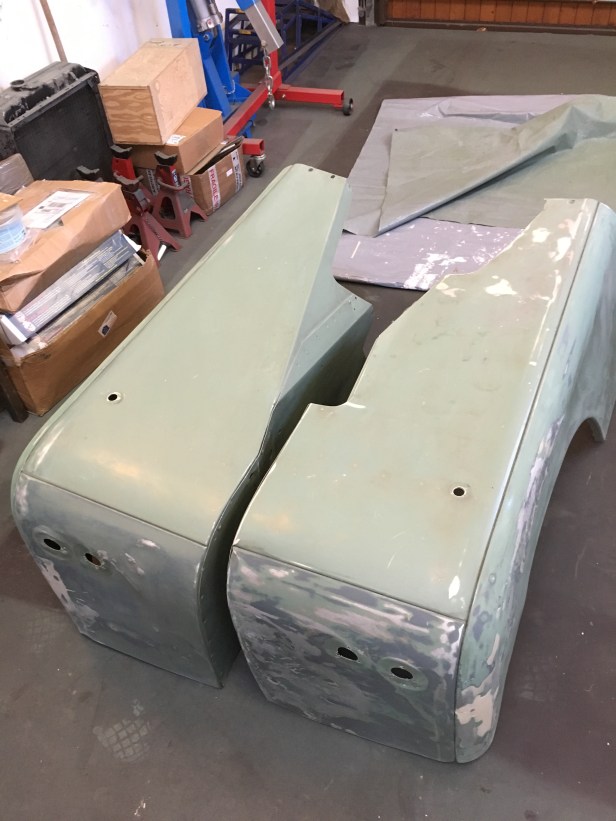
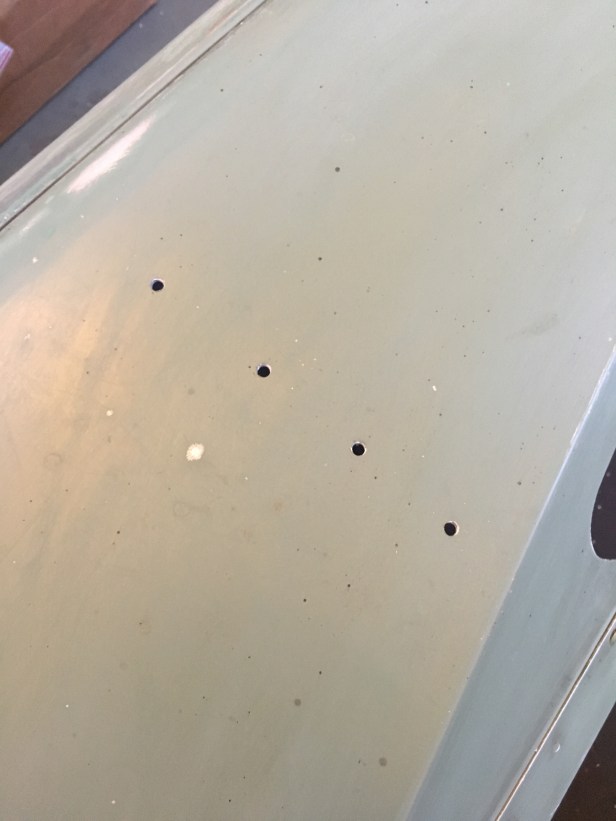
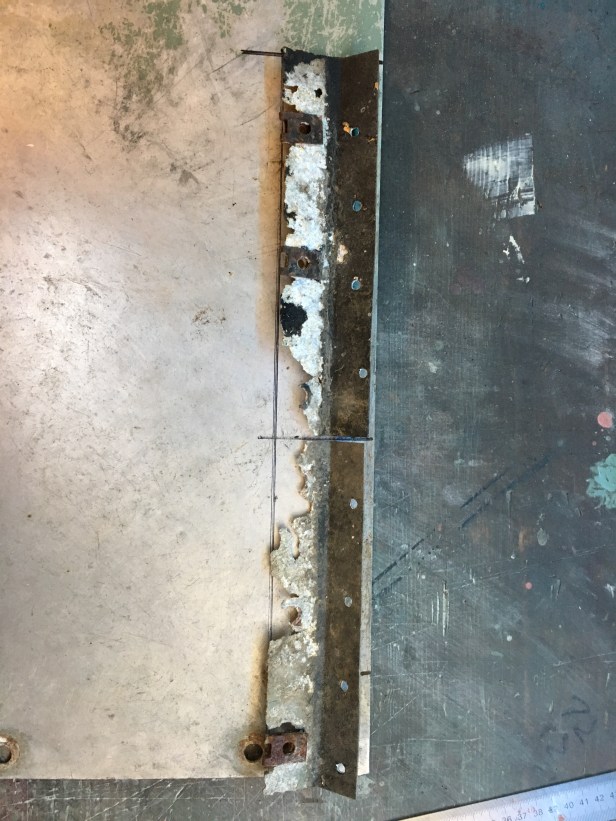
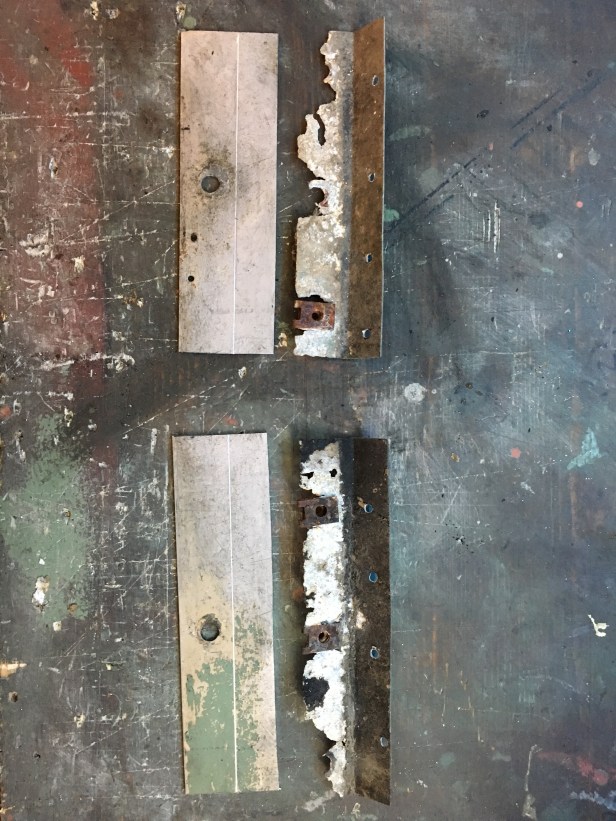
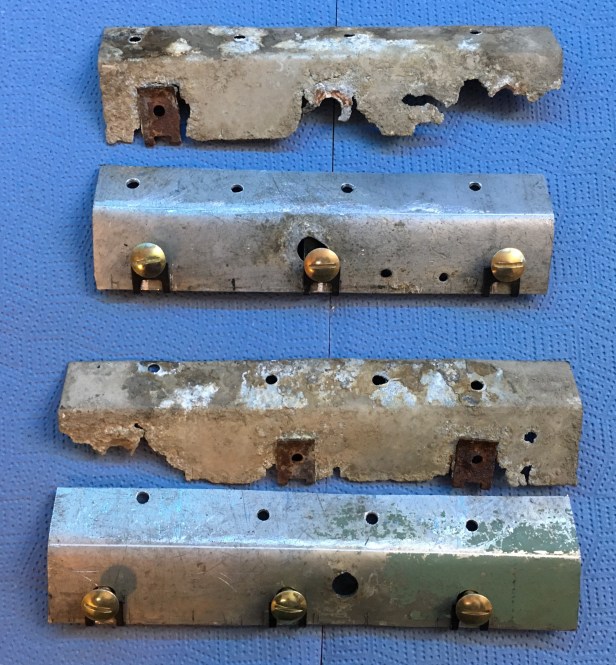
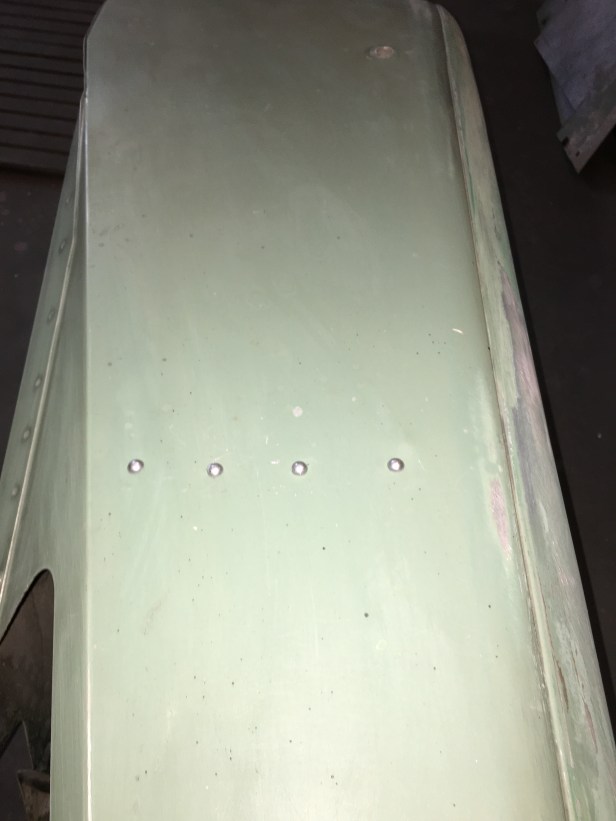
Ready for a good rub down and degrease2hrs later and a lot of dust the wings start to look ready for more workThis is what’s left of the passenger side mud shield bracket. There should be 3 of the rusty captive nuts. Hmm.First of all, the 4 spot welds are drilled out and the bracket (with a bit of a tug) comes awayThe brackets are aluminium. The mud shields were steel. For perfect bimetallic corrosion, simply add water…. in this case, spray from wet roads. The replacement mud shields are galvanised steel so this is less of a problem.Dimensions were take of the old brackets… one of the old floor panels was marked up to cut the 2 rectangles fromCut from the floor panel with a jigsaw, marked with a scribe and ready to fold (….read, clamp in soft jaw vice and bend with a big pair of pliers)2 new brackets with new captive nuts and screws. Theres little need to paint them as they’ll never see the light of day.Passenger side bracket re-fixed4 neat dome head rivets holding the new bracket(s) on. Perhaps not an original feature but there’s about 200 dome head rivets on the vehicle, so a few more won’t matter and they are, at least, in keeping.
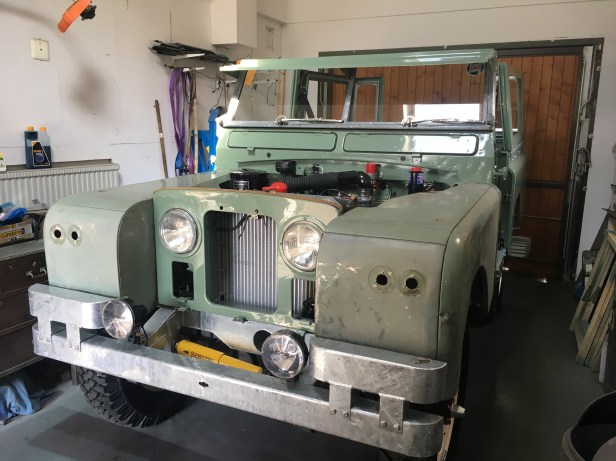
Out of idea curiosity, I dry fitted the wings a few weeks ago… just for the fun of it. Looks neat eh?
Looking forward to having the wings finished and back in position (the Lightforce spot lights have since been removed. Jut didn’t look right.)