After spraying yesterday the paint had gone enough to handle them and was very exciting to fit them. New stainless fixings have been used all round and new galvanised mud shields have also been fitted. Everything was first tightened up finger tight then screwed down once everything lined up.
Amazingly, almost everything lined up perfectly. The passenger side mud shield needed a little attention from the angle grinder to make it fit though. Other than that, things went well.
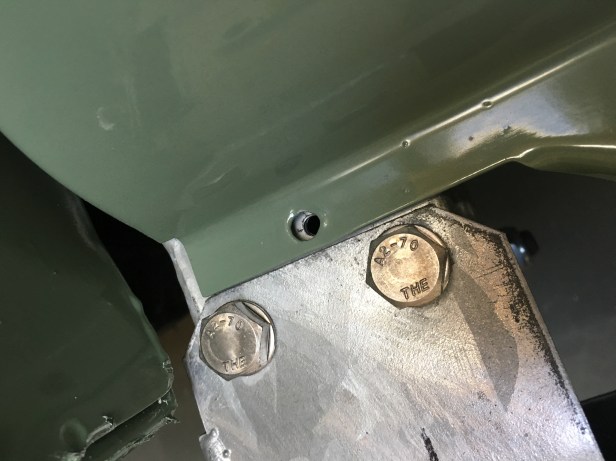
Whist I was there, the front valance was also fitted. I needed to drill and tap a couple of holes in the top of the chassis rail to hold the front section. I assume a self tapper would have been used originally. I only have ugly self tappers from the local hardware store and I think a couple of imperial stainless bolts look the ticket.
1: Passenger side
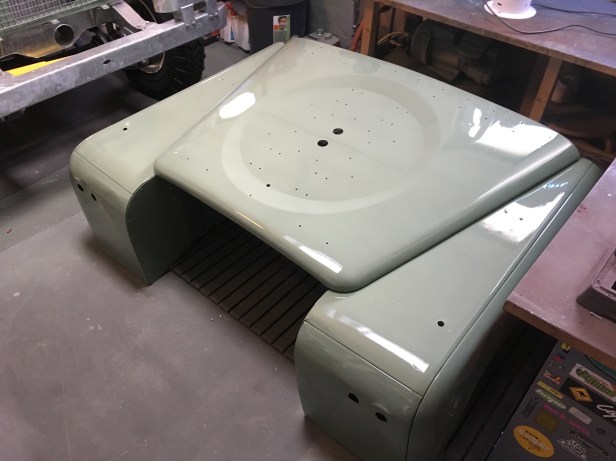
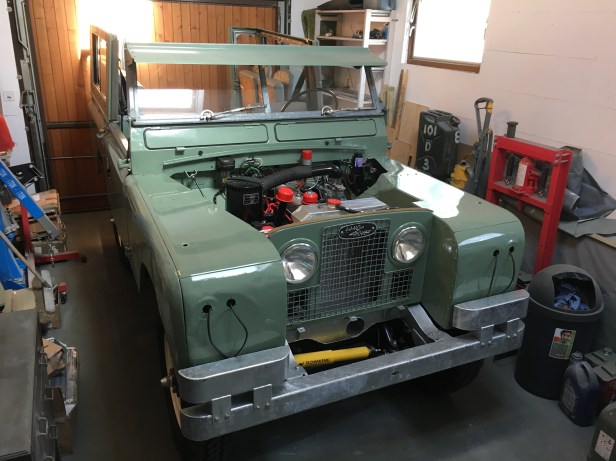
Wings and bonnet arrangement
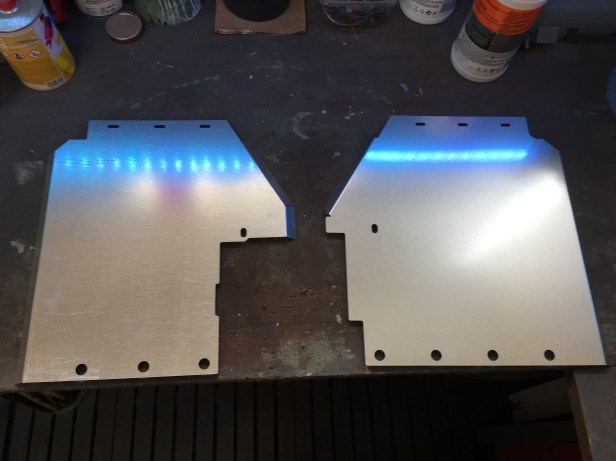
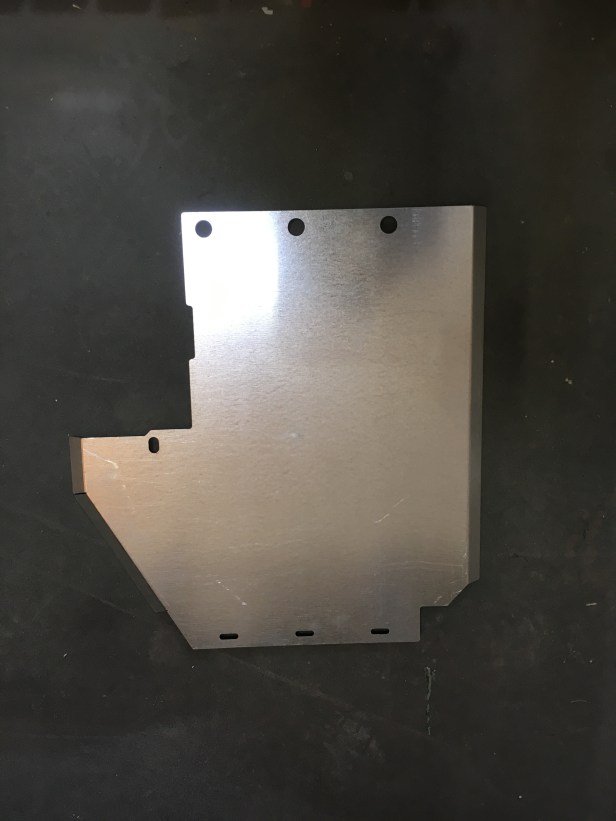
New galvanised mud shields
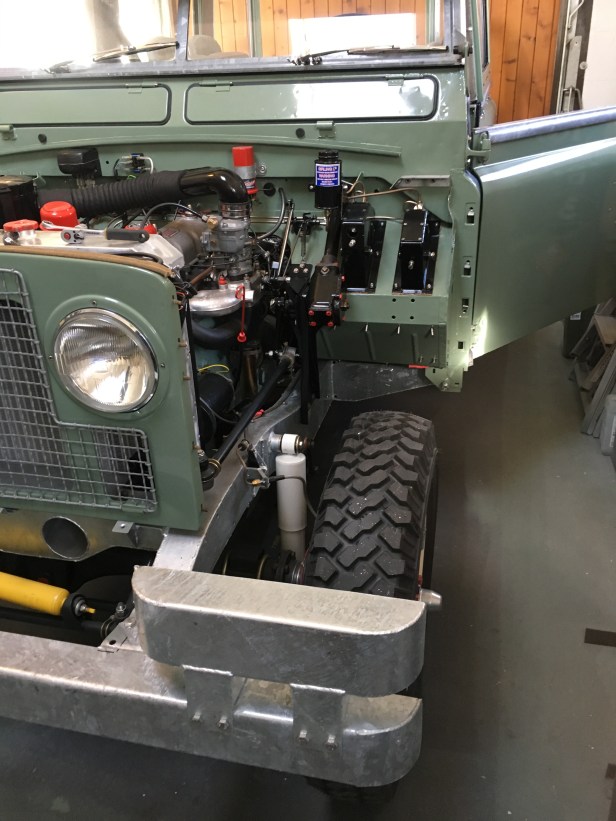
Passenger side wing offered up
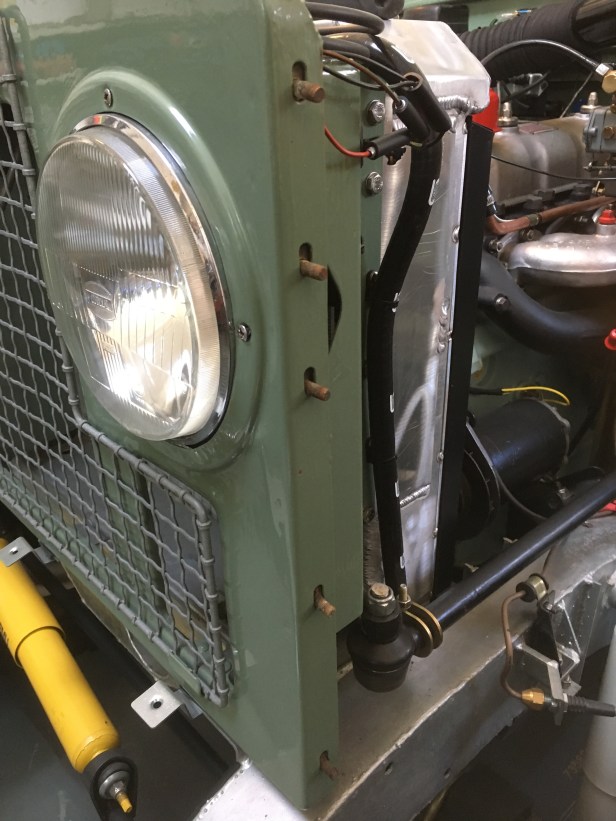
Front section fixed to the radiator panel
New stainless bolts used to fix the rear section to the bulkhead. What a fiddle it was to get these in.
Ready for the mud shield. Fixed at the bottom with the new nuts & bolts and at the head on the bracket I made whist working on the wings.
I had to trim off a corner of the shield. Not sure if this was for a Series 3 but there was no way it would fit LGL. Fits nice and snug now 🙂
Mud shield fitted and everything tightened up
2: Drivers side
There’s no room for nuts and bolts on this side of the rad panel as the radiator is not in the centre. Original captive nuts are fitted back into the radiator panel.
Ready for the wing
New infill panel from Bits 4 Landys. Perfect fit… but didn’t take any picture of this once it was in place.Another mud shield… I’ll be an expert by the end of the day. This side didn’t need any modification and fitted on the first attempt.
Both wings fitted and wiring for the lights pulled through.
New mirror arms from… (you’ve guessed it)… Bits 4 Landys and nicely anodised black
I’ll fit the mirror heads a little later as they rather get in the way in the garage
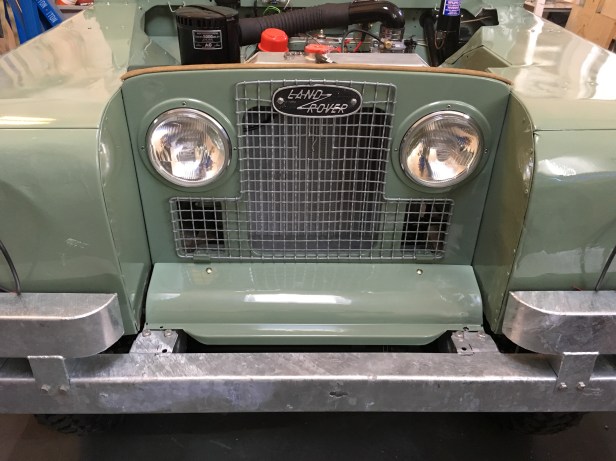
Then onto the front valance. See you soon steering damper
Fitted with the 2 screws. Holes needed to be drilled and tapped into the chassis so secure the front edge
New 5mm hole ready for a thread
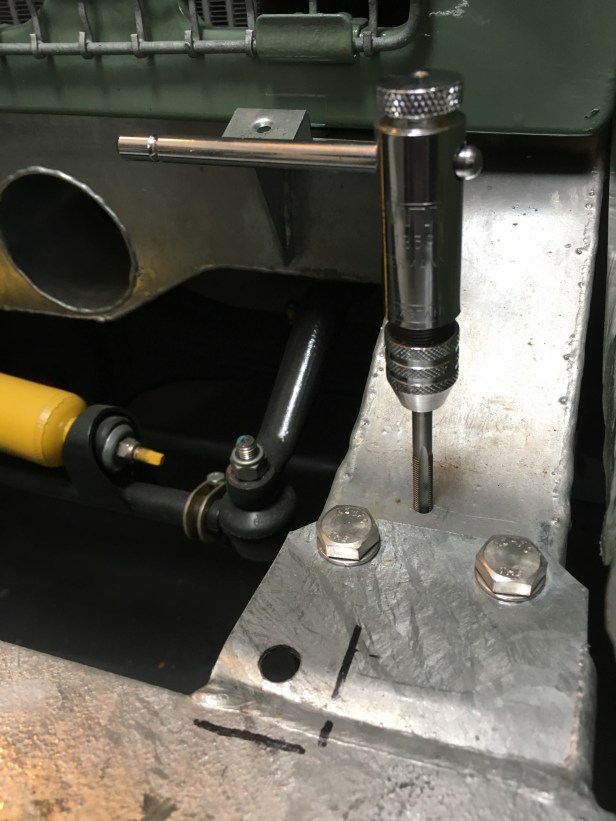
Tap and cutter
Once started in the chassis, this hardened tool cuts a neat thread into the steel. The chassis steel is only 2.5mm thick, so I added a small amount of thread lock to avoid stripping the thread.Front valance fitted
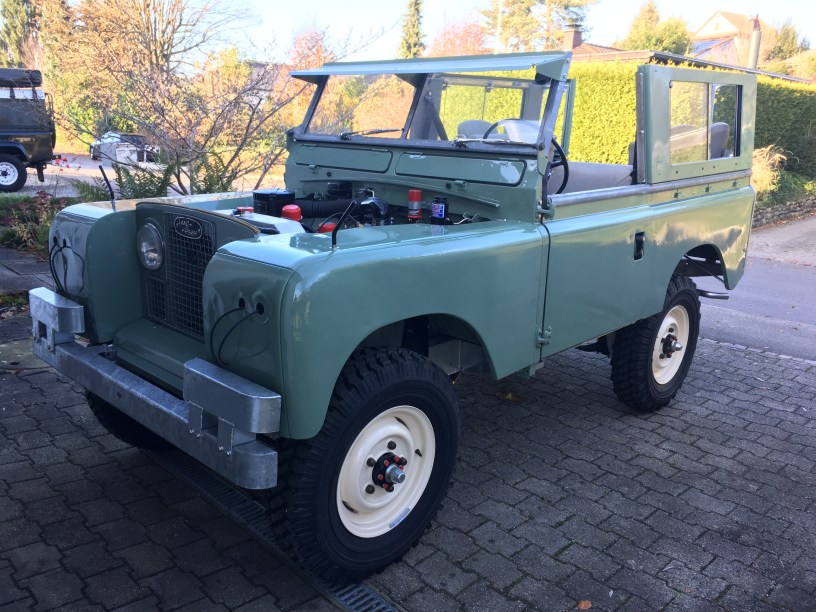
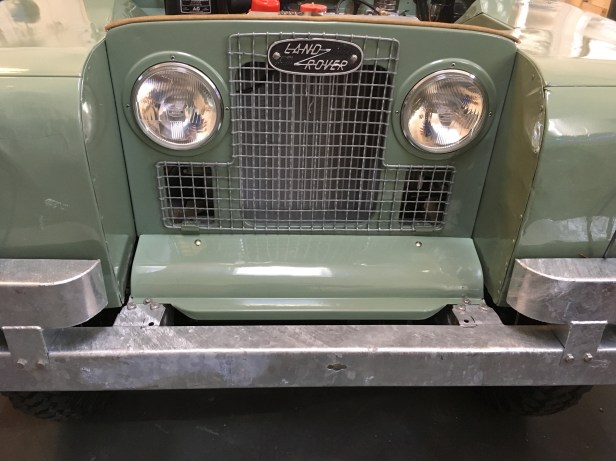
Out on the drive for another photo shoot… wearing a little more every day 😉