

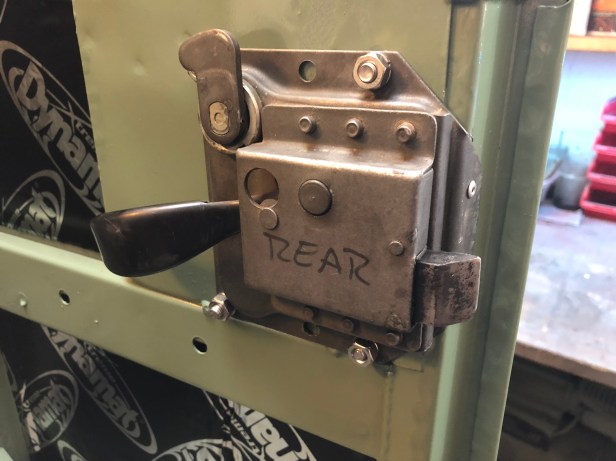
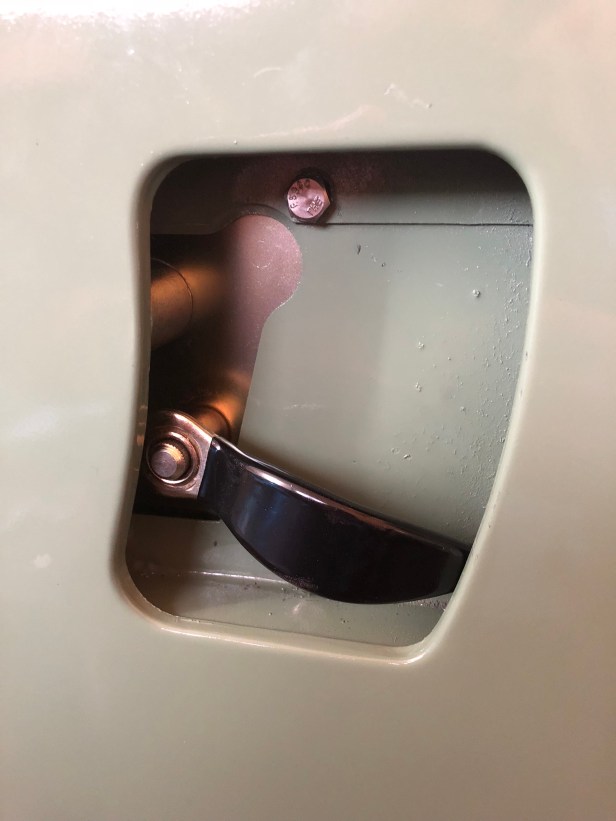
As mentioned in an earlier post, the new rear door does not have the bracket for the brass dovetail, so the door is not fully supported on the lock side when closed. Any significant body twist would cause the door to pop open. Not ideal if you are carrying anything you don’t want to fall out the back. Bikes, luggage, logs, people… that sort of thing.
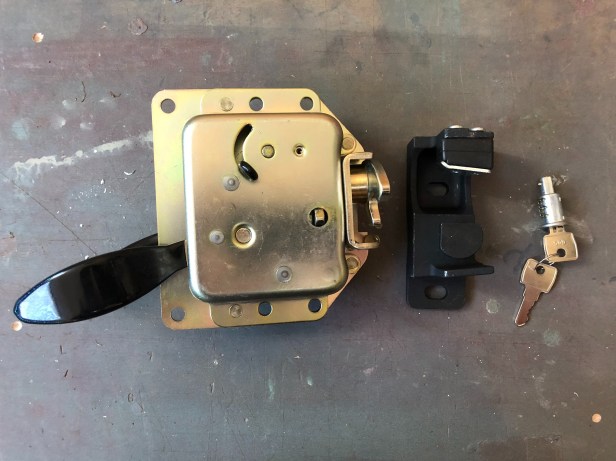
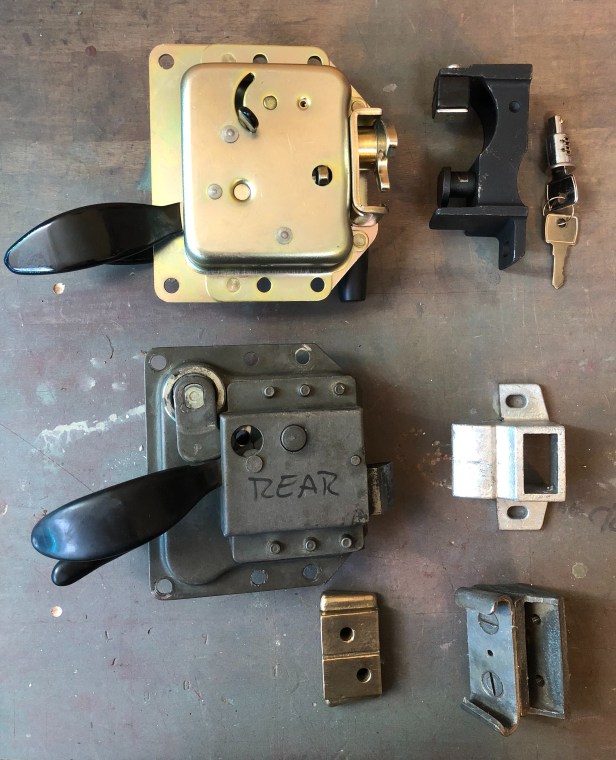
The later Series 3 offered what are called anti burst locks. These not only support the door on the lock side without the need for the special bracket and dovetail but close a lot more securely (in my opinion). For the purist, they are an absolute “no no” on a Series 2a (fair enough) but as I can’t accommodate the original lock fittings, options are limited and I’m not prepared to take the risk of the door opening when it shouldn’t… Anti burst locks it is.
With all the parts now arrived, time to finally secure the rear door…

A quick Google from the garage revealed this is a common problem. There are few retailers out there selling conversion kits for Series 2s to upgrade to Series 3 anti burst including supplying a step drill for the new hole… So I’m not a total idiot. It is, however, a bit frustrating that the (not inexpensive) door doesn’t accommodate either a Series lock arrangement or a Series 3 arrangement without modification.
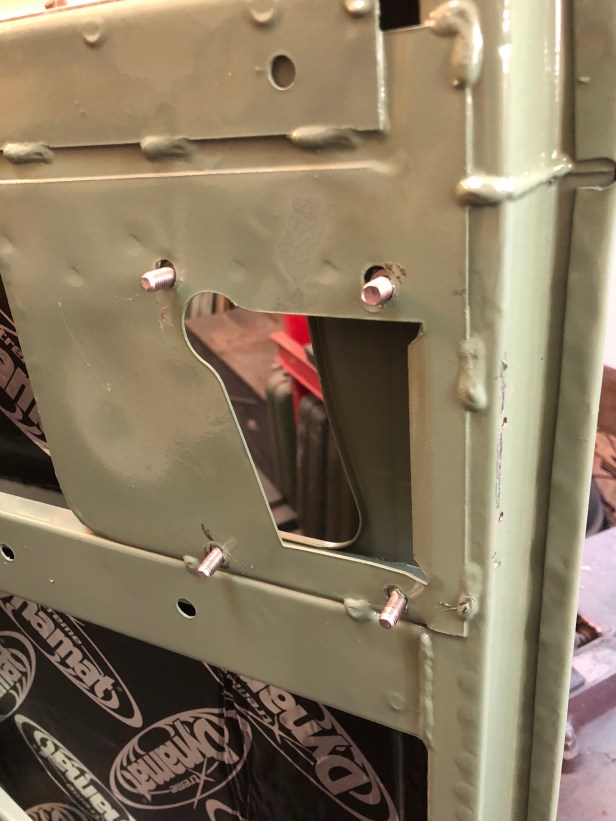
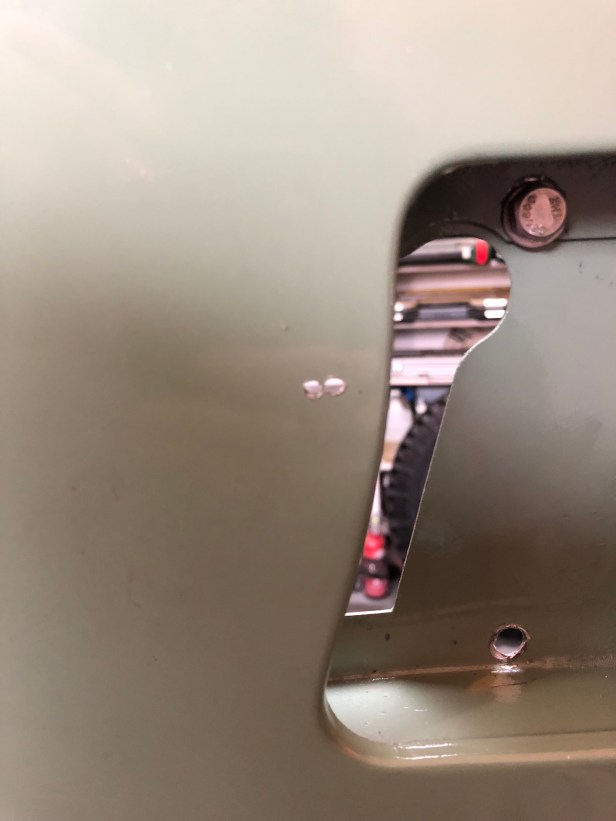
I didn’t own a step drill at the time I took the above photos so I carried on lining up the lock and keep.

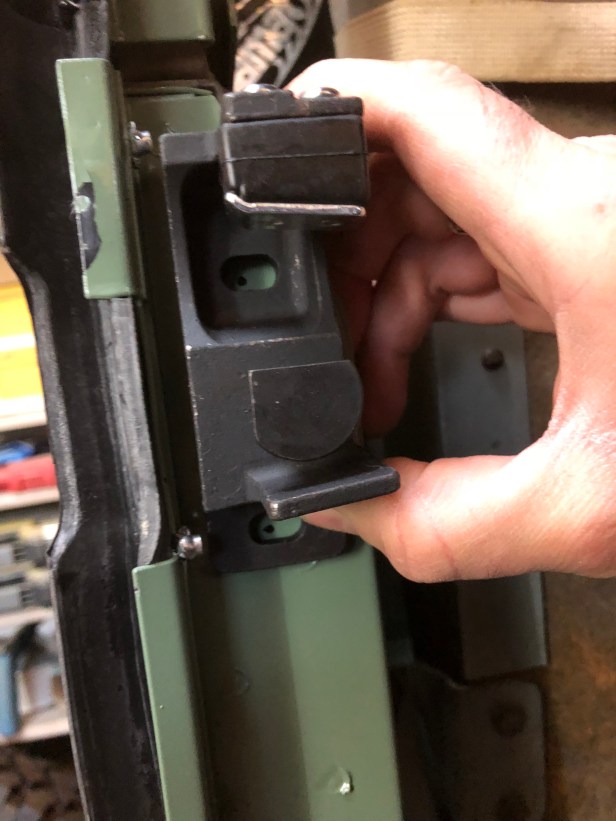
After the keep was installed a bit of trial and error to establish its final location was required to ensure the cam engages 100% with the keep. There are 2 stages of cam engagement. The first stage will hold the door shut but the locking “switch” can’t be engaged. The cam needs to be engaged 100% in order for the door to be locked.
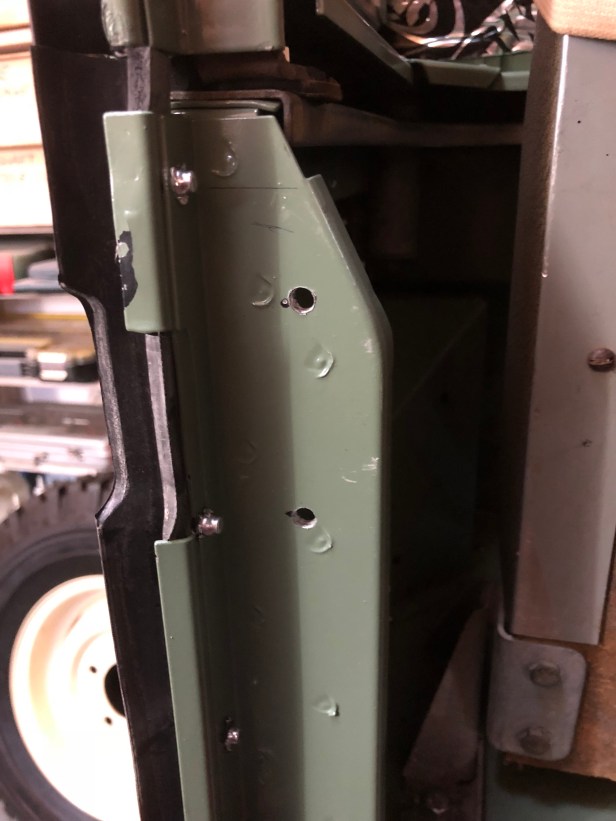
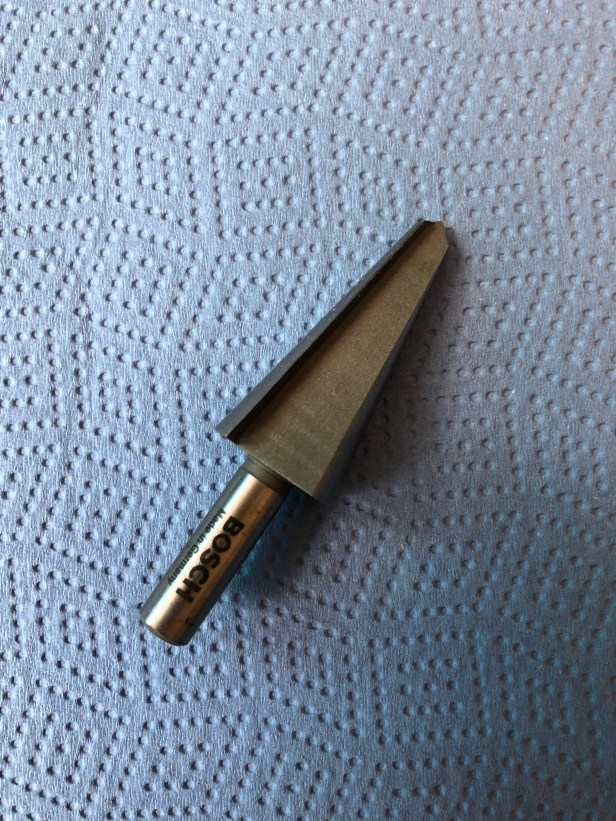
All of the above was done earlier in the week. In the mean time, I hunted around for a step drill. I eventually found one at the local “Bau und Hobbie” (much to my surprise). Whist not a true step drill, it will do the job. The correct name for this small but is “taper drill” They did sell a real step drill but 95 CHF for a one off use seems a little excessive.


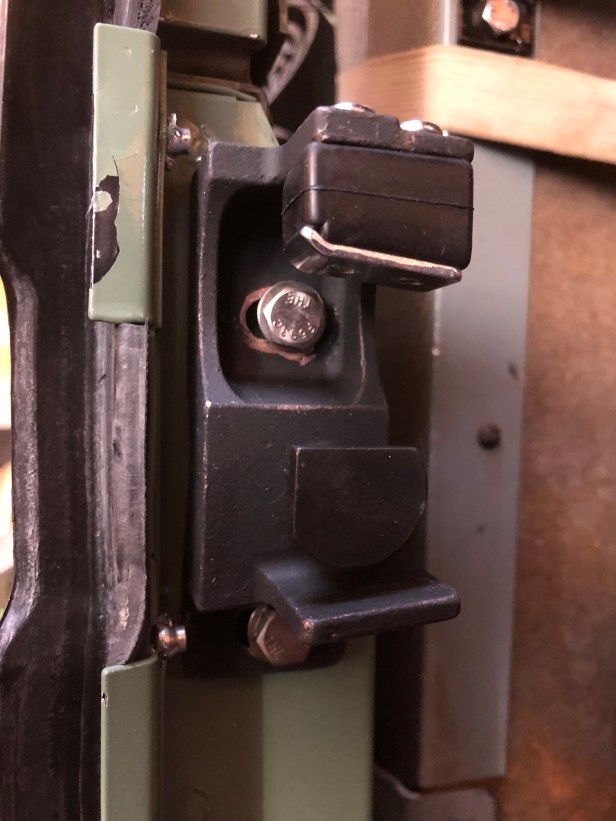
The rear door now closes properly. With the additional weight of the spare wheel on the door it doesn’t need to be slammed (that hard) 🙂

Great article and very useful. I have an Australian SIII and the rear door lock is of the the new anti-burst type, but it also has the brass dove tail you mentioned.
Following your article it seems that the dove tail is not necessary with the new lock type, which would be good because I am replacing my door (which broke) with one that does not have the bracket for the dove tail.
LikeLike
I also found th article useful.
I’m changing my front door system rather than th rear, but it’s all very applicable.
Great quality photos too.
Did you get that grommet, and where from, and did it fit?
Thankyou.
LikeLike
Sorry for the delay in response and thanks for the kind words. I recall I bought two types of grommet, one that presses into the hole in the door (where the lock barrel sits) and a glue on one… The press in one was from Paddocks, part number: 347151 (and didn’t fit). I forget where I got the glue on one… possibly from an ebay seller called “charlieccu”. Hope this helps and good luck with the project.
LikeLike
Thanks so much for this. I am literally in the exact same position and your write-up / photos saved me a lot of heartache. THANK YOU!
LikeLike
Many thanks, I’m glad my write up was of assistance.
LikeLike