The new fuel sender has arrived from Craddocks in the UK. Time to see how much fuel is in the tank.
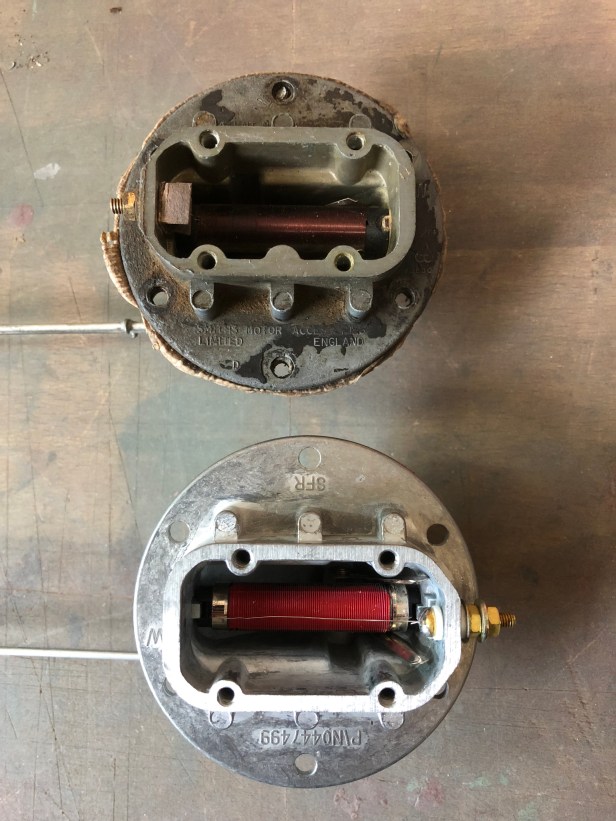
New and old.
It’s a shame the float is plastic. I could have changed it over but a fellow Land Rover enthusiast has offered to repair the original item so I’ll keep all the parts together. I like the rubber buffer on the new float though, it prevents it knocking (irritatingly) on the top / bottom of the tank at high and low tide.
Rheostats side by side
First thing to do was to check the new sender actually works before fitting. To do this a resistance test is done on the rheostat.
With the float set in the “empty” position a resistance of 34 Ohms is recored
… and the corresponding reading for a full tank is 82 Ohms. These figures aren’t required for any sort of calibration, they simply prove the unit works correctly
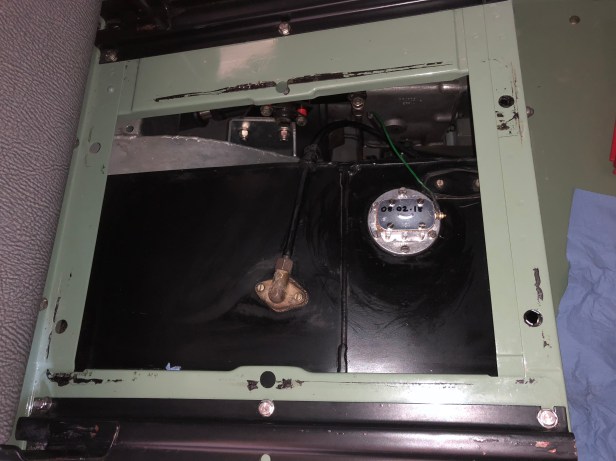
But before final fitment, I jury-rigged the unit to earth and connected the negative wire. With the circuit complete, the gauge should work…
… which it did 🙂
Oddly, when the float is set to the empty position, the tank will still read as being 1/4 full. Best keep an eye on that.
Time to fit everything back together…
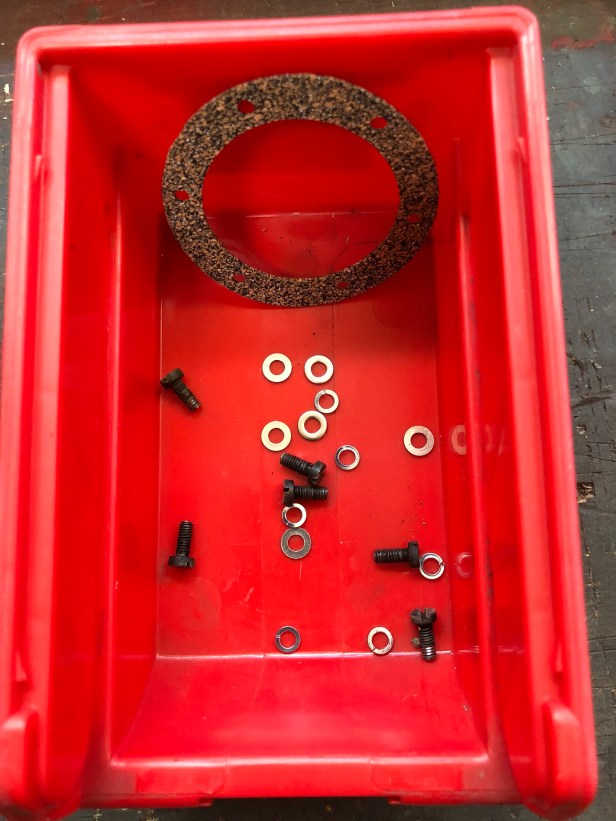
The original screws were used with some new stainless steel flat and spring washers. I also cleaned the heads of the screws on a piece of wet and dry
Gasket in place and float going in at an angle
On reconsideration, I applied some sealant to both sides of the gasket… just incase.
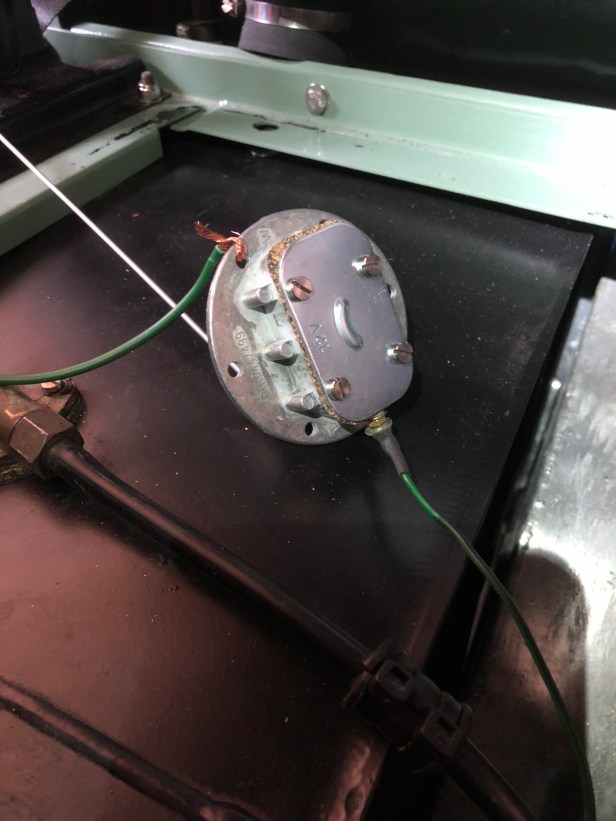
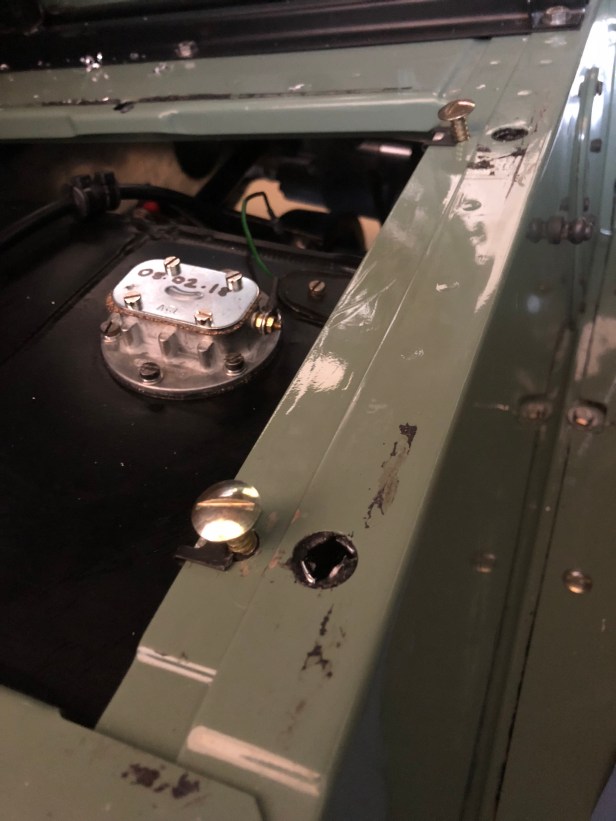
Sender fitted, sealed in place and cable attached
Time to put the cover plate on. I decided not to use the 6 nuts and bolts as they were a pain to get out due to the proximity to the top of the tank. I wanted to have better access so some spire screws were used. These can be unscrewed (as the name suggests) from outside of the seat box… much more convenient.
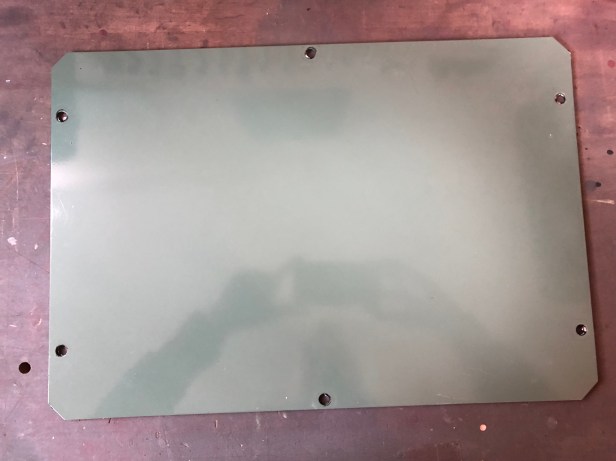
Ready for the cover
First of all the redundant holes need to be filled to keep things tidy
A 9mm rubber grommet in each hole sorted this problem
Frame is drilled front and rear, cleats tapped into place and two spire screws offered up
Repeat on the rear of the frame, drill matching holes in the cover and screw down.
Hello, quick question from Canada. I have a series 2A that is being re-built. But my question is about the gas gauge. On the back are the letters L and B. I assume one is ground and the other load? If you know it would be appreciated. Thanks
Hi Russ, this one slipped through as well. Apologies for the delay in responding. I have to say, I don’t know. When I wired behind the dash panel, I deliberate left tails from the factory wiring when i dismantled the vehicle so I knew which wire colour went to which side of dials and switches etc. I can tell you though that the feed wire to the fuel gauge is GREEN and the earth wire is GREEN with BLACK tracer.
Best from Switzerland.
Andy.


Hello, quick question from Canada. I have a series 2A that is being re-built. But my question is about the gas gauge. On the back are the letters L and B. I assume one is ground and the other load? If you know it would be appreciated. Thanks
LikeLike
Hi Russ, this one slipped through as well. Apologies for the delay in responding. I have to say, I don’t know. When I wired behind the dash panel, I deliberate left tails from the factory wiring when i dismantled the vehicle so I knew which wire colour went to which side of dials and switches etc. I can tell you though that the feed wire to the fuel gauge is GREEN and the earth wire is GREEN with BLACK tracer.
Best from Switzerland.
Andy.
LikeLike