

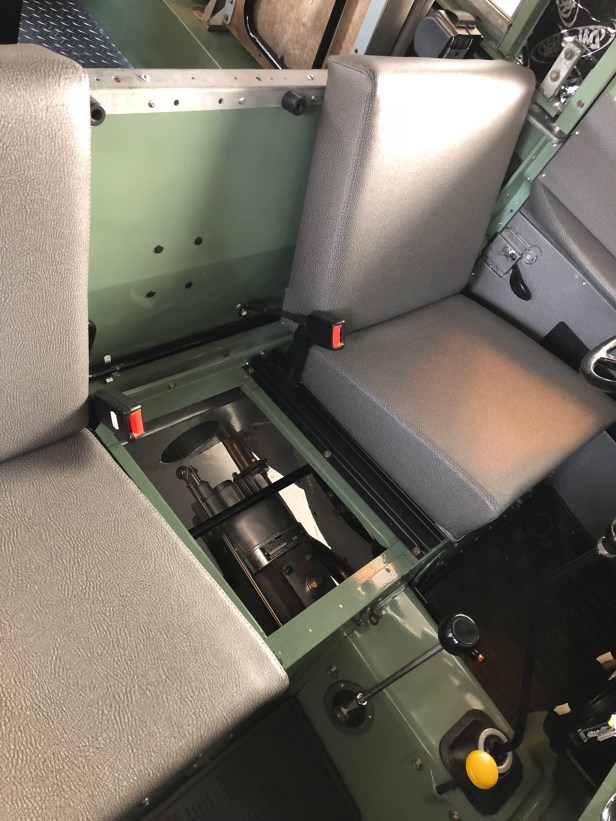
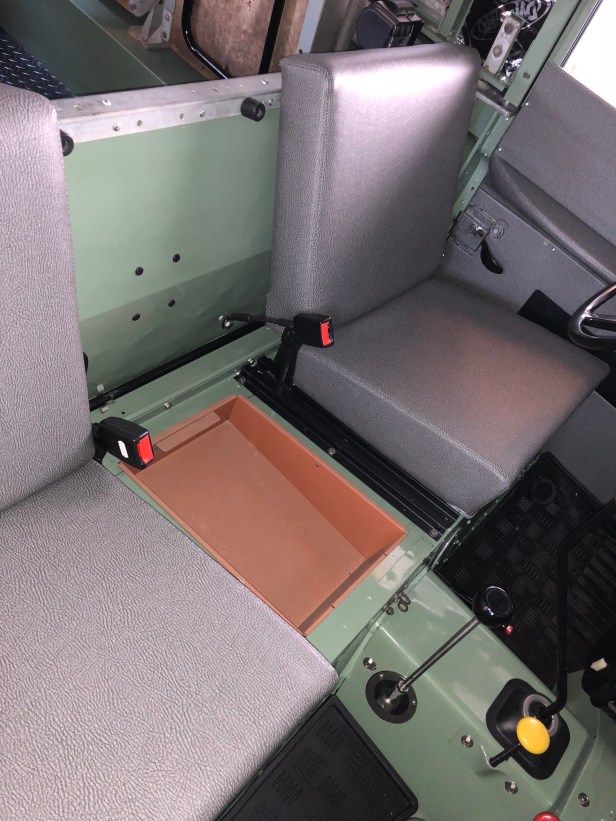
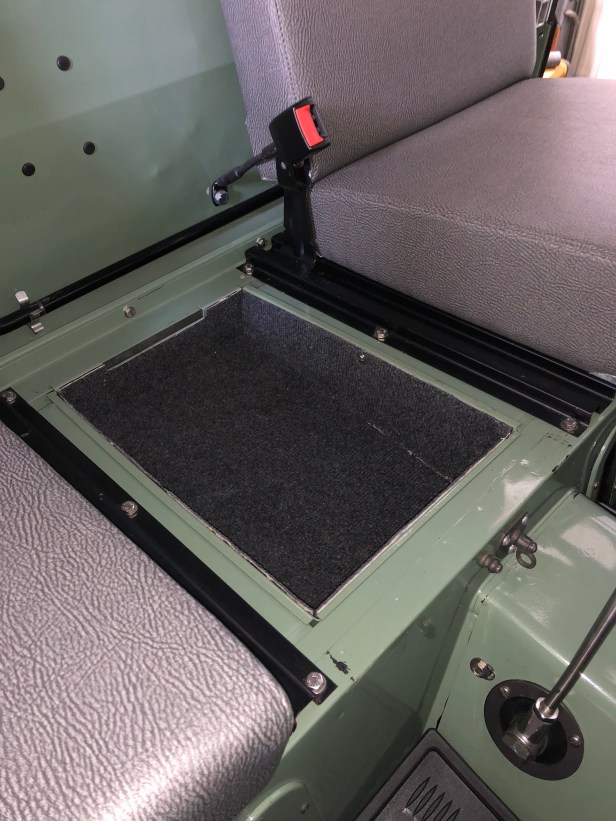
Beneath the middle seat on a Series vehicle is a removable lid. This gives access to the PTO on the back of the gearbox, handbrake assembly and overdrive linkage. I don’t know which models introduced the underseat tray but it fits neatly into the opening left when the cover is removed.
I had one in a Series 3 and was a very useful space for bits and pieces you didn’t need immediate access too. The turnbuckle on the lid also allows it to be secured with a padlock.
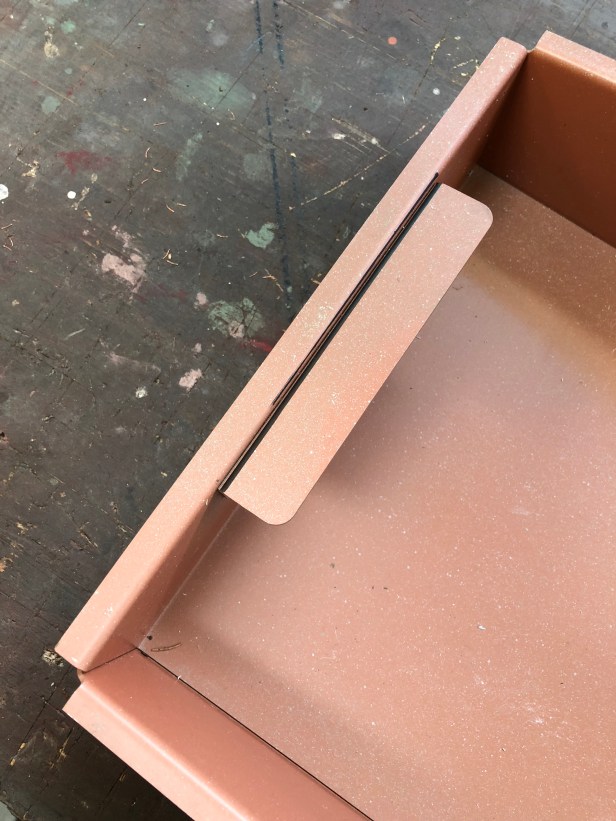
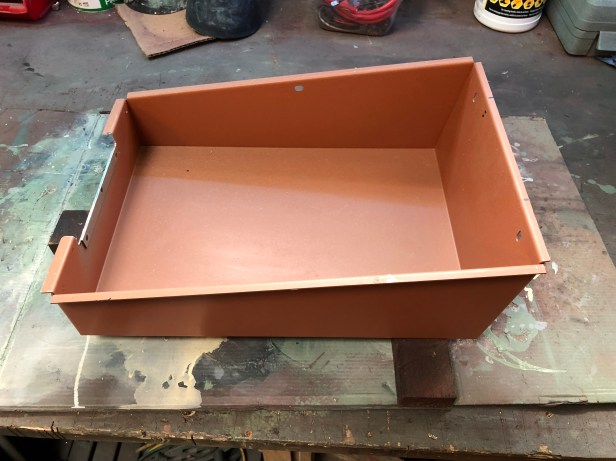
LGL didn’t have one fitted from new. Original Land Rover items are non existent so a decent reproduction was ordered from Bits for Landys last summer. I got as far as priming it but nothing else.
To finish the job, I needed to apply a top coat, line the inside with Dynamat and some carpet… Oh… and to cut a piece of the tray out so the lid would fit…. Maybe it was designed for a later model? I’m not complaining, as with all of BfL replacement parts, they are very well made.


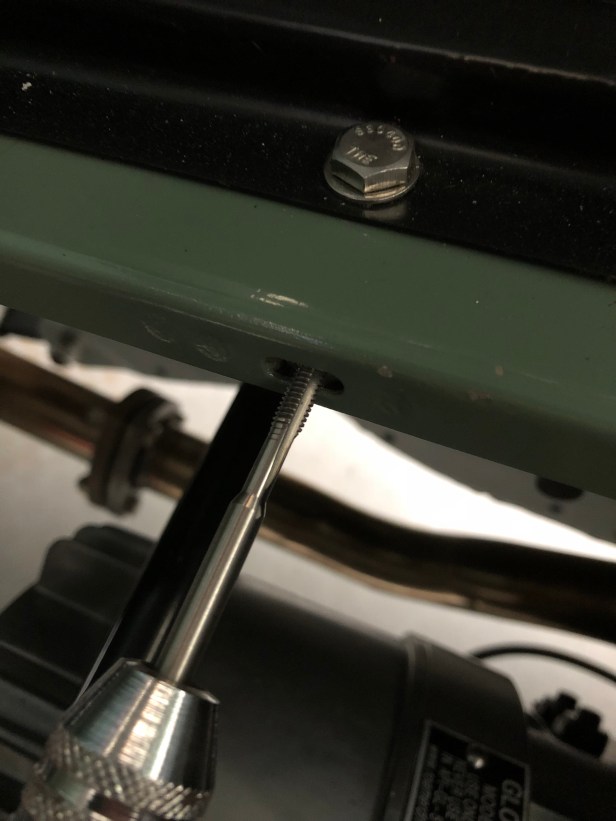
In the side of the tray are two small screw holes that match with 2 x 2BA threaded captive nuts on the seat box, the threads of which are full of paint from when I sprayed it. These needed a tap run through them to clean them up.

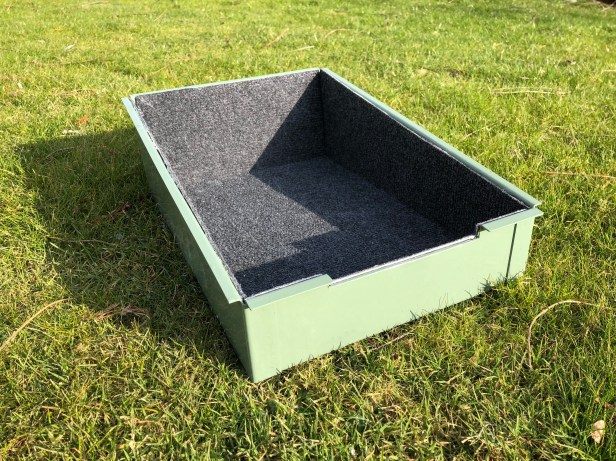
Then it was onto the Pastel Green top coat…

Efforts to make the ride in the cab as comfortable as possible continue so more Dynamat was applied to the inside of the tray. I still have a lot of Dynamat left over, so the offcuts were put to good use…

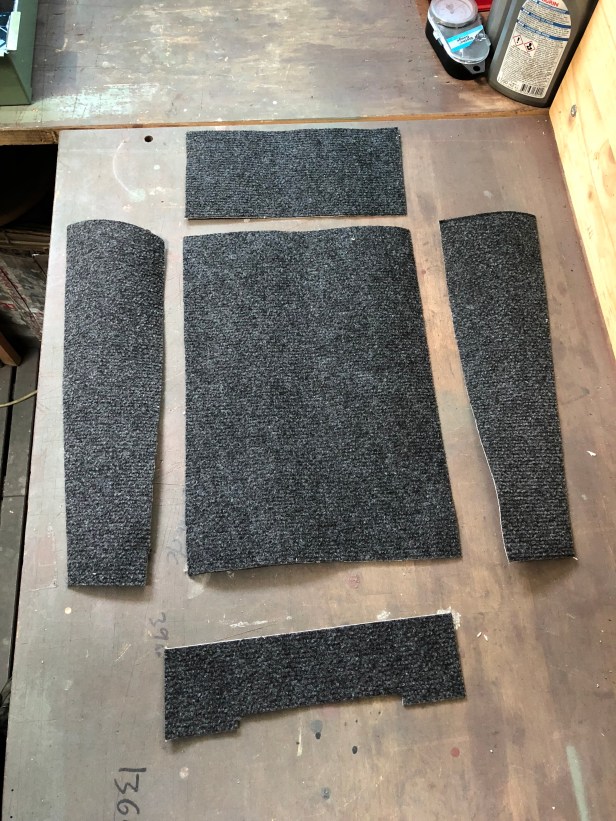
Dynamat isn’t that aesthetic so the inside was finished off with a layer of inexpensive carpet. Again, offcuts were used. I originally bought the carpet when I sound proofed and prepped rear of my 110 Defender hard top.
I have enough of this left to finish the inside of the seat box under the drivers seat which, at the moment, is still resplendent in Dynamat.


Just found your website and really enjoying reading through. I have an ’82 109 County and have previously thought that under the centre seat could be used for a bit more storage, never knew it used to be an option or that someone was still making them.
LikeLike
I’m glad you’re enjoying the website. Thanks for leaving a comment. “Bits for Landys” where I bought the tray from have revamped their product range in recent months. Good luck with your 109!
LikeLike