
I’d mentioned before the rear door was “warped” and didn’t seal at all in the top left corner. I can only assume the whole thing warped when the steel frame was galvanised. The shock of being dipping into molten zinc has this effect. But how to straighten it? I’d tried swinging on it when it was recently fixed to the vehicle to no effect.
I have a manual of sorts documenting a restoration of a Santana Series 3 and one problem they encountered was their new galvanised chassis was delivered with a 20mm warp across it. They only realised this when the bodywork didn’t line up… at all.
Most of the body was removed, some wooden blocks and the back-actor of a JCB digger were used to “bend” the chassis… it worked.
PING… an idea
Watching the guy working with his mini digger in my neighbours garden earlier today, I thought… maybe I could pop over with some blocks of wood, my bent door and a 20 franc note. He could use the bigger bucket to press the warp out… I simply don’t have anything heavy enough to use and the 12 ton press is all together the wrong shape.
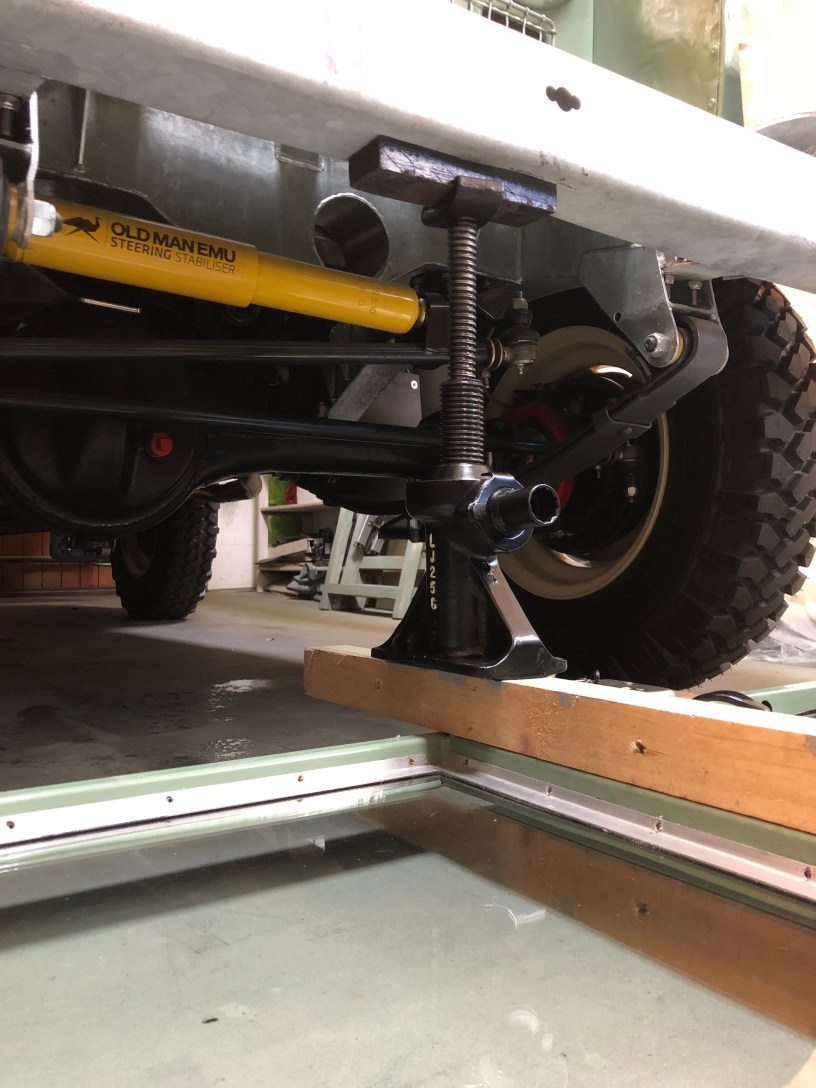
But hold on… I could put the door on some timber baulks and jack the Land Rover up on the door and press the bend out myself.
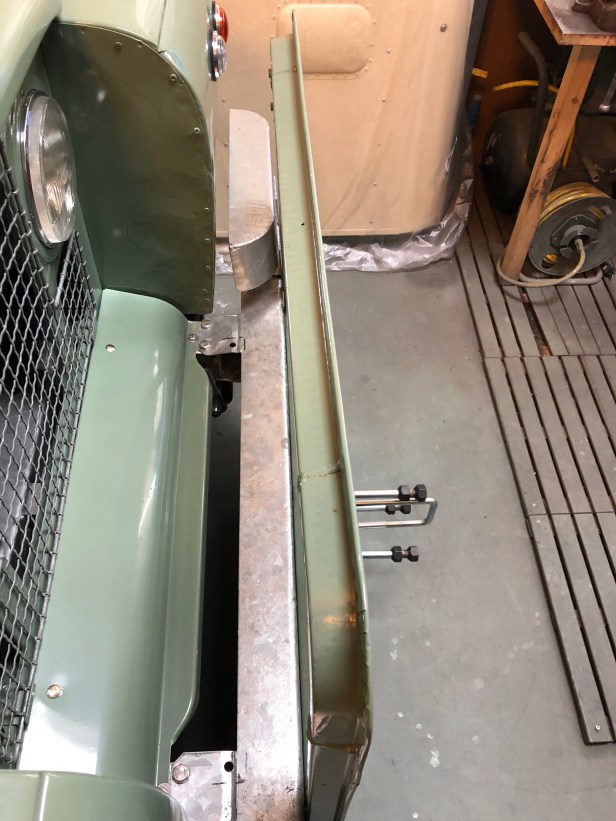
Although the door isn’t actually closed in this shot, the excessive gap at the top left can clearly be seen. Wide enough to poke my index finger into the vehicle.

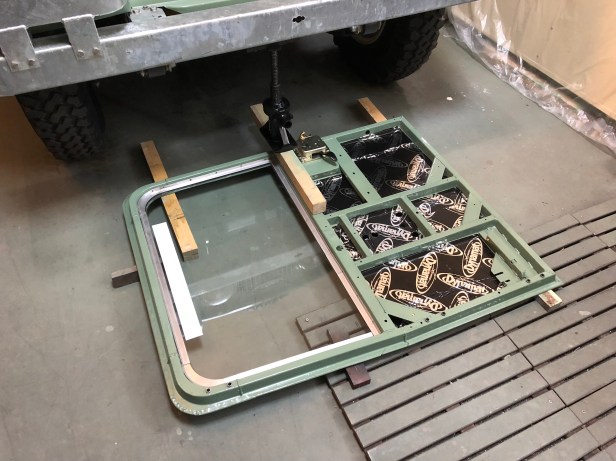
The door was laid out on some softwood bearers supporting the weight at either end and force applied, by means of the newly re-commissioned jack, to the section where the glass frame meets the lower frame.
I didn’t take out the glass as I didn’t want to trash the sealant strip and the flimsy edge trims. I did however remove all of the screws that hold the edge trims, so at least the glass was not fixed rigidly to the frame.
What happened next?
Firstly, the camera didn’t record the shots I took of the door set up for the first compression. You’ll see below the door set up the wrong way round. I went a little too far bending the error out and actually bent the door the other way.
Flipping it over and repeating the process I pressed my error back out. This is what you see being done in the following pictures.

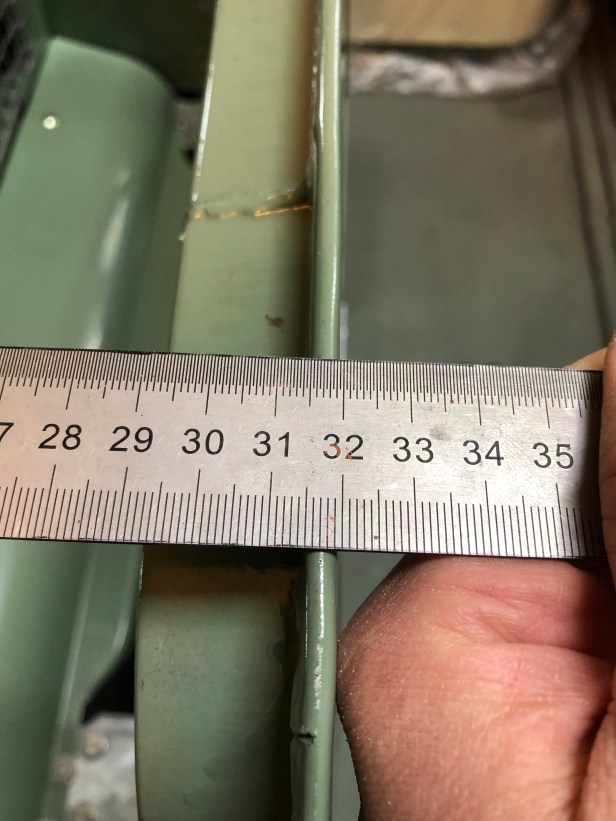
The jack was removed and check measurements were taken using the front bumper and radiator panel as gauges again… The following numbers will read differently to those above simply because I would not have “leant” the door against the bumper at exactly the same angle. This doesn’t matter. What does matter is the gap between the door edge and radiator panel.


I know from experience excavators, if piloted well, can perform the most delicate of tasks but for this job, I probably had more control over how much force was applied than employing the assistance of a digger 🙂
The book I referred to above is call: “Land Rover Series 3 Reborn” by Lindsay Porter.
No paintwork was harmed in the making of this feature… Well, nothing that can’t be polished out, and I now have some cool polish for just such things.
