There’s not a great deal of storage in a 88”. The storage box under the drivers seat contains basic tools, a 10 ton bottle jack, pick off gear and jump leads. The storage tray under the cubby box is reserved for the workshop manual if I’m off on longer travels.
Other handy bits and pieces.. ratchet strap, towing straps (not that towing a vehicle is legal in Switzerland as far as I know), socket set, warning triangle, shackles etc need somewhere to live.
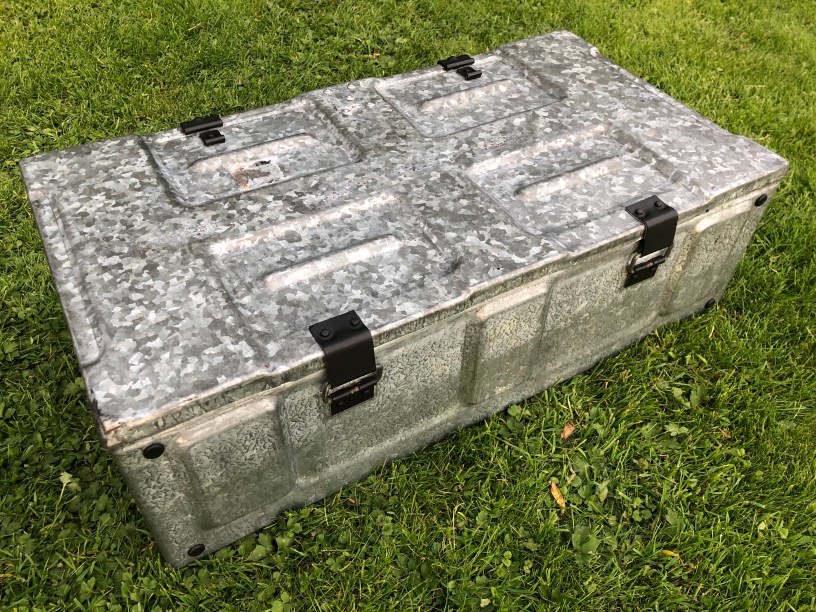
Some time in the dim and distant passed, I bought an old army ammunition box from a seller at the Sodbury Sort Out in Newbury, for just the purposes describer above. The “sort out” still goes on under a different name (I think) but it was MASSIVE and 100% Land Rover… Take the biggest field you can imagine, FULL of professional / amateur sellers, selling new and used classic Land Rover parts, tools and tyres etc. It cost almost nothing and after a lick of black hammerite, lived happily on the front of Gracie for a few years.
Gracie resplendent with ammo box on a run back from collecting a couple of old railway sleepers… you can’t do that in a Prius
The ammo box moved with me to Switzerland where it spent 3 years on the roof rack of the Defender…in that time, I never opened it, so it clearly was of no use up there…and not the easiest thing to get to.
I’d thought about simply spraying the ammo box in Pastel Green to match the rest of LGL but this time… matching… just wouldn’t work.
Whatever colour it ends up, the paint needs to be shipped off first… so lets got on with that.
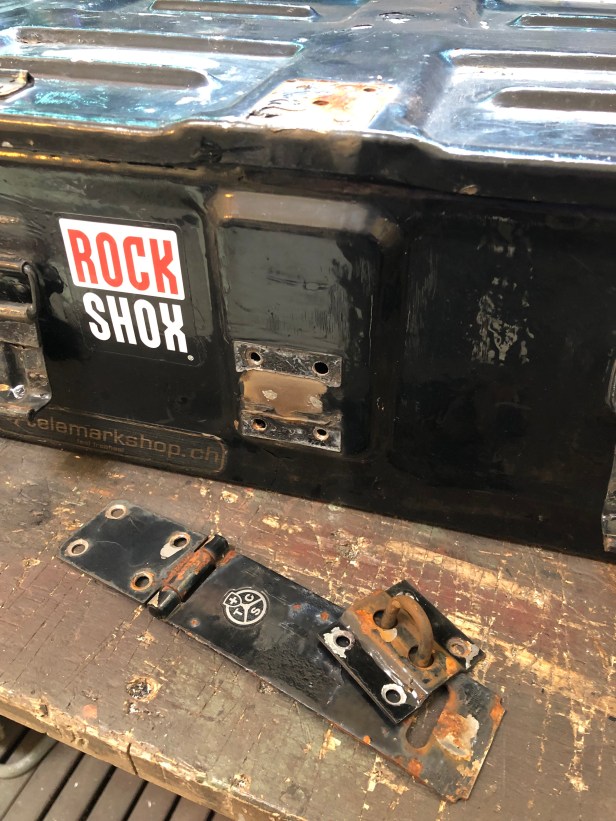
Stickers and hasp (fitted by me) need to be removed.
Hasp and staple come off easily after drilling the rivets out… The stickers took a lot more effort.
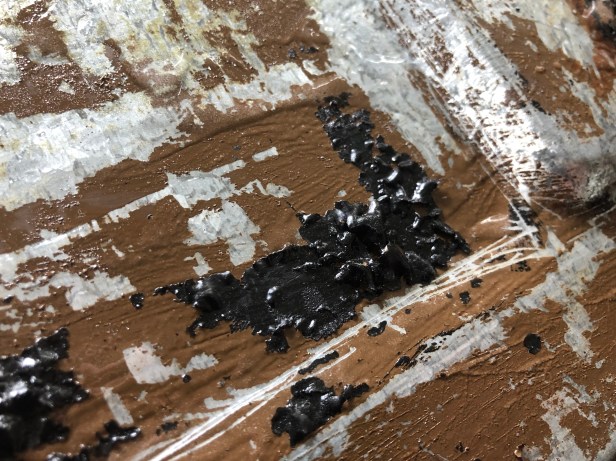
Liberal amounts of paint stripped was applied… this would be one of many applications…
Looking like a prop from Pirates of the Caribbean… the paint stripper is doing is stuff.
The black Hammerite… known for its toughness, came off in almost one go. I think the British Army must have specified enamel paint for their ammo boxes as the brown paint was seriously tough to get off
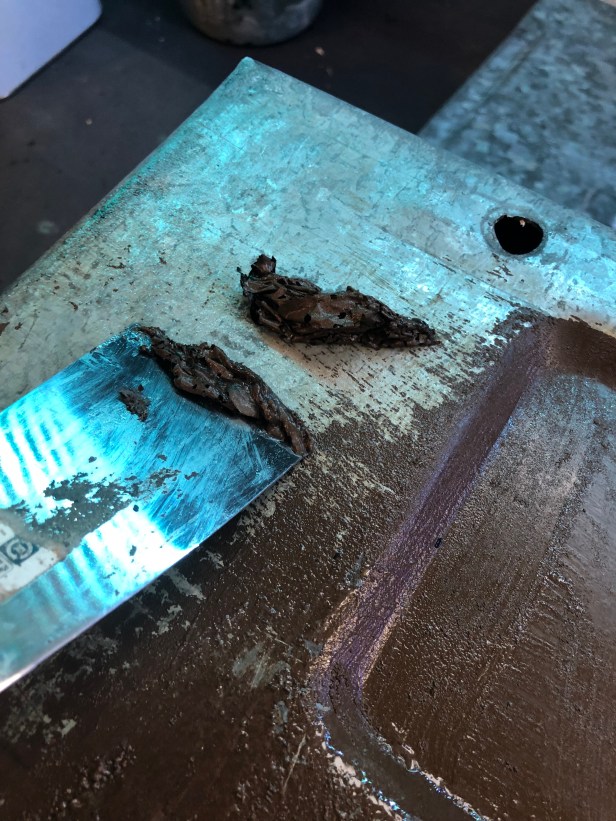
With a lot of scraping, it eventually revealed the whole box had been galvanised before being painted. Finish colour quandary is solved… leave it in a galvanised finish.
Some stronger paint stripper was required…
Getting there…
now for the underside…
The Hammerite, bubbles up almost immediately. The enamel takes a lot longer to react.
But react it does… eventually.
Once softened, it can be scraped off readily enough.
the more stubborn areas were attacked with a brass wire brush.
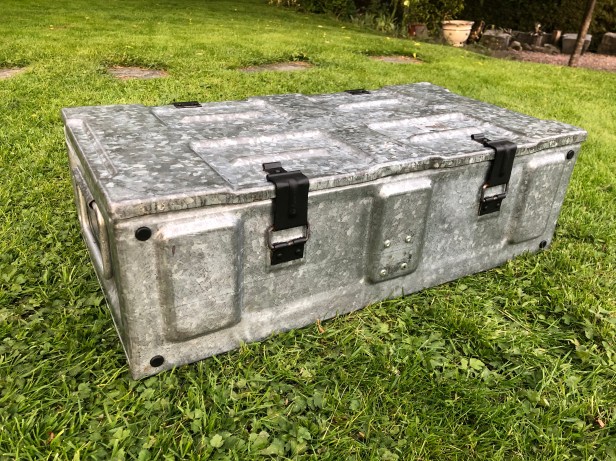
After much effort over a coupe of weeks, all the paint was removed leaving a very smart box. I really like the “spangle” of the galvanising. Spangle is the technical term for the flaky appearance of the zinc.
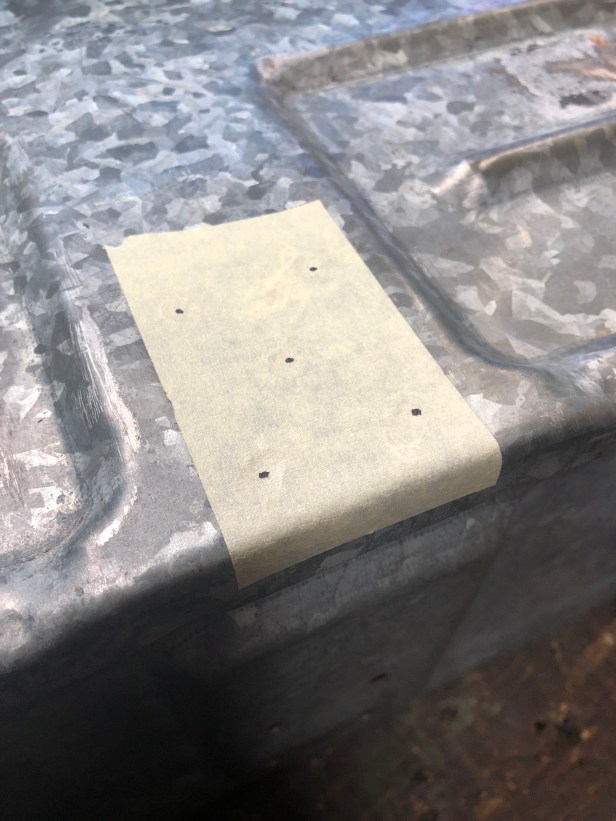
As the box isn’t going on the outside of the vehicle, I don’t need to be able to lock it, so the holes, I’d drilled previously to take the hasp and staple needed to be filled. Outside of the lid is masked off.
Some freebie “shop brand” 2 pack epoxy resin was used to fill the holes on the inside of lid.
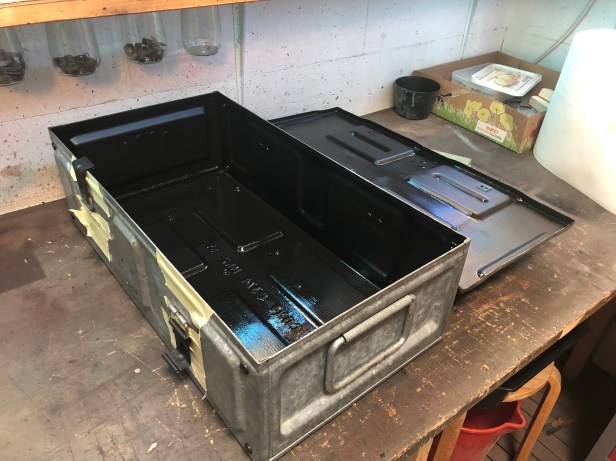
To smarten up the interior of the box, I used what was left of the matt black Buzzweld paint. The stuff does set hard, so I’m hoping I don’t need to remove it.
I also painted the clips (and hinges on the rear)
It dries to a very satisfying matt black… not that this photo shows that… ahem.
The freebie “shop brand” epoxy resin was rubbish and never went off. I wiped it off with a wet rag and filled the holes with some pop rivets.
Much more appropriate.
Photoshoot time….
All other holes (designed and introduced) were filled with a rubber grommet.
Matt black came up really well.
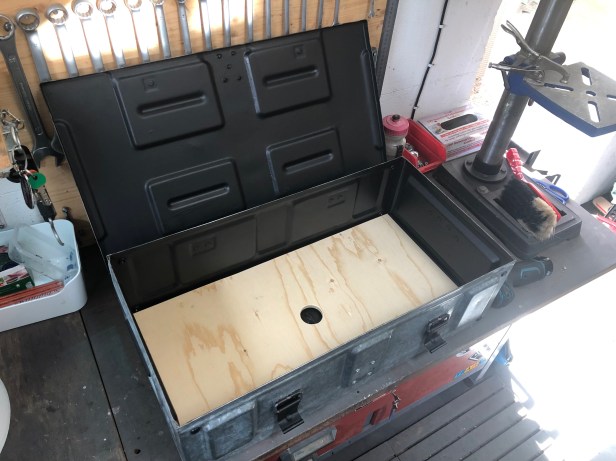
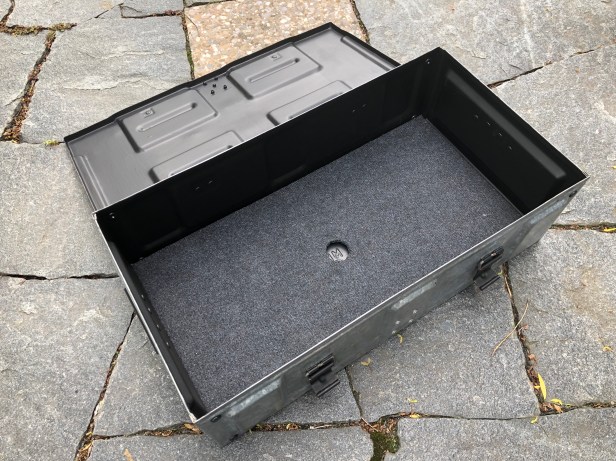
One last thing to do… I wanted to “finish” the base of the box.
9mm ply cut to size and a hole cut in the middle so I can get my finger in to lift it out.
Seems to fit…
To tidy up the plywood base, it gets lined with some carpet
Some stinky contact adhesive used to fix it in place
Fully covered, just need to trim out the hole in the middle
Tidy corners (tidy for me at least)
With the hole trimmed out in the middle, it drops right in.
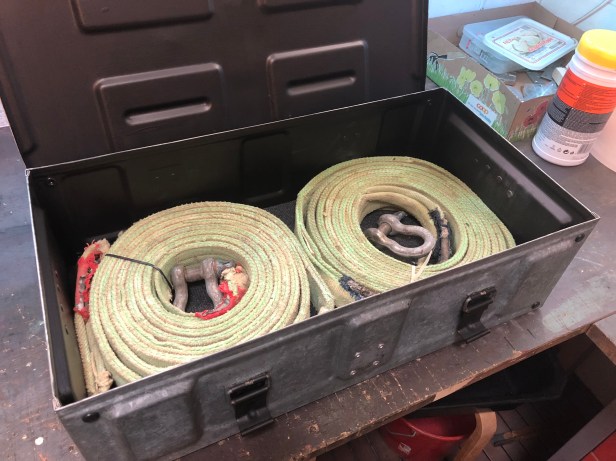
Time to stash some things inside…
2 x 5 ton straps and shackles
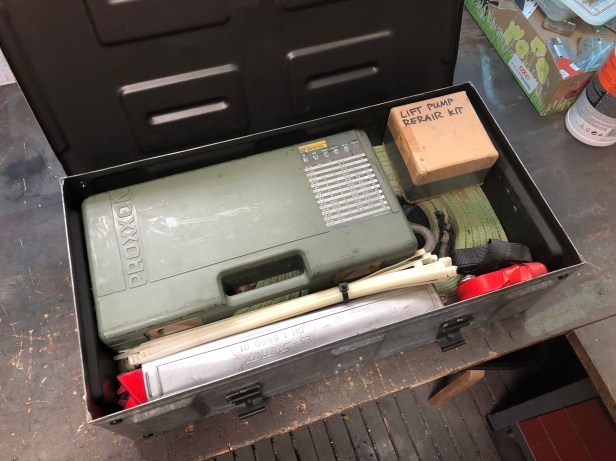
Imperial socket set. warning triable. ratchet straps, spare lift pump and some huge nylon zip ties. (always useful)
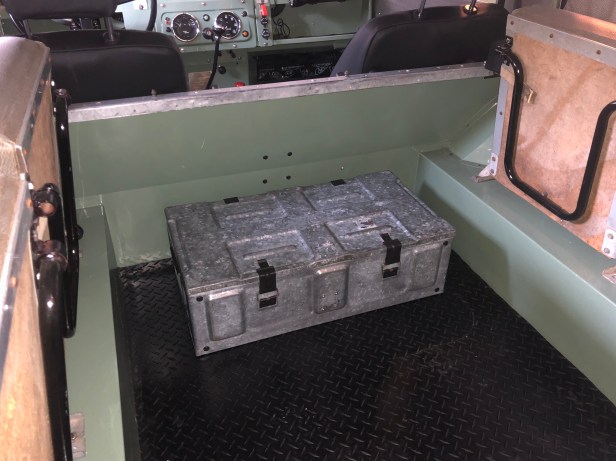
It does rather mean that foot space is reduced for passengers in the back but its’ not everyday I’m carrying 4 passengers.