

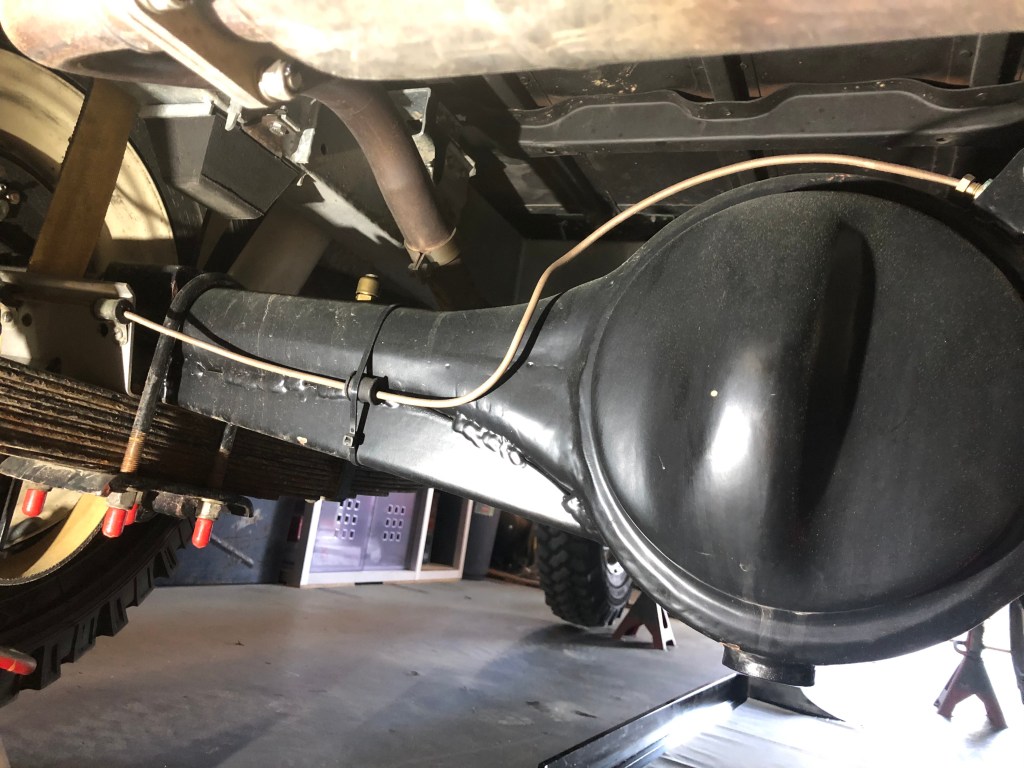
Some time ago, I posted about fitting a differential guard to the front axle. The intention was to fit one to the rear at the same time, but the long brake pipe to the rear drivers side brake cylinder could potentially rub against the top of the guard. Not a good idea.
I ordered a new length of the brake pipe a long time ago so with time on my hands I cracked on and fitted the guard and the new pipe.

Draining the system:
Brake fluid is quite corrosive to paint so I decided to blow all the fluid out of the entire system. This will prevent drips from the union on the top of the axle case and will help with the next project. (more on that in the next post)


When the bleed nipple of the wheel cylinder is opened, the air pressure in the tyre blows the fluid out of the system.

Fitting the differential guard:
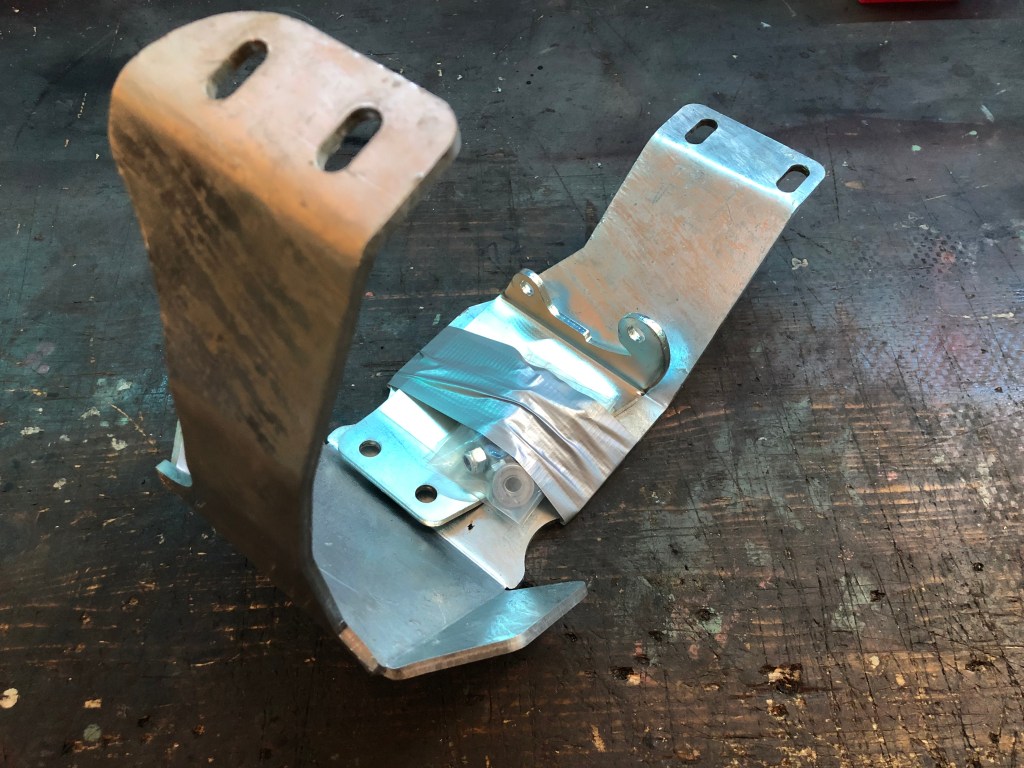


With the differential guard loosely fitted, all nuts and bolts are tightened down. The next thing is to plumb in the new length of brake line between the 3 way splitter on the axle and the wheel cylinder.
Fitting the new brake line:

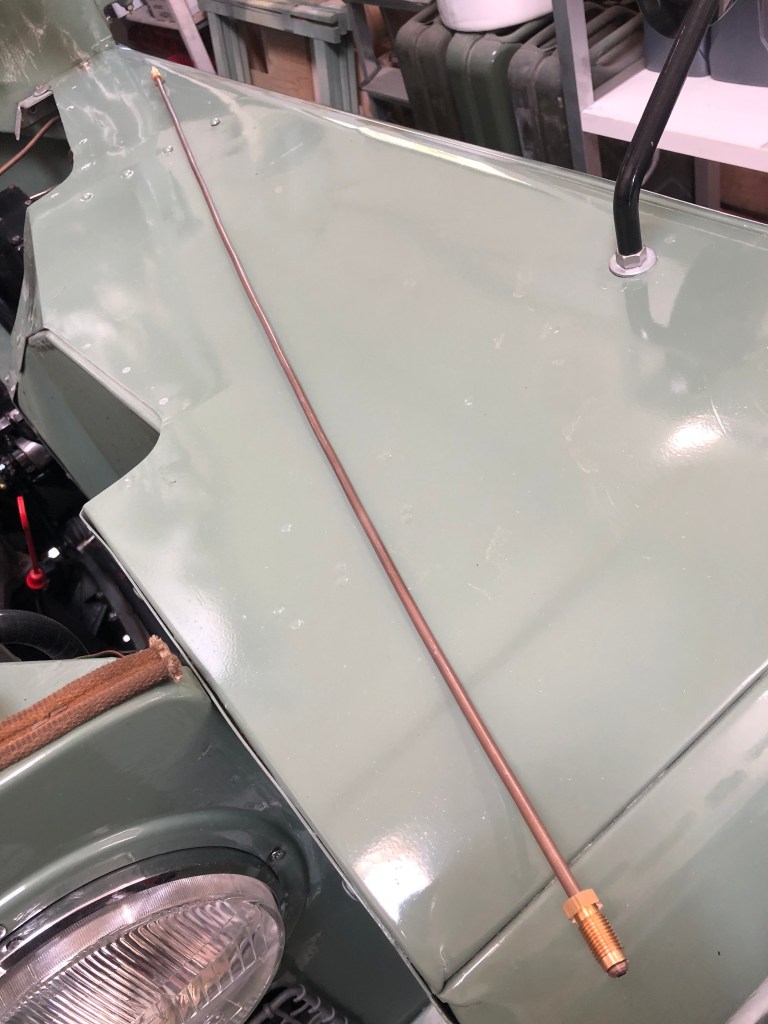

It’s quite a fiddly job to bend the pipe where it should go and the photos wouldn’t be that interesting… so I didn’t take any.

As an aside, it’s normal for leaf springs to look like this but I don’t think it’s particularly becoming. So when I get round to it, I’ll buy some black cavity wax and spruce up them up a bit.
For the time being though, the diff guard is fitted, matching the one on the front axle and there’s no risk of the brake line rubbing on the top.
With the brake system drained down of all fluid, the next task will be to replace the incorrect brake master cycling with the correctly specified item and bleed all the air out.
