Having cut the hole through the skin of the bonnet, the 90 degree spigot can be bolted into place and the rest of the pipework installed.
90 degree bonnet spigot. (Part Number: 595140)
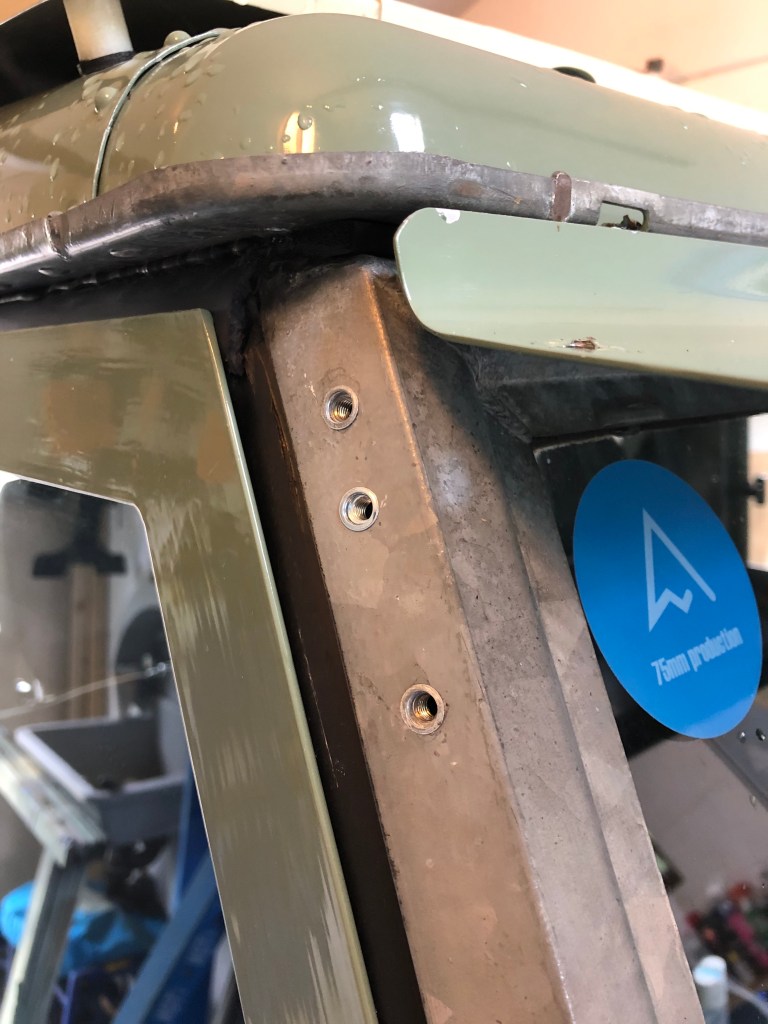
Having drilled the hole through the bonnet, the spigot is dropped into place (as close to parallel to the bulkheads possible) and the 3 additional fixing holes marked out and drilled.The part is officially called “Pipe Air Inlet”. I soaked the label in some acetone and it came off in one piece. As the bonnet is curved in almost all directions at the point where this penetrates the skin I used some gasket sealant on the underside to close up any small gaps.Hey presto!
Now the remaining pipework can be installed.
Raised air intake pipe. (Part Number 595003)
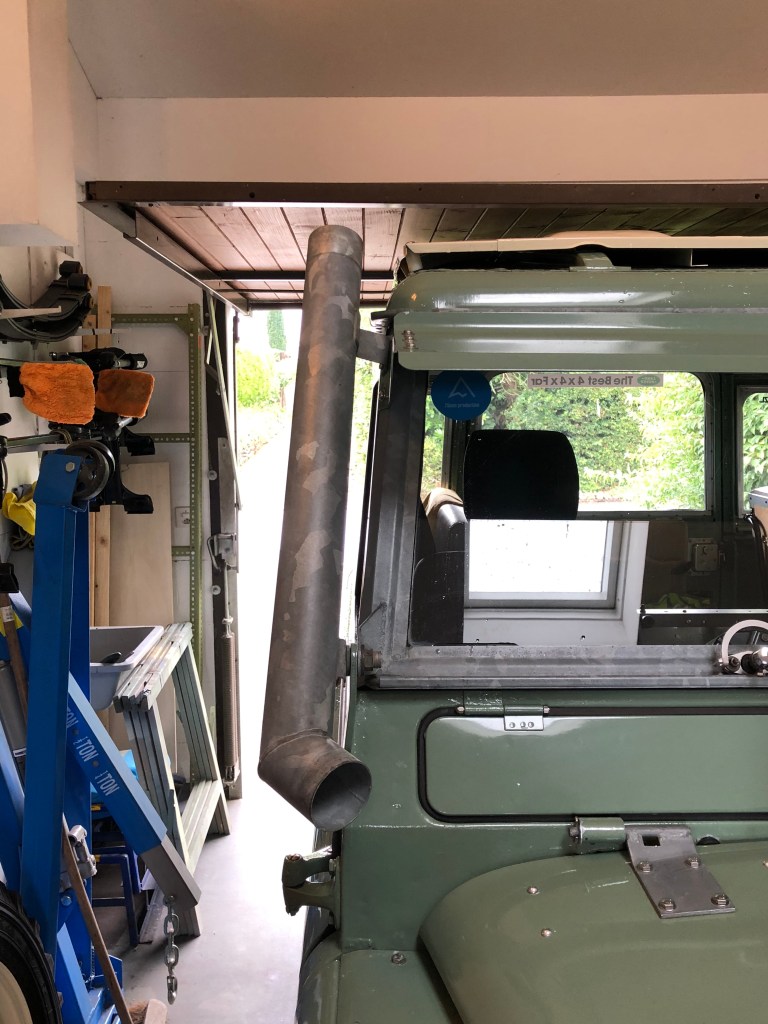
The bracken with the two holes secures the pipe at the top of the windscreen whilst the lower fork sits behind the windscreen hinge bolt. It should sit something like this….
I had been worried that the pipe and air cleaner would foul the sun shield but it seems Land Rover had thought about how their optional extras interact with one another.
I put the sun shield in exactly the right location then 🙂The location of the new hole was marked out, centre punched and drilled.
To necessitate fitting of the pipe, a new rivnut was placed in the windscreen frame. To make this possible, the end panel of the sun shield was removed.
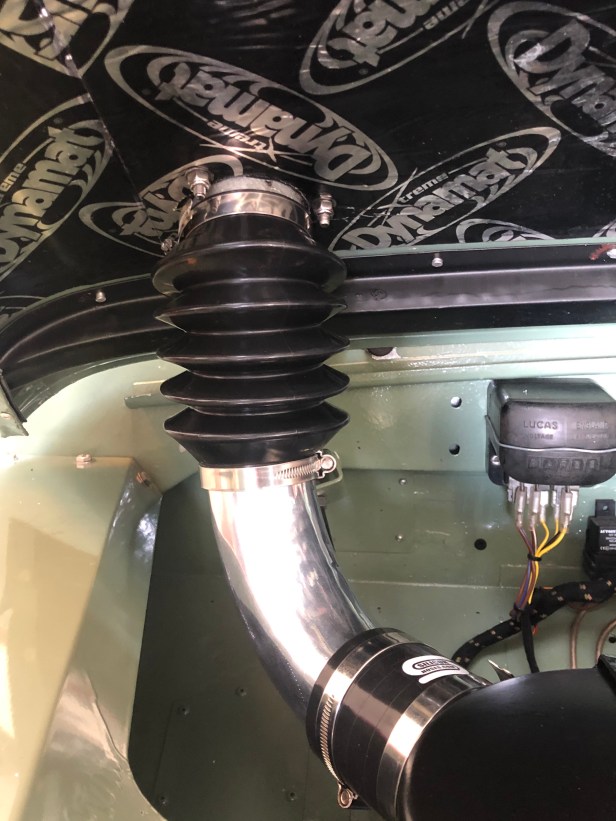
Running low on M4 rivnutsM4 rivnut successfully placed. The end panel of the sunshield was refitted and the intake pipe fixed into place.Using one of the new connector pieces from Silicon Hoses, the centrifugal filter is fitted……and the clips tightened up
Intake pipe. (Part Number: 517903)
This length of flexible tubing (connecting the raised air intake pipe and the 90 degree spigot on the bonnet) was part of the kit of parts, unused and still adorned with the original label. It’s very specific to the raised air intake assembly and not readily available. Once the labels and sellotape were removed, it was given a good clean in a bucket of hot soapy water.
So that’s all of the plumbing on the outside of the vehicle.Next the 90 degree bend and bellows hose were fixed in place beneath the bonnet.This is the whole system, end to end. Centrifugal filter. Connector. Galvanised intake pipe. Flexible tubing. 90 degree bonnet spigot. Bellows hose. 90 degree bend. Connector. Oil bath air filter. Flexible pipe to the carb.
Not quite done though. The shiny 90 degree bend under the bonnet looks a bit out of place and needs to match its surrounds a bit more.
A thorough rubbing down with wet and dry provided a good key for…… a good coat of gloss hammeriteThe bellows hose and connector were then fitted in their final position. I really hate seeing untidy ends of jubilee clips so I try to ensure they’re not on show. To tidy the “loose” ends of clips that don’t need to be released for servicing, I use a small zip tie to hold the end tight to the clip. That looks a lot better.
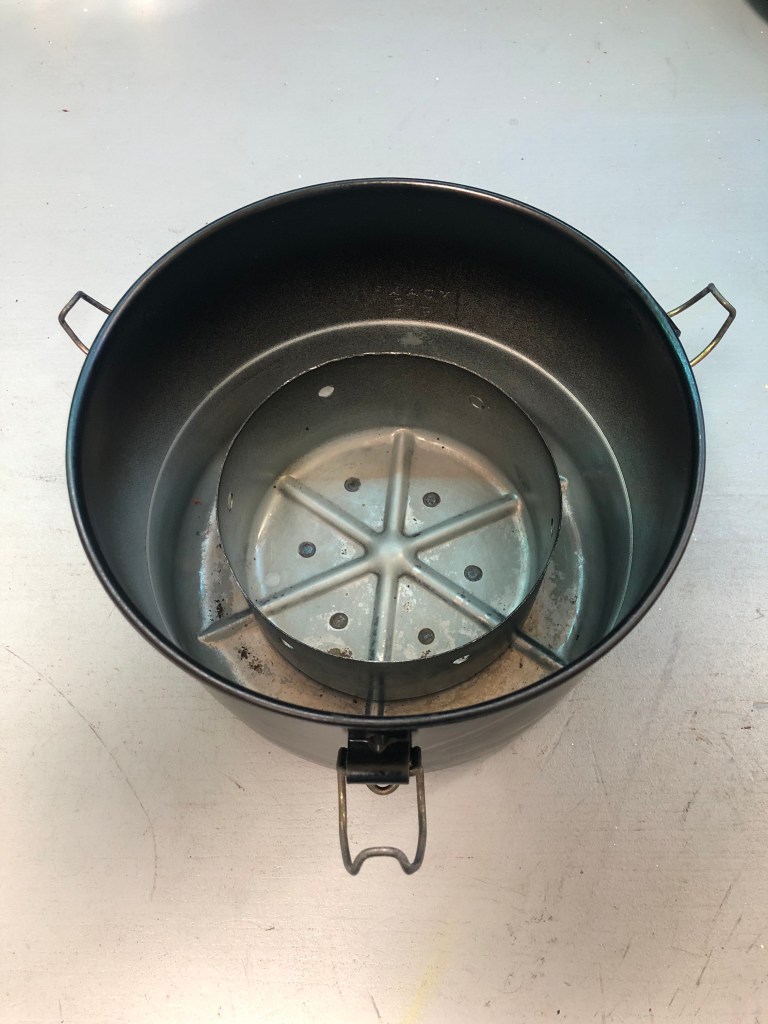
The final job was to fill the oil bath air filter reservoir with some engine oil.
This needed a thorough clean to get it ready for new oilThe groove pressed into the pan is the fill level which equates to 0.85 litres
LGL now has an (almost) genuine raised air intake system. Does LGL need one? No. But given the provenance and rarity of these items I think it’s OK.
Installation methods for the Series raised air intake are also scarce. In my background research I found only one image of a vehicle with one fitted.
Hopefully the last few posts are helpful to fill some of those gaps.
Never seen one of these before – very cool! Thank you for all of the detail on this rare item. The component parts look relatively simplistic so I’m a little surprised that no-body has produced a replica yet.


Never seen one of these before – very cool! Thank you for all of the detail on this rare item. The component parts look relatively simplistic so I’m a little surprised that no-body has produced a replica yet.
LikeLike