

It’s been a long time since I’ve posted anything largely because there’s not been that much to write about. LGL ticks along merrily when its pressed into service but local trips to the hardware store and recycling isn’t really that interesting for me or anyone else.
Trips away were all on hold this year for obvious reasons, the closest we’ve gotten to Land Rover adventuring was a trip up Zugerberg for some cross country skiing after an early dump of snow in December. It’s been a VERY long time since I’ve had to push the yellow knob down and it stills amazes me how capable these simple vehicles are in the snow.
Anyway… back to business. I spotted on the “Design and Development Engineering” website recently a great small part that would be fun to fit on LGL.
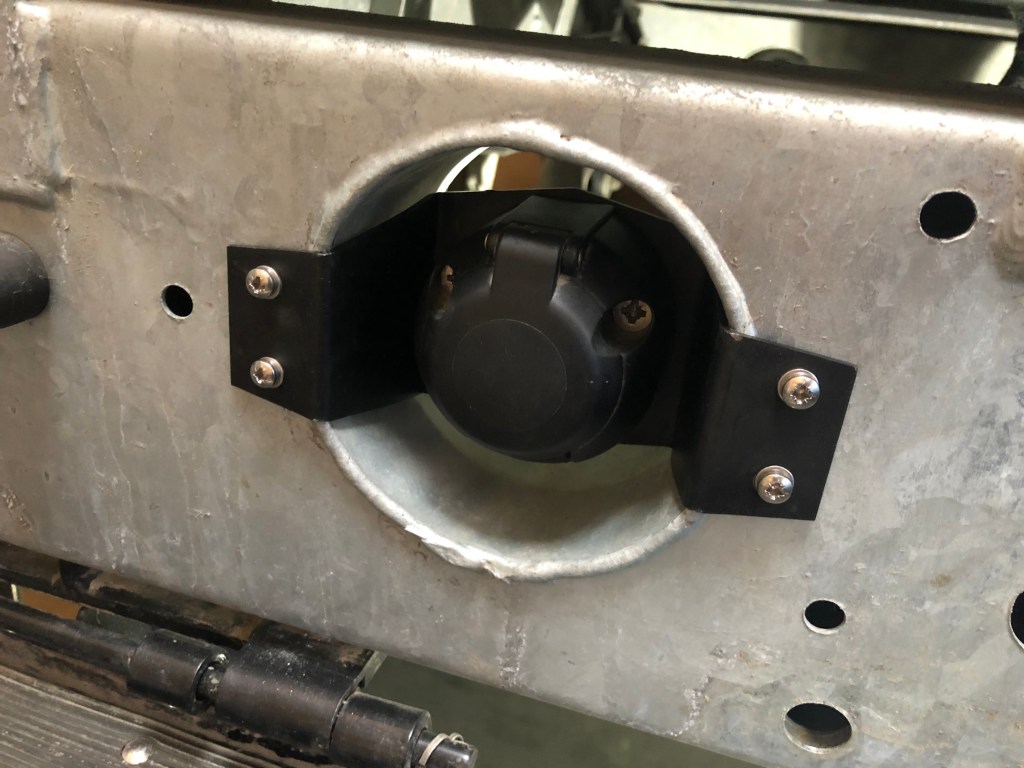
The rear cross member of LGL has a large circular aperture. This was for a propshaft from the Power Take Off (PTO) driven from the transfer box to pass through and drive one of many devices that could be bolted to the rear cross member… (rear capstan winch, drive belt pulley, water pump, generator, etc…).
For those not requiring this level of functionality a neat bracket was available to hold the trailer socket safely out of harms reach in the round aperture. As this was by far the more original solution to the Dixon Bates plate I’d previously employed to hold the trailed socket, I decided to buy one.
PTO Trailer Socket Mounting Plate: PN 562724


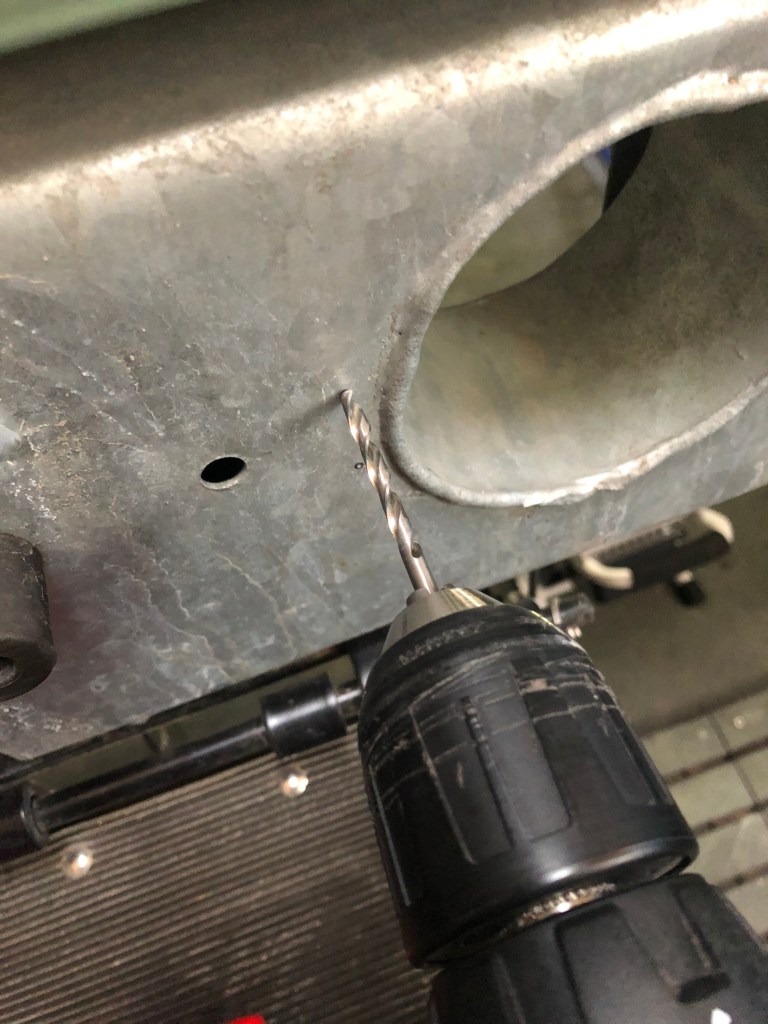
Firstly I wanted to remove the drop plate and tow hook I’d fitted a while ago as I’ve haven’t come anywhere near needing to tow a trailer. A further plan will be to buy and restore an ex military Sankey trailer. These use a different coupling system mounted directly to the cross member (via a special bracket for non military Land Rovers). I’ve had a Sankey trailer before and converted it from 24v and used civilian sockets. I plan to do this this next time round too.

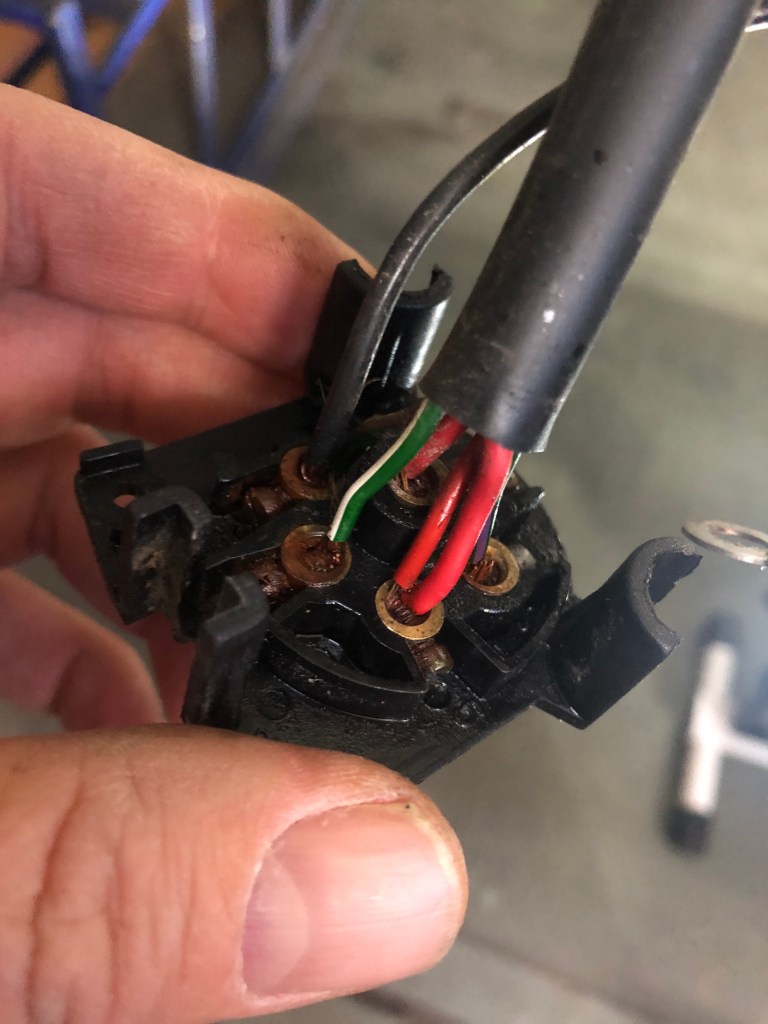
A reference photo for the location of the cables in the rear of the plug was taken 🙂


Job done.

Super helpful. Thanks so much for taking the time to post. Awesome!
LikeLike
You’re welcome. Glad it was helpful.
LikeLike