Time to fit the interior light… see part 1 for the scintillating prequel.
As I mentioned during the fitment of the roof lining, some investigation would be needed to establish why the wire to the interior light was carrying a permanent current!
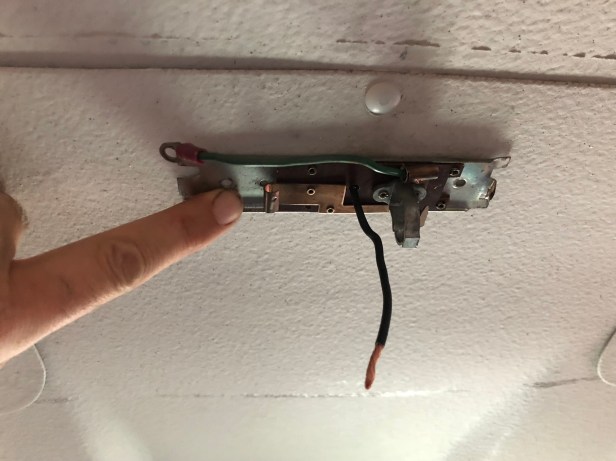
I took the dash-panel off again and the reason the cable was “live” become apparent immediately… I had cunningly bypassed the switch! Well done me.
Cable ready for its light but first we need to wire the switch
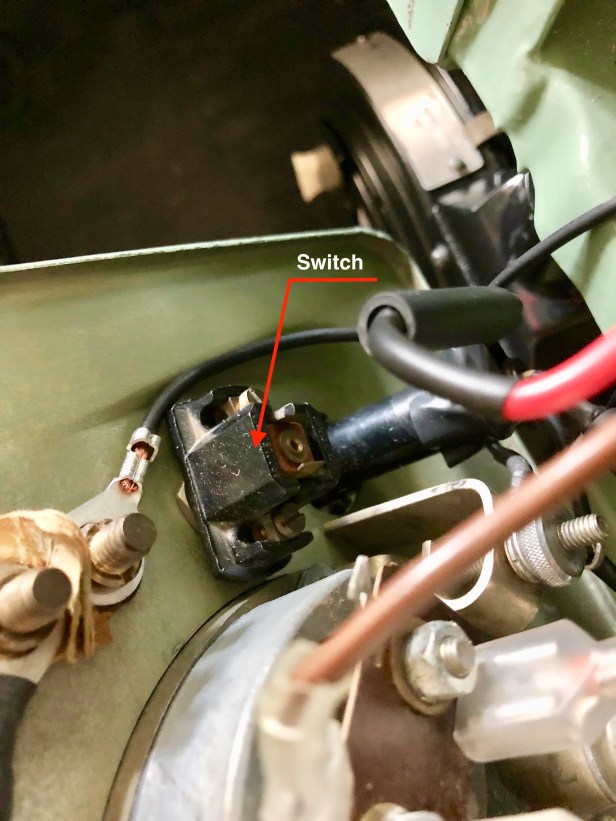
Purple cable is a fused circuit. I’d added the black wire all the way to the location of the light. The redundant switch on the dash panel should be included in this circuit.
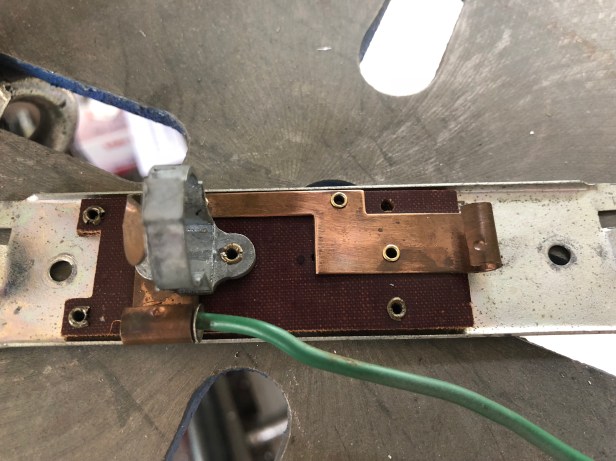
Tidy old Lucas switch….
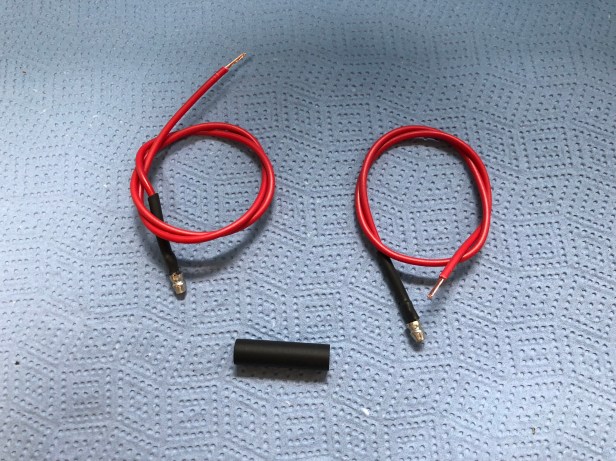
I made a couple of tails to connect the switch to the wiring loom.
Chassis or motherboard?
With the switch wired in and proven to function using the multi-meter, the feed wire is cut to length and the last 10mm stripped (with my new strippers :-))
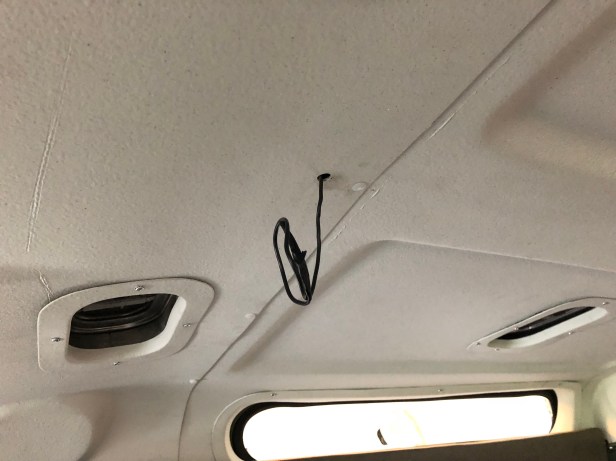
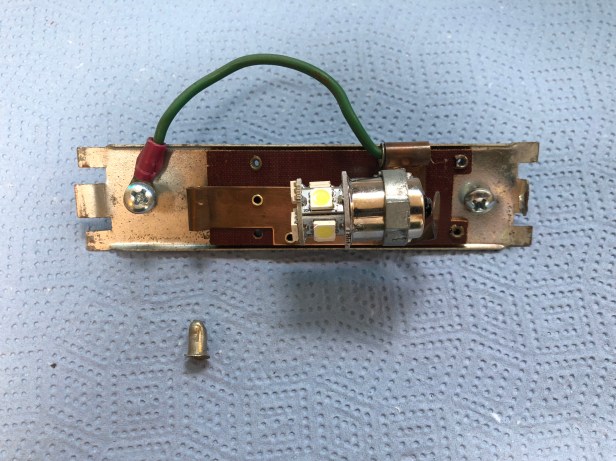
BUT… The feed wire passes through the roof lining directly in the middle. I don’t recall what arrangement took place with the original roof lining but I had to drill a whole through the “chassis” of the light so the wire would pass through the middle of the unit. If I used one of the other two holes, then the light would not be in the middle of the roof… and look odd. Black ink dot marks the middle.
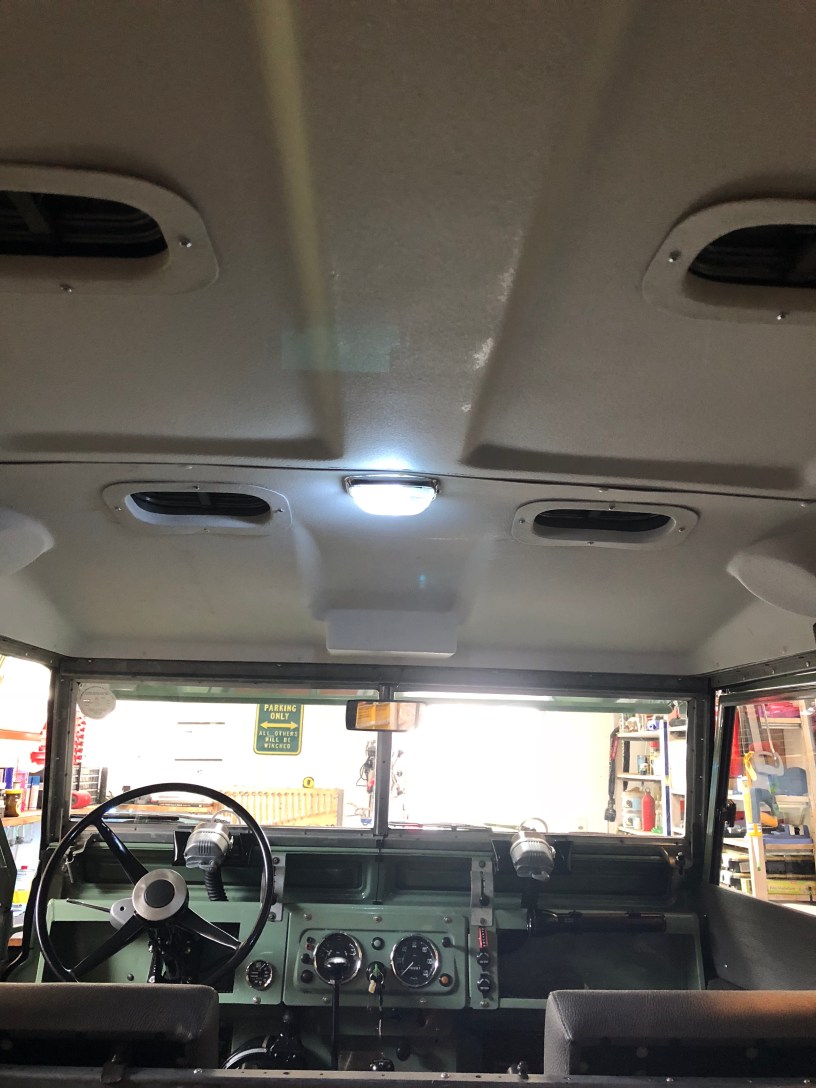
… and offered up. Close enough to the middle.
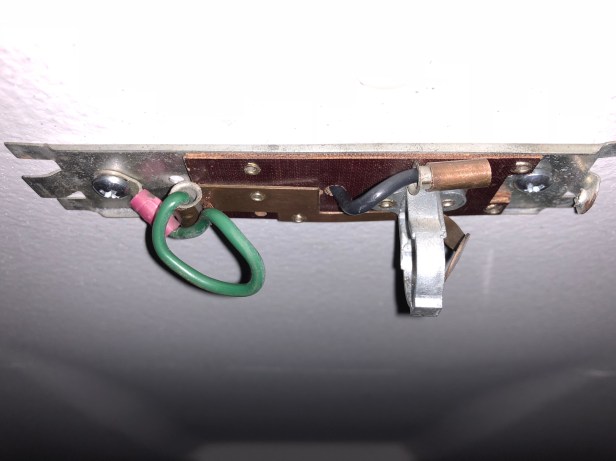
Feed and earth connected
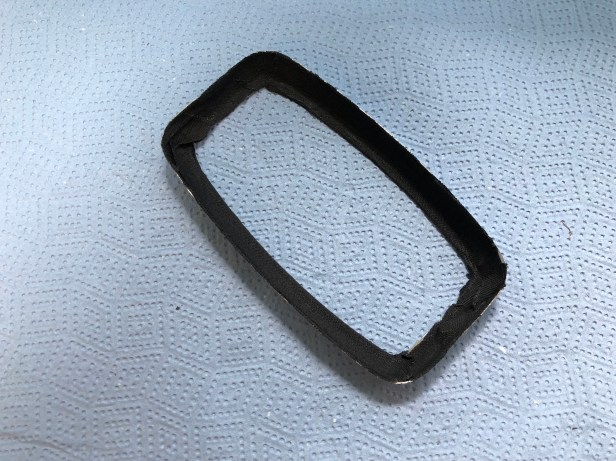
On a test fit of the lens, it was apparent the glass rattled in its frame. I lined the inside of the frame with some self adhesive cloth tape. Everything put back together again
I have replaced the original style incandescent bulb with an LED item and it provides a much more practical light.